Getting Started
As temperatures begin to drop and the growing season winds down, one of the most important tasks on any community garden's maintenance checklist is winterizing the irrigation system. Freezing water expands with tremendous force — enough to crack pipes, burst fittings, and damage outdoor taps that took your community months or even years to install and fund.
For community gardens, this task carries extra weight. Unlike a private home where one person is responsible, communal irrigation systems serve many plot holders, and the cost of repairing freeze damage is shared by everyone. A burst pipe in January means no water when spring planting begins in March — a frustrating and avoidable situation.
The good news is that winterizing a communal irrigation system isn't complicated. With the right knowledge, a small team of volunteers, and a weekend afternoon, you can protect your garden's infrastructure and start next season with everything in perfect working order. This guide walks you through everything you need to know, from the basic principles to the specific steps involved, even if you've never done it before.
Why Winterizing Matters for Community Gardens
Water expands by roughly nine percent when it freezes. That might not sound like much, but inside a rigid pipe or valve body, that expansion has nowhere to go. The resulting pressure can crack PVC pipes, split copper fittings, shatter plastic valve housings, and permanently damage hose bibs and tap connections.
In a community garden setting, the stakes are higher than in a typical residential situation. Your irrigation infrastructure likely includes:
- A main supply line running from a water meter or stopcock
- Distribution pipes running to multiple zones or plots
- Shared outdoor taps or standpipes used by many gardeners
- Drip irrigation or soaker hose systems left in place over winter
- Timers, backflow preventers, and pressure regulators
Each of these components is vulnerable to freeze damage in its own way. Valves and backflow preventers are particularly susceptible because they trap small amounts of water in chambers and cavities that are difficult to drain by gravity alone.
Repairing freeze damage is often expensive and disruptive. Beyond the financial cost, there's the practical problem of being without water at the very moment gardeners are eager to get plots ready in early spring. Investing a few hours in autumn prevention saves your community significant time, money, and frustration.
Tools and Materials You'll Need
Before you gather your volunteer team, make sure you have the right equipment on hand. Most of these items are affordable and available from hardware or garden supply stores.
For basic draining and shutoff:
- A key or tool to operate your garden's main stopcock or water meter shutoff
- Buckets and rags for collecting residual water
- A flathead and Phillips screwdriver
- Adjustable wrench or pliers
For insulation:
- Foam pipe lagging (pipe insulation sleeves) in the correct diameter
- Outdoor tap covers or frost protection bags
- Waterproof insulation tape or duct tape
- Cable ties for securing insulation
For blow-out method (if applicable):
- A compressor capable of delivering the correct PSI for your pipe diameter (typically low-pressure, around 30–50 PSI for drip systems, up to 50 PSI for larger poly pipe)
- Blow-out adapter fittings compatible with your irrigation system's inlet
- Safety goggles for everyone present during the blow-out
Documentation tools:
- A camera or smartphone to photograph the system before and after
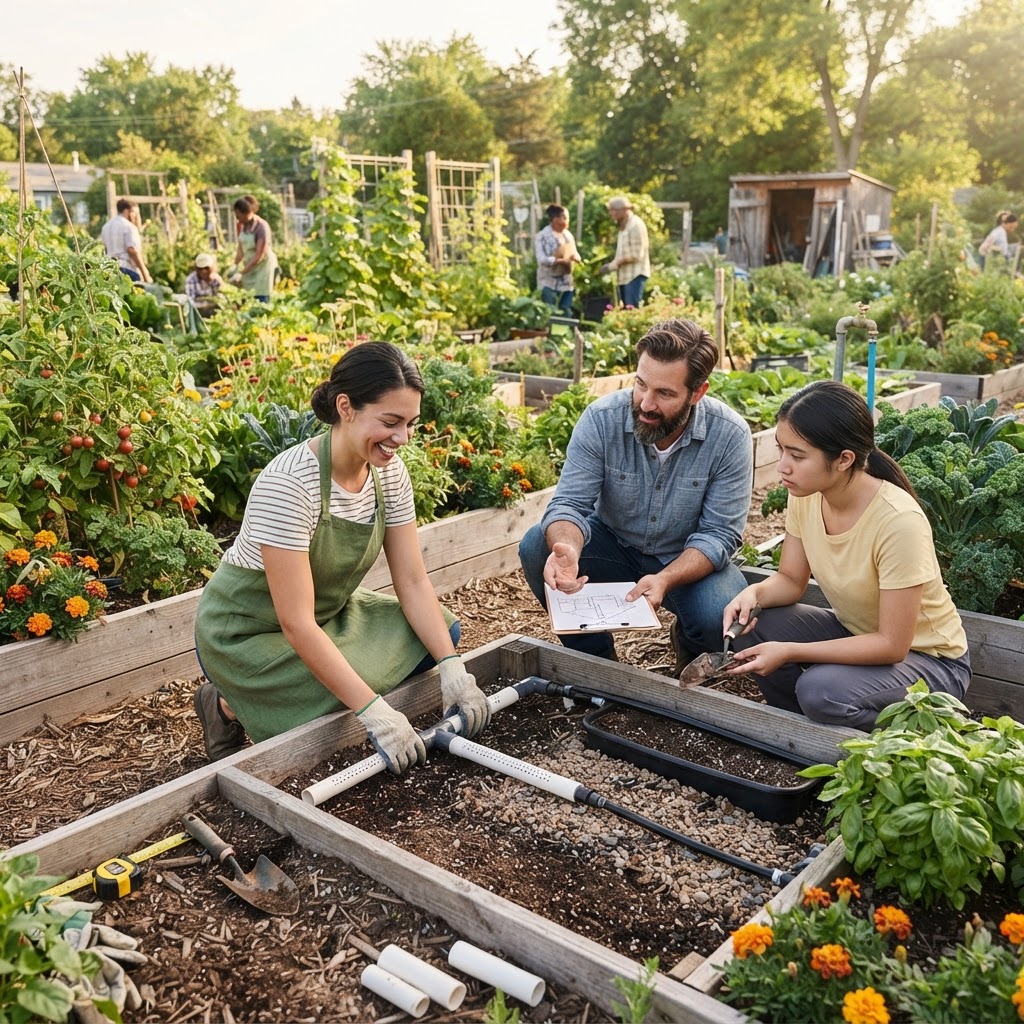
- A simple hand-drawn map of your pipe layout if one doesn't already exist
Step-by-Step Guide to Winterizing Irrigation Pipes
Step 1: Choose the Right Time
Timing matters. You want to winterize after the growing season has genuinely ended — when no more watering is needed — but before the first hard frost arrives. In most temperate climates, this window falls between mid-October and late November. Check your local average first frost dates and plan to complete the work at least two weeks beforehand.
Step 2: Notify All Plot Holders
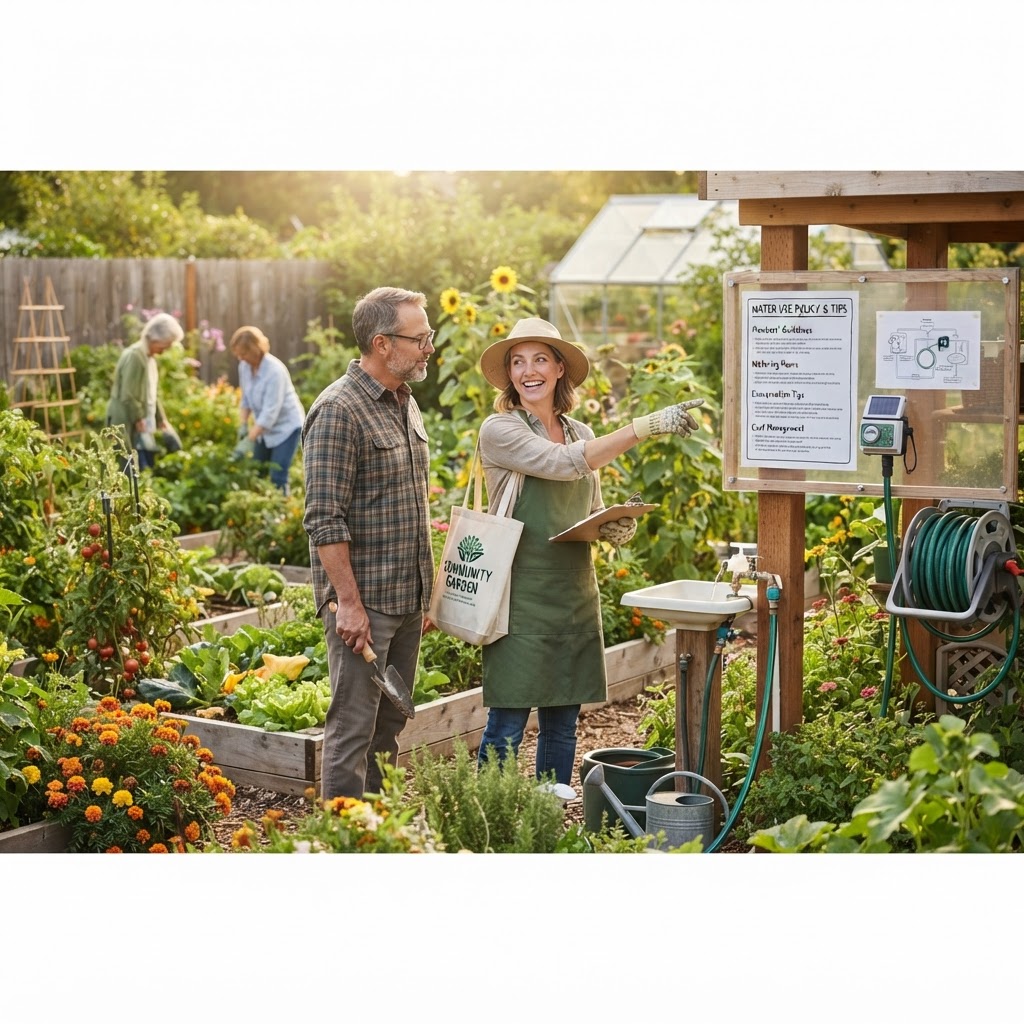
Because your system is communal, communication is essential. Send a notice to all members letting them know the exact date water will be shut off. Give at least one week's notice so gardeners can do a final watering, harvest any remaining crops, and remove hoses or connectors from outdoor taps. Include a reminder that no one should reconnect to the system until it is officially recommissioned in spring.
Step 3: Close the Main Shutoff Valve
Locate your garden's main water supply shutoff — this may be a stopcock on an incoming supply pipe, a ball valve in a meter box, or an isolating valve in a lockable cabinet. Turn it off completely. If your garden has zone valves or secondary shutoffs, close these as well, working from the outermost zones back toward the main supply.
Step 4: Open All Drain Points
Most well-designed irrigation systems include manual drain valves at their lowest points. Open these fully to allow gravity to pull water out of the pipes. Leave them open throughout the winterization process and only close them again in spring when you're ready to recommission.
If your system doesn't have dedicated drain valves, open all outdoor taps and any removable end caps at pipe terminations to allow drainage.
Step 5: Disconnect and Store Removable Components
Remove and store indoors any components that are particularly vulnerable to frost:
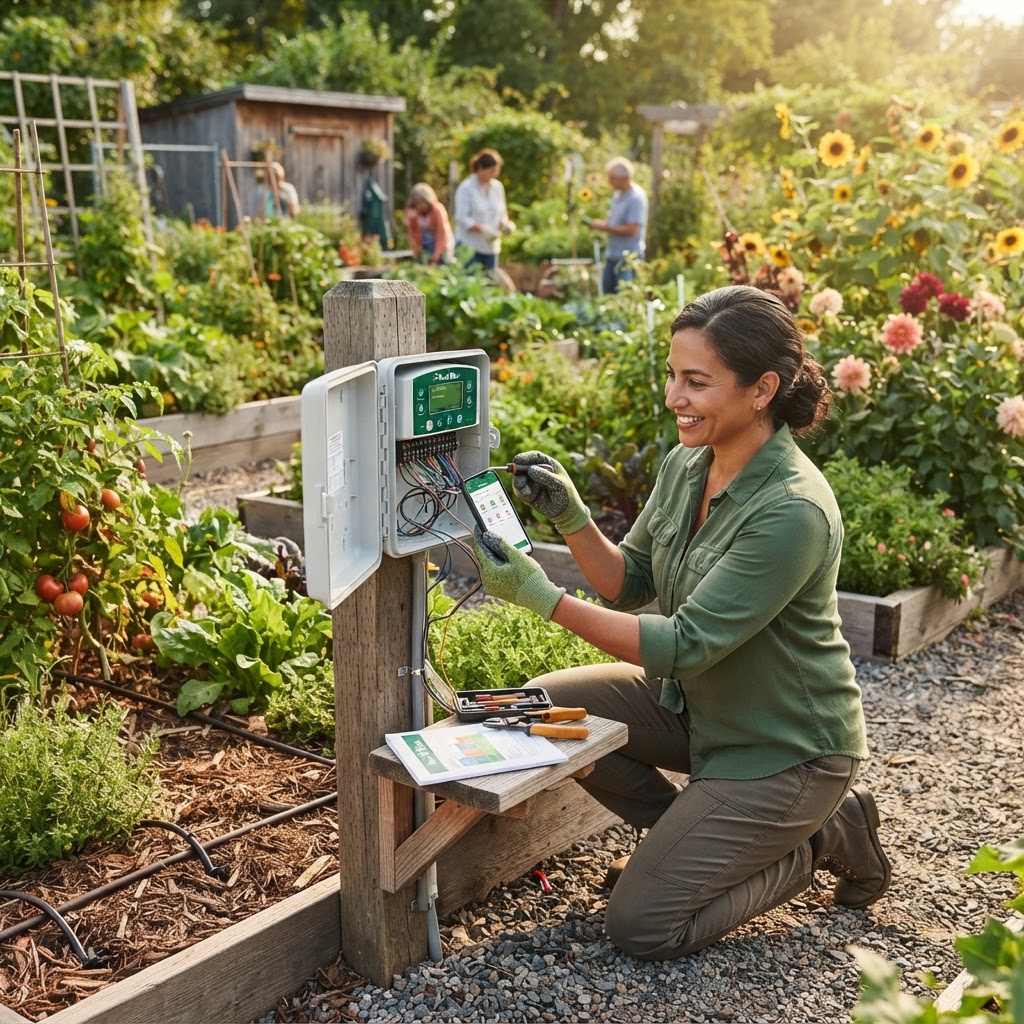
- Irrigation timers and electronic controllers
- Pressure regulators and flow meters
- Backflow preventers (also known as check valves)
- Fertigation injectors or chemical dosing equipment
- Battery-powered solenoid valves
These items should be cleaned, dried, and stored in a frost-free location such as a garden shed, committee room, or member's garage.
Winterizing Outdoor Taps and Hose Bibs
Outdoor taps are among the most vulnerable points in any garden's water system. Even after the main supply is shut off, the short section of pipe between the internal shutoff and the tap itself may still contain water.
Dealing with Internal Isolating Valves
Many outdoor taps have a dedicated isolating valve inside the nearest building or meter cabinet. If yours does, close this valve first, then open the outdoor tap to release any remaining water in the pipe between the valve and the tap. Leave the tap in the open position over winter — this allows any residual moisture to escape and prevents pressure buildup if any water does somehow enter the pipe.
Insulating Taps Without Internal Shutoffs
If your outdoor taps don't have internal isolating valves, insulation becomes your primary protection. Fit an outdoor tap cover — these are available as rigid foam boxes or soft insulated bags — directly over the tap. Ensure the cover is properly sealed at the base with waterproof tape to prevent cold air from penetrating. Some gardeners add an extra layer of bubble wrap beneath the outer cover for additional protection in particularly cold climates.
Checking Standpipes
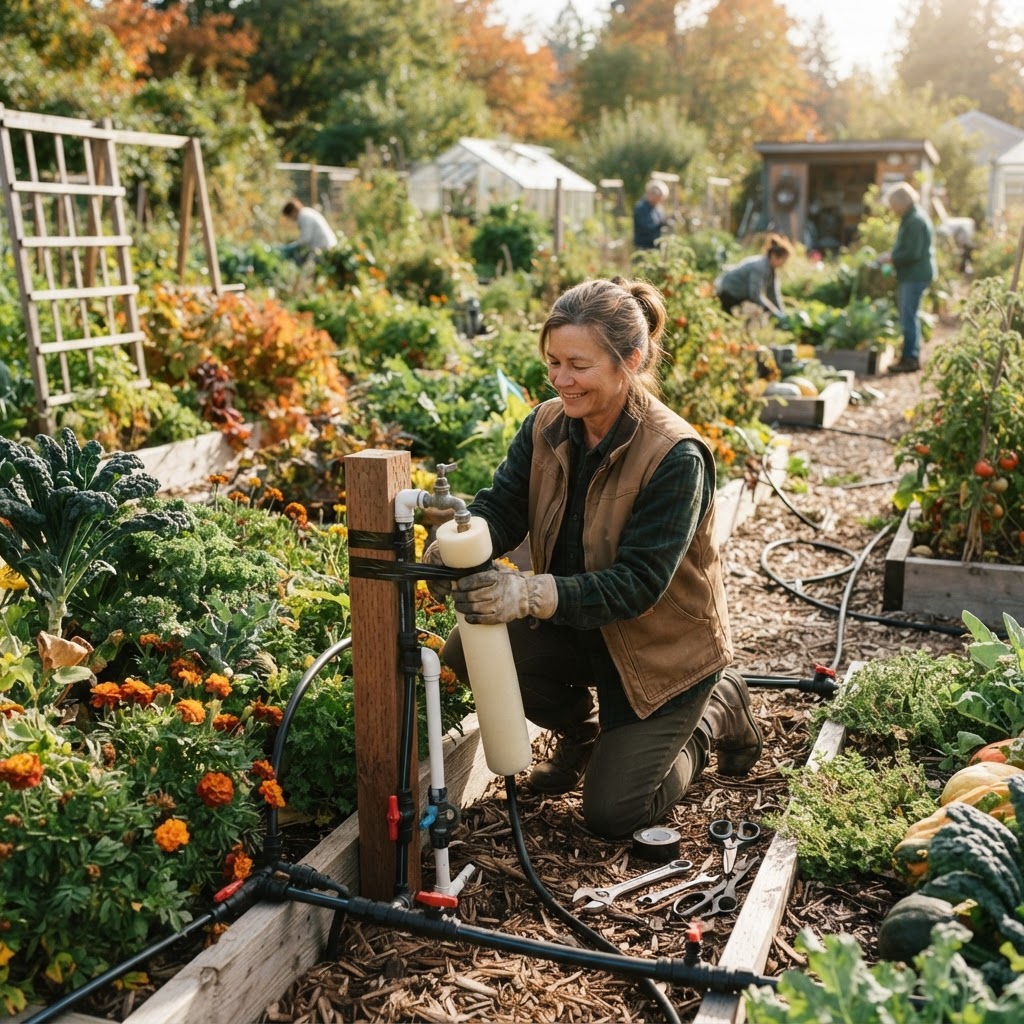
Community gardens often use standpipes — vertical pipes rising from buried supply lines with taps at the top — distributed across the site. Each standpipe should be drained by shutting off the supply and opening the tap. If the standpipe has a drain plug at its base, open this as well. Insulate the exposed pipe and tap assembly with foam lagging and a tap cover, then consider wrapping the whole assembly with a waterproof outer cover secured with cable ties.
Draining and Blowing Out Irrigation Systems
Gravity Draining
For smaller systems or those installed with proper drainage gradients, gravity draining — simply opening drain valves and low points — may be sufficient. After shutting off the supply and opening all drains, walk the entire pipe route and gently press on any flexible sections to help push water toward the open ends. Give the system at least an hour to drain fully before moving on to insulation.
The Compressed Air Blow-Out Method
For more complex systems with multiple zones, low spots, or components that are difficult to drain by gravity, blowing out the system with compressed air is more reliable. This method uses air pressure to push remaining water out of every section of pipe.
Important safety notes: Never stand over or in front of irrigation heads or open pipe ends during a blow-out. Always wear safety goggles. Do not over-pressurize — use the lowest pressure that effectively clears water from the pipes, and never exceed the manufacturer's recommended operating pressure for your pipe or fittings.
Connect the compressor to the system via the appropriate blow-out adapter, close the main water supply, and open zones one at a time. Run each zone for no more than two to three minutes or until only mist exits the heads. Repeat two or three times per zone if needed. Work from the zone farthest from the compressor toward the connection point.
Insulating Pipes and Vulnerable Components
Not all pipes can be fully drained — particularly those that run underground at shallow depths or pass through unheated structures. For these, insulation is the key defence.
Foam pipe lagging is your best friend here. It comes in a range of internal diameters to match different pipe sizes and simply clips around the pipe. Use a knife to cut it to length, then seal the joints with waterproof tape. Pay particular attention to:
- Any sections of pipe that run above ground
- Pipes passing through sheds, walls, or pergolas without heating
- Connection points, elbows, and T-junctions (these have more surface area and cool faster)
- The base of standpipes where they emerge from the ground
Underground pipes buried at the correct depth — generally below your local frost line — should be adequately protected by the soil itself. If you're unsure whether your buried pipes are deep enough, ask a plumber or your local water authority for guidance on frost depth in your area.
Common Mistakes to Avoid
Leaving it too late. Procrastination is the number one cause of freeze damage. Don't wait for the first frost warning — by then it may be too late to gather a team and complete the work properly. Set a fixed date in early autumn and stick to it.
Forgetting secondary zones or branch lines. Large community gardens often have irrigation branches running to different sections that are easy to overlook. Create a simple map of your entire system and check each branch off as you complete it.
Closing drain valves too soon. Drain valves should remain open all winter. Many first-timers close them once they stop seeing water flow, not realising that the pipes may still hold moisture in low spots.
Skipping the blow-out on complex systems. Gravity draining alone is rarely sufficient for multi-zone drip systems or systems with many level changes. If in doubt, use the blow-out method.
Not storing electronic components properly. Timers and controllers left outdoors over winter often fail even in modest frost. Always bring them inside.
Over-pressurising during blow-out. Using too much air pressure can damage fittings and pipe joints. Start low and work up only if needed.
Failing to communicate with plot holders. Gardeners who don't know the water is being shut off may connect hoses and leave taps open, undermining the entire winterization effort.
Tips for Success
- Create a written winterization checklist specific to your garden's layout and laminate it for repeated use each year. Attach it to your shed wall for reference.
- Work as a team. Assign one person to operate the shutoffs, one to walk the pipe routes checking for drainage, and one to document and photograph completed sections.
- Take photographs of all components before insulation goes on, and again once everything is wrapped. These are invaluable when troubleshooting in spring.
- Label your drain valves with weatherproof tags so any committee member can find them quickly in future years.
- Keep a small emergency repair kit in your garden shed through winter — a few spare couplings, rubber washers, and PTFE tape mean you're ready to make quick repairs if something does go wrong.
- Set a spring recommissioning date at the same time you complete winterization. Having a target date ensures everything is ready before gardeners need water.
- Consider upgrading vulnerable components over winter. If your system regularly suffers freeze damage in a particular spot, budget for improved insulation or rerouting that section next season.
Conclusion
Winterizing your community garden's irrigation system is one of the most valuable maintenance tasks you can carry out as a gardening season draws to a close. It protects a significant investment of community time and money, ensures you start spring with a fully functioning water supply, and demonstrates the kind of thoughtful, cooperative stewardship that makes community gardens thrive.
The process doesn't require specialist skills or expensive equipment — just good planning, clear communication with your fellow gardeners, and a methodical approach to working through each component of your system. Whether your garden has a simple setup with a couple of taps or a multi-zone drip irrigation network, the same core principles apply: shut off the supply, drain every section completely, protect what can't be drained with quality insulation, and store vulnerable electronics safely indoors.
Make winterization an annual tradition in your garden's calendar, document what you learn each year, and share that knowledge with new members. A well-maintained irrigation system can serve a community garden for decades — and proper winterization is one of the most important ways to make that happen.