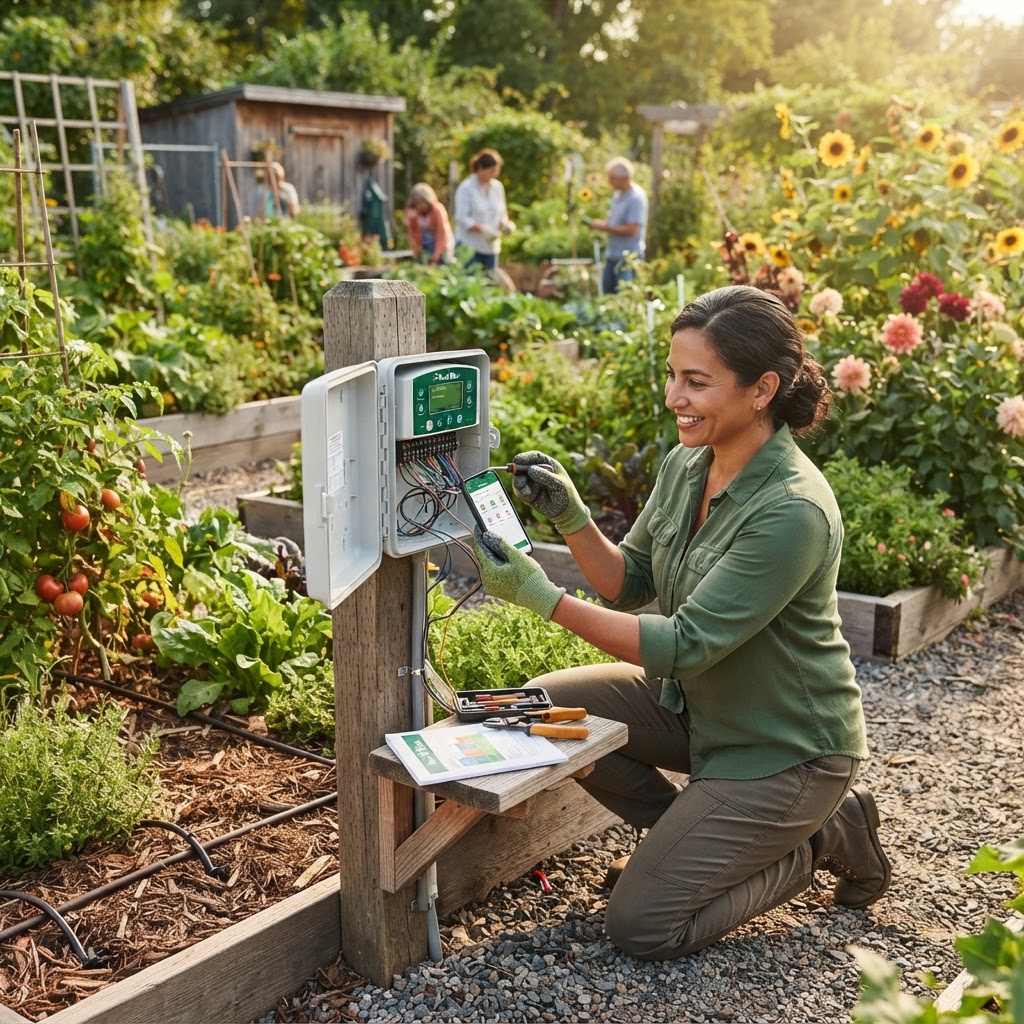
Getting Started
Before you touch a single wire or dig a trench, take time to lay the groundwork. Rushing into installation without proper planning is the most common reason irrigation projects fail or require expensive do-overs.
Assess Your Garden's Needs
Walk the entire garden with a notepad and sketch a rough map. Note the following:
- Total area to be irrigated — individual plots, communal growing areas, orchard zones, and any landscaping
- Water source locations — where your main supply line enters the garden and where existing tap points are
- Plant types in each area — vegetables, fruit trees, perennial flowers, and lawn areas all have different watering needs
- Current infrastructure — existing pipes, hose bibs, or any older irrigation already in place
This assessment tells you how many zones you'll need and helps you size the controller appropriately.
Gather Your Team
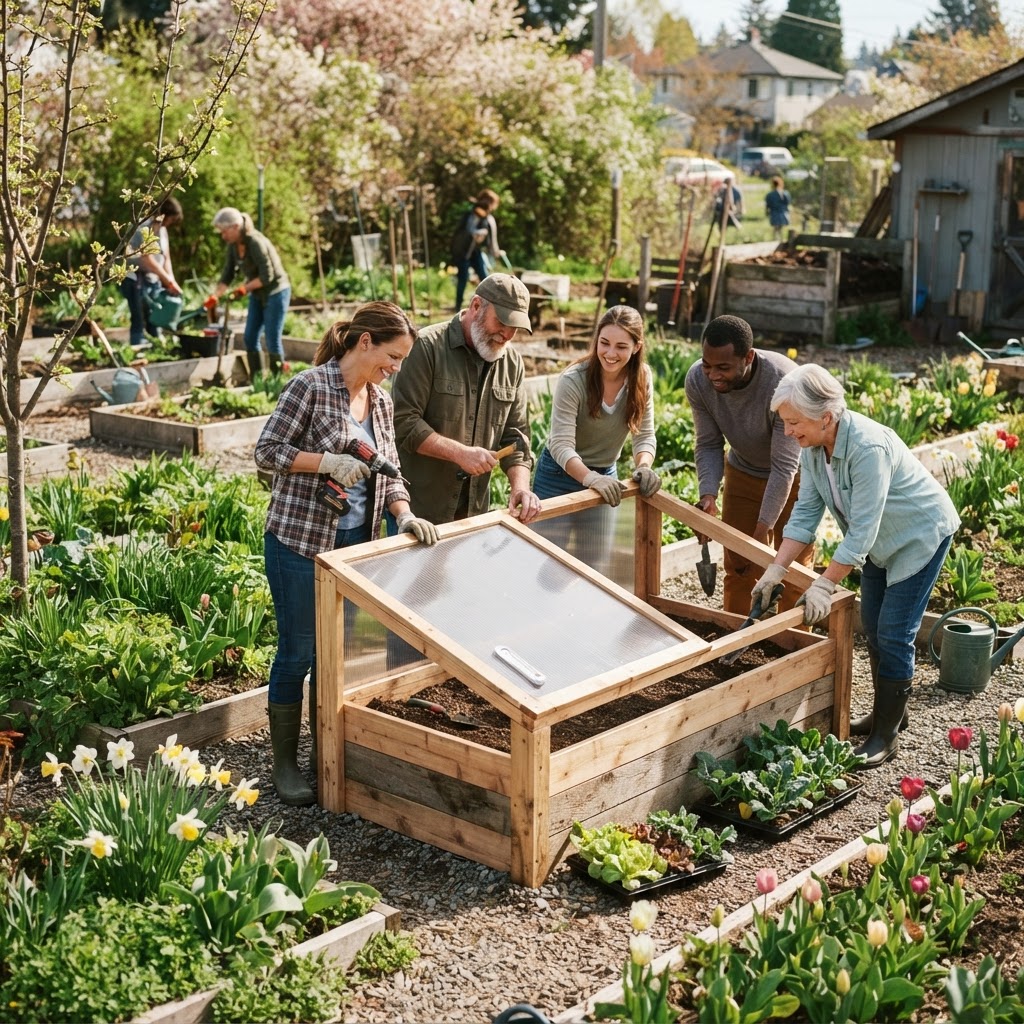
Installing irrigation in a shared space is much easier with two or three people. You'll need someone comfortable with basic plumbing, someone who can handle low-voltage wiring, and ideally someone who understands the garden's layout intimately. If your garden has a maintenance committee, this is a great project to bring to them early.
Check Permissions and Utilities
Before any digging, check with your local utility company to identify buried cables or pipes. In many regions, this service is free and legally required before excavation. Also confirm with your garden's landlord or municipality that you're permitted to install permanent irrigation infrastructure.
Understanding Multi-Zone Smart Controllers
A smart irrigation controller is essentially a programmable timer that goes far beyond simple scheduling. It connects to Wi-Fi, accesses local weather data, and adjusts watering schedules automatically based on rainfall, temperature, and evapotranspiration rates. This means if it rains heavily overnight, the system skips the next morning's cycle — saving water and preventing waterlogged plants.
What Makes It "Multi-Zone"?
A zone is simply a section of your garden controlled by a single solenoid valve. Each valve opens and closes to direct water to one specific area. A multi-zone controller manages several of these valves independently, so you can water your tomato beds at dawn, your fruit trees at dusk, and your communal herb garden at midday — all without anyone manually turning taps.
Controllers typically range from 4 zones up to 16 or more. For most community gardens, an 8- to 12-zone controller offers a good balance of capacity and cost.
Smart Features Worth Looking For
- Weather-based adjustments — automatically skips or reduces watering after rainfall
- Soil moisture sensor compatibility — pauses irrigation when the soil is already wet
- App-based control — allows multiple administrators to monitor and adjust schedules remotely
- Flow monitoring — alerts you if a broken pipe or stuck valve is wasting water
- Multiple user access — lets different plot holders view their zone's schedule without being able to change others
Planning Your Irrigation Zones
Good zone planning is the backbone of an efficient system. Each zone should contain plants with similar water requirements and be fed by pipes that can supply enough pressure and flow to run all the emitters in that zone simultaneously.
Grouping Plants by Water Needs
Divide your garden areas into broad watering categories:
- High water demand — seedling beds, leafy greens, newly planted areas
- Moderate water demand — established vegetables, annual flowers
- Low water demand — fruit trees, drought-tolerant perennials, native plantings
Avoid mixing high and low water-demand plants in the same zone. Doing so forces you to either overwater one group or underwater the other.
Matching Zones to Water Pressure
Every emitter — whether a drip line, micro-sprinkler, or spray head — requires a certain flow rate. Add up the flow rates of all emitters in a proposed zone and check that your water supply can support them. Most residential and community garden water supplies run at a flow rate that comfortably supports one zone at a time, which is exactly how smart controllers work: running one zone at a time in sequence.
Drawing Your Zone Map
Sketch each zone on your garden map with a different colour. Label each zone with:
- The plants it serves
- The type of emitters used (drip, sprinkler, soaker hose)
- Approximate run time needed per watering session
This map becomes your programming reference and a useful handover document for future garden coordinators.
Installation Step-by-Step
Step 1: Mount the Controller
Choose a sheltered location — a shed wall, pergola post, or purpose-built outdoor enclosure — that is close to your main water supply and has access to outdoor-rated power. Most smart controllers need a standard power outlet for the transformer. Mount it at a comfortable working height and ensure the Wi-Fi signal reaches it from your garden's router or hotspot.
Step 2: Run the Valve Wiring
Each solenoid valve needs two wires: one individual wire and one shared common wire. Use direct burial irrigation wire rated for outdoor use. Run wires from the controller location to each valve location, keeping them in the same trench as your main water pipes wherever possible. Label each wire clearly at both ends — colour coding and waterproof labels save enormous headaches later.
Connect wires to the controller terminals according to the manufacturer's diagram. Most controllers have numbered terminals for each zone wire and a clearly marked common terminal.
Step 3: Install the Solenoid Valves
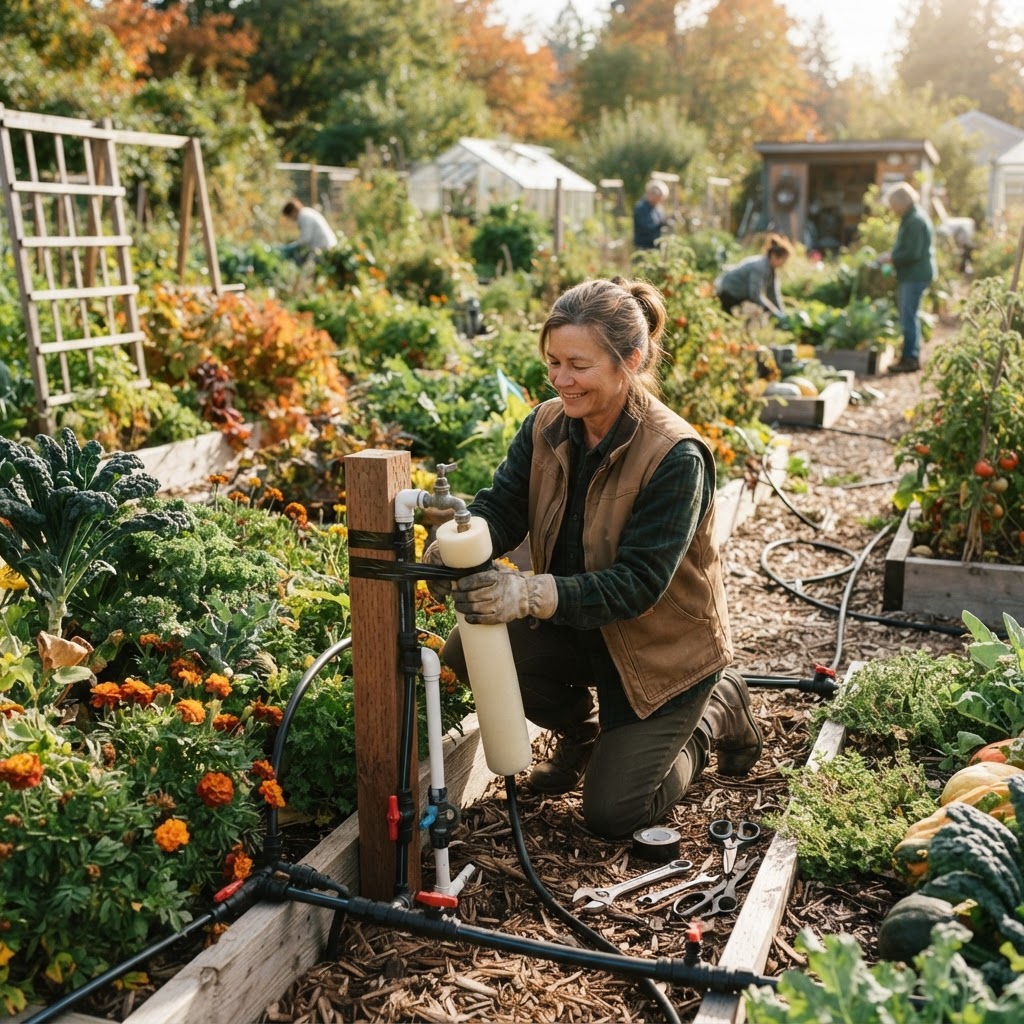
Solenoid valves are typically installed in a valve box buried at ground level. These plastic boxes protect the valves from damage and keep them accessible for maintenance. Install valves on the downstream side of your main shut-off, with each valve feeding the pipes for its designated zone. Use Teflon tape on all threaded connections to prevent leaks.
Step 4: Lay the Distribution Pipes
Use UV-resistant polyethylene pipe for main lines and smaller diameter tubing for individual drip lines. Bury main pipes at least 15–20 cm deep to protect them from foot traffic and tools. In communal pathways, consider a deeper burial or use pipe ducting for extra protection.
Step 5: Install Emitters
Attach drip emitters, micro-sprinklers, or soaker hose sections to your distribution tubing according to each zone's plan. Use a hole punch tool for drip fittings and barbed connectors to attach emitters. Flush the system before attaching emitters to clear any debris from the pipes.
Step 6: Connect to Wi-Fi and Test Each Zone
Power up the controller and follow the manufacturer's setup process to connect it to your garden's Wi-Fi network. Then manually activate each zone from the controller or app and walk the garden to confirm every emitter is working, no joints are leaking, and coverage is as expected. Adjust emitter placement or flow rates as needed before setting your final schedule.
Programming and Scheduling
Setting Up Watering Schedules
Most smart controllers let you create multiple programs (often labelled A, B, and C) that can run on different days and times. A practical setup for a community garden might look like:
- Program A — vegetable beds and high-demand zones, running every morning
- Program B — fruit trees and perennial areas, running every two to three days
- Program C — new plantings or seedling areas with extra-frequent, shorter cycles
Set run times conservatively at first — it's easier to increase if plants look thirsty than to deal with waterlogged beds. A good starting point for drip zones is 20–30 minutes; adjust based on observation over the first two weeks.
Weather Intelligence Settings
Enable your controller's weather-based features during setup. You'll typically enter your location so the system can pull local forecast data. Set the rain skip threshold — the rainfall amount at which the system should skip a scheduled cycle. Many gardeners find a threshold of 6–10mm works well for most vegetable gardens.
Managing Access in a Shared Garden
One of the unique challenges of community gardens is that the irrigation system belongs to everyone but needs consistent oversight.
Designating Irrigation Managers
Appoint one or two garden members as irrigation managers with full admin access to the controller app. Other members can be given read-only or limited access so they can check their zone's schedule without accidentally changing other programs.
Creating a Maintenance Rota
Set up a monthly check-in schedule where someone walks the garden specifically to inspect emitters, check for leaks, clear blocked drip lines, and confirm the controller is running correctly. Shared maintenance logs — even a simple notebook in the shed — help track what's been done and flag recurring issues.
Communicating Schedule Changes
When seasonal schedule changes are made, notify all plot holders. A simple notice board update or group message ensures nobody is surprised by dry or waterlogged beds. Transparency builds trust in shared infrastructure.
Common Mistakes to Avoid
Mixing sprinklers and drip in the same zone. Sprinklers and drip emitters operate at very different flow rates and pressures. Putting them in the same zone almost always means one type is under- or over-performing. Always keep them on separate zones.
Ignoring pressure regulation. High water pressure can blow drip fittings off pipes and dramatically shorten emitter lifespan. Install a pressure regulator at the start of drip zones — typically set to around 1.4–2 bar.
Burying valves without access boxes. Solenoid valves need occasional maintenance. Burying them without a valve box means digging them up every time there's an issue. Always use proper valve boxes.
Setting and forgetting. Smart controllers are excellent, but they're not infallible. Check the app regularly to confirm programs are running, and walk the garden at least twice a month to catch physical issues like blocked emitters or leaking joints.
Giving too many people full admin access. Conflicting schedule changes made by well-meaning volunteers can lead to zones running at the wrong times or not at all. Keep full admin access limited to one or two trusted managers.
Failing to winterise. If your garden experiences freezing temperatures, failing to drain and blow out your irrigation system before winter virtually guarantees cracked pipes and broken emitters come spring.
Tips for Success
- Label everything obsessively. Every valve, every wire, every zone on your map. Future volunteers will thank you enormously.
- Take photos during installation. Document where pipes and wires are buried before you fill the trenches. These photos are invaluable during repairs.
- Start with a pilot zone. If you're new to irrigation installation, set up one zone completely and run it for a week before installing the rest. You'll learn a huge amount from that first zone.
- Use a filter on drip zones. A simple inline filter protects emitters from sediment blockages and extends the life of your entire drip system.
- Keep spare emitters and fittings on hand. A small stock of common drip fittings, emitters, and end caps means any volunteer can do a quick repair without waiting for parts to arrive.
- Review and adjust seasonally. Watering needs change significantly between spring, summer, and autumn. Set a calendar reminder to review your schedules at each seasonal transition.
- Document your setup in writing. Create a simple one-page system guide for the shed that covers how to manually run a zone, how to skip a cycle, and who to contact for help. This empowers other members to handle minor issues confidently.
Conclusion
Installing a multi-zone smart controller in a shared community garden is one of the most impactful infrastructure investments your group can make. It removes the daily burden of manual watering, ensures consistency even when key volunteers are away, and dramatically reduces water waste — all while keeping your plants healthier and more productive.
The key to success lies in thorough planning before the first spade goes in the ground, careful installation that follows manufacturer guidance and good plumbing practice, and ongoing community stewardship to keep the system running well season after season. A little time spent on documentation, training, and communication pays dividends in fewer arguments, fewer failures, and a more resilient garden community.
Take it one step at a time, involve your garden members in the process, and don't be afraid to start small. Your garden — and everyone who grows in it — will be better for it.