Sub-irrigation is one of the most effective ways to deliver water directly to plant roots while minimizing evaporation, runoff, and the time you spend hand-watering your community garden plot. Whether you're working with a small raised bed or a larger in-ground plot, understanding how to design and install a sub-irrigation system can transform the way you garden — saving water, reducing weeds, and improving plant health all at once.
This guide walks you through everything you need to know, from the basic concepts behind sub-irrigation to practical installation steps and troubleshooting advice.
What Is Sub-Irrigation and Why Does It Matter?
Sub-irrigation, sometimes called subirrigation or wicking irrigation, delivers water from below the soil surface rather than from above. Instead of spraying or dripping water onto the top of your garden bed, a sub-irrigation system maintains a reservoir of water beneath the root zone. Plants draw moisture upward through capillary action — the same natural process that pulls water through a paper towel.
This approach offers several meaningful advantages for community gardeners:
- Water efficiency: Because water is delivered underground and absorbed directly by roots, far less is lost to evaporation compared to overhead watering methods.
- Fewer weeds: The soil surface stays drier, which discourages weed seeds from germinating.
- Healthier plants: Consistent moisture at the root level reduces plant stress caused by cycles of drying out and overwatering.
- Less time spent watering: Once your system is set up and topped off, plants can go several days without needing attention — ideal for shared community plots where consistent care isn't always guaranteed.
For community gardens in particular, where plots are often managed by gardeners with varying schedules and experience levels, sub-irrigation offers a reliable and low-maintenance solution.
Getting Started
Before you start ordering materials or digging into your plot, take some time to assess your situation and set yourself up for success.
Assess Your Plot
Walk through the basics of your current garden space:
- Plot dimensions: Measure your plot carefully. Most community garden plots range from 4x4 feet to 10x20 feet. The size will determine how much reservoir capacity and pipe length you'll need.
- Soil type: Heavy clay soils can limit water movement, while very sandy soils may allow water to drain away too quickly. A loamy or amended soil works best with sub-irrigation systems.
- Current drainage: If your plot sits in a low spot that pools water after rain, you'll need to account for drainage in your design to prevent waterlogging.
- Sun exposure: Plots in full sun will lose reservoir water faster than shaded ones, affecting how often you need to refill.
Check Community Garden Rules
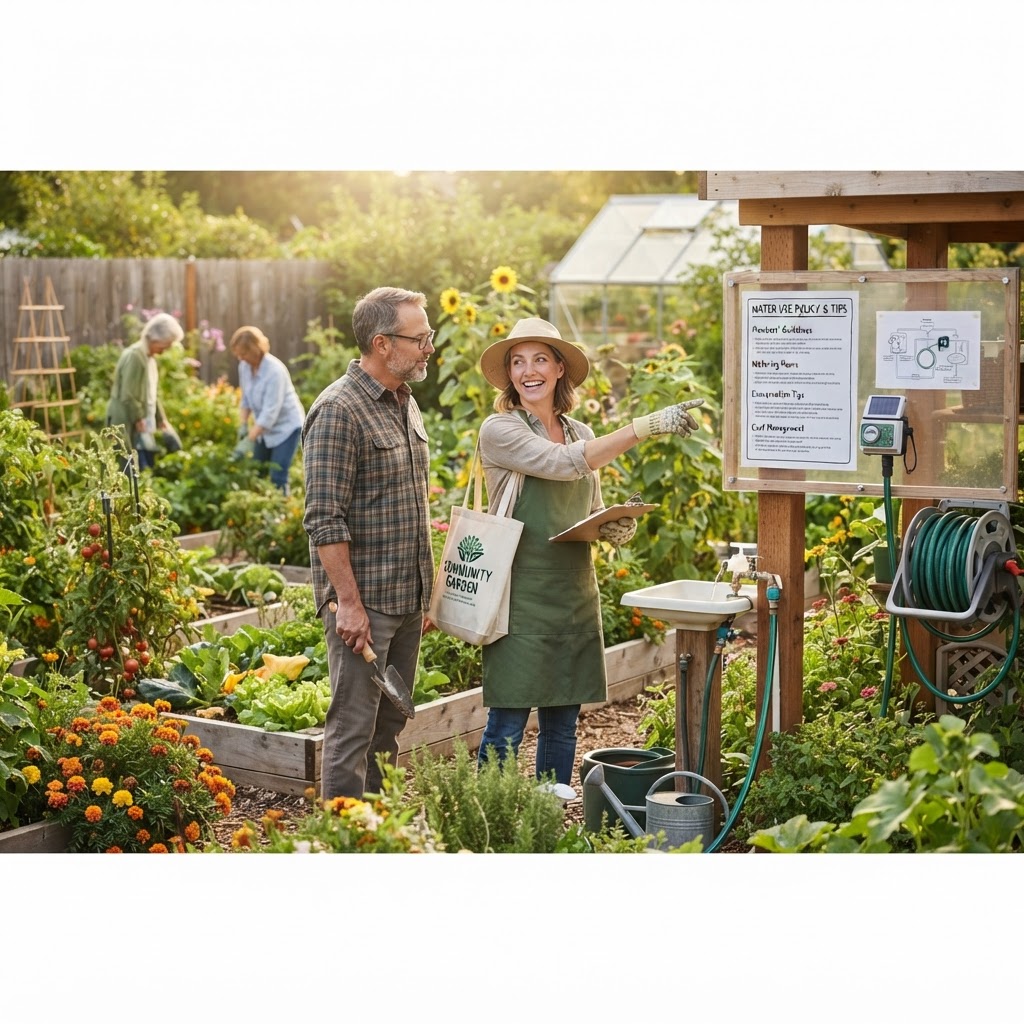
Many community gardens have guidelines about plot modifications, water access, and approved materials. Before installing any system, check with your garden coordinator to make sure your plans are permitted. Some gardens restrict the use of certain plastics or require that all infrastructure be removable at the end of the season.
Set a Budget
Sub-irrigation systems can be built affordably using repurposed materials or purchased as kits. Knowing your budget upfront helps you choose the right approach. A basic wicking bed for a 4x4 plot can be assembled for a modest cost using common hardware store supplies, while larger systems with automated fill valves will require more investment.
Key Components of a Sub-Irrigation System
Understanding the basic parts of a sub-irrigation system helps you make better design decisions and troubleshoot problems later.
- Water reservoir: A watertight container or lined basin that holds the supply of water beneath the growing medium. This can be built into a raised bed or created using containers.
- Wicking medium or perforated pipe: The method by which water moves from the reservoir into the root zone. A soil or compost-filled wicking column pulls water up by capillary action, while perforated pipes distribute water laterally through a gravel layer.
- Overflow drain: A hole or pipe positioned at the upper edge of the reservoir to prevent overfilling and waterlogging of roots.
- Fill tube: A vertical pipe or opening used to add water to the reservoir without disturbing the soil above.
- Gravel or aggregate layer: Often used at the bottom of the system to distribute water evenly across the reservoir.
- Barrier or liner: A waterproof membrane, such as heavy-duty landscape fabric or polyethylene sheeting, that separates the reservoir from the growing medium above while still allowing capillary movement.
Designing Your System Step by Step
Step 1: Choose Your System Type
There are two main approaches to sub-irrigation for community garden plots:
Wicking Beds: These are self-contained raised beds with a built-in reservoir at the bottom. Soil wicks moisture upward through capillary action. Wicking beds are ideal for smaller plots and beginners because they're straightforward to build and manage.
Perforated Pipe Systems: These involve burying a network of perforated pipes or leaky hose in a gravel layer beneath the growing medium. Water fills the gravel layer from a central reservoir or fill point and is absorbed upward. This approach suits larger in-ground plots and offers more flexibility for scaling up.
For most beginner to intermediate community gardeners, starting with a wicking bed design is the most practical and forgiving choice.
Step 2: Calculate Reservoir Capacity
A general guideline is to size your reservoir to hold roughly one to two gallons of water per square foot of growing area. A 4x8 foot wicking bed would therefore benefit from a reservoir capacity of around eight to sixteen gallons. Larger reservoirs mean less frequent refilling, which is especially helpful during hot weather or if you travel frequently.
Step 3: Plan Your Fill and Overflow Points
Every sub-irrigation system needs a way to add water and a way to prevent overfilling. Position your fill tube at one corner of the bed, extending it above the soil surface so you can easily see when the reservoir is full. Place your overflow drain on the opposite side of the bed at the exact height you want the maximum water level. When water reaches that level, it exits through the overflow rather than flooding the root zone.
Step 4: Determine Wicking Column Placement
In wicking bed designs, the wicking columns — typically sections of perforated pipe filled with growing medium — should be spaced no more than twelve to eighteen inches apart across the bed floor. This ensures even moisture distribution to all areas of the growing space.
Step 5: Sketch Your Design
Before purchasing materials, draw a simple cross-section of your planned system. Include the reservoir depth, the growing medium depth, the position of fill tubes, overflow drains, and wicking columns. Most wicking beds work well with a reservoir depth of eight to twelve inches and a growing medium depth of at least twelve inches above that.
Choosing the Right Materials
The materials you choose affect the longevity, safety, and performance of your system.
- Liners: Food-grade polyethylene sheeting (at least 6 mil thickness) or purpose-built pond liners work well for creating watertight reservoirs. Avoid PVC liners that may leach chemicals, especially around edible plants.
- Pipes: Schedule 40 PVC pipe is durable and widely available. Drill small holes every few inches to create perforated sections for wicking columns. Alternatively, agricultural drainage pipe (often sold as flexible corrugated pipe) is pre-perforated and easy to work with.
- Growing medium: A blend of high-quality compost and a coarse material like perlite or coarse sand works best. Avoid using pure garden soil in wicking beds, as it can compact and impede capillary action.
- Gravel: Clean pea gravel or crushed rock fills the reservoir space in most wicking bed designs, preventing the liner from collapsing under the weight of the growing medium.
Installation Tips for Community Garden Plots
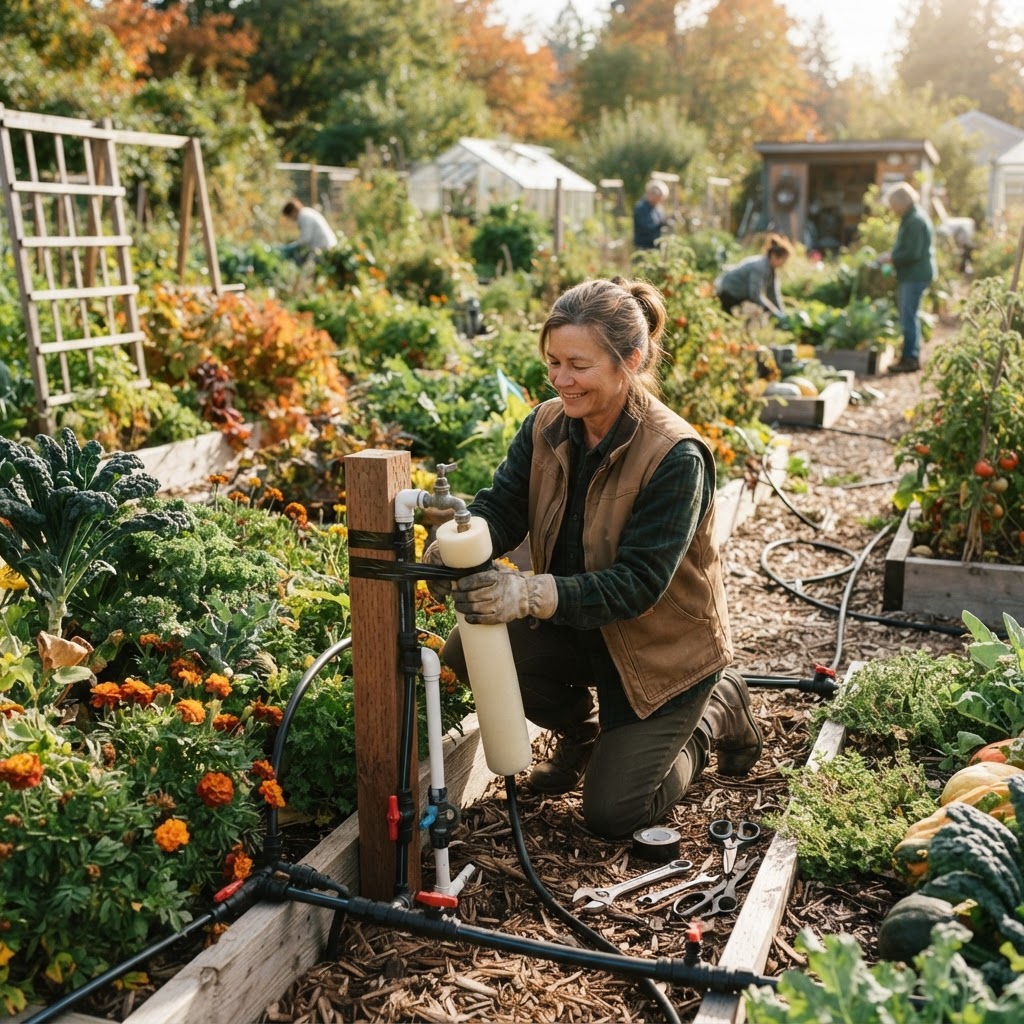
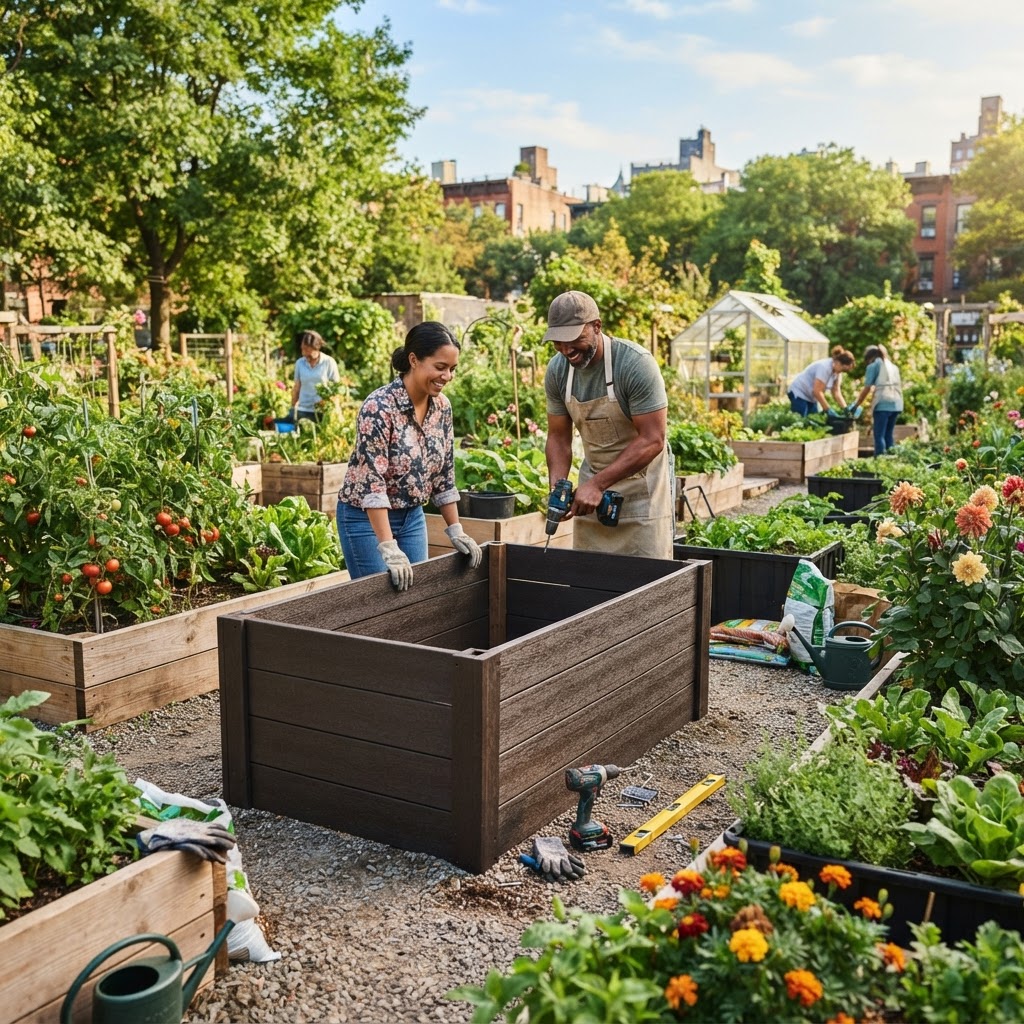
- Work with a partner: Lining and filling a raised bed is much easier with two people, especially when handling large sheets of liner.
- Seal liner seams carefully: If you need to join two pieces of liner, use waterproof liner tape designed for pond installations. Test for leaks before filling with growing medium.
- Label your fill tubes: In a community plot shared with other gardeners, clearly label the fill tube and include a note explaining how the system works. This prevents well-meaning helpers from overwatering from above.
- Install a water gauge: A simple float indicator or a marked dipstick inserted into the fill tube lets you monitor water levels without guessing.
- Consider a top mulch layer: Adding two to three inches of organic mulch on the soil surface helps retain what little surface moisture remains and further suppresses weeds.
Common Mistakes to Avoid
Even experienced gardeners run into trouble when setting up sub-irrigation for the first time. Here are the most common pitfalls and how to steer clear of them.
Skipping the overflow drain: Without an overflow drain, heavy rain or overfilling will saturate the root zone and suffocate plants. This is the single most important component — never omit it.
Using garden soil as the growing medium: Standard garden soil compacts too easily in wicking beds and blocks capillary movement. Always use a light, well-draining growing mix with plenty of compost.
Making the reservoir too shallow: A reservoir shallower than six inches won't hold enough water to benefit plants during hot spells and will require constant refilling, defeating the purpose of the system.
Ignoring soil pH and nutrient buildup: Because sub-irrigated beds aren't flushed by rainfall from above as often as open beds, salts and nutrients can accumulate over time. Periodically allow rainwater to flush through the bed, or manually water from above once a month to leach the soil.
Planting deep-rooted crops without enough growing medium depth: Root vegetables like carrots and parsnips need at least twelve to fourteen inches of growing medium. If your growing layer is too shallow, stick to shallow-rooted crops like lettuce, herbs, and strawberries.
Assuming the system runs itself forever: Sub-irrigation dramatically reduces watering labor, but it doesn't eliminate it. Reservoir levels still need monitoring, especially during summer heat waves.
Tips for Success
Follow these actionable tips to get the most out of your sub-irrigation system season after season.
- Start small: If this is your first sub-irrigated bed, build one 4x4 or 4x8 section before committing to converting your entire plot. This lets you learn the system before scaling up.
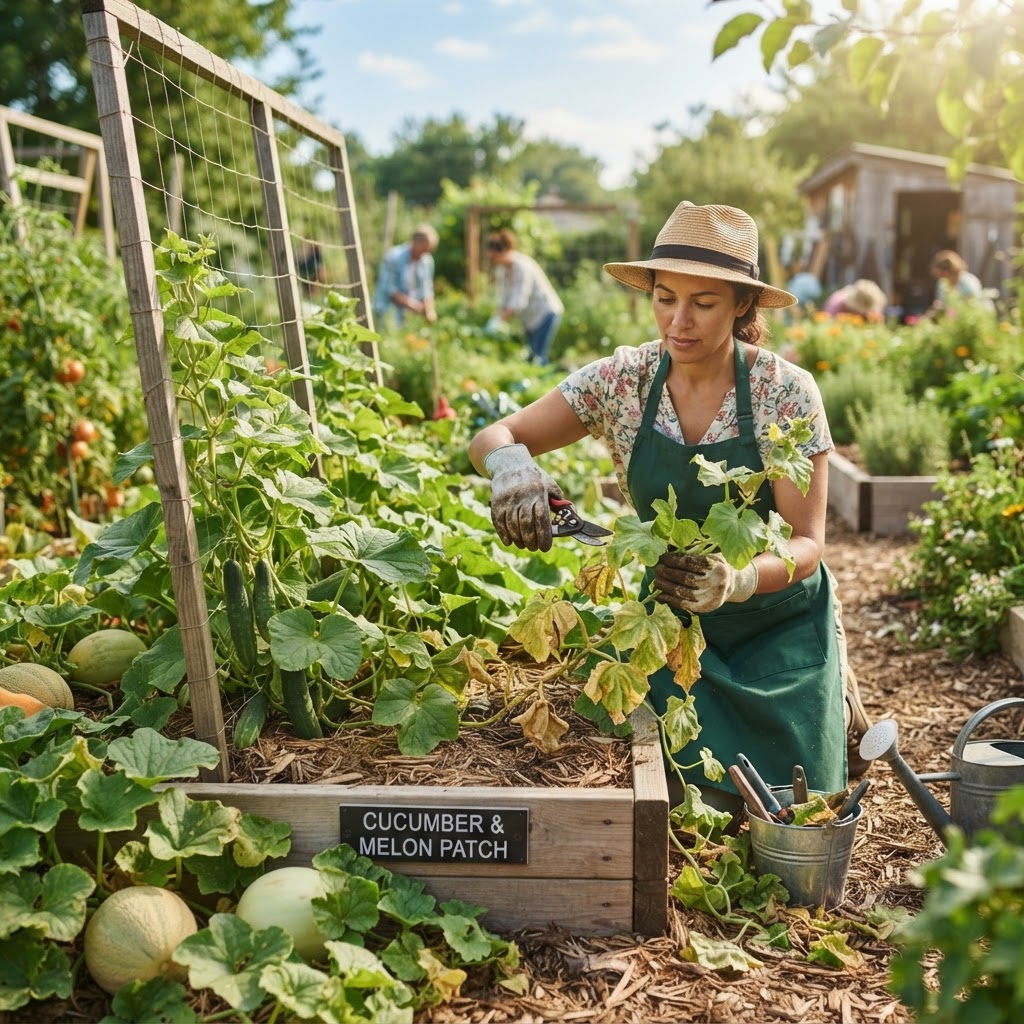
- Match plants to the system: Leafy greens, herbs, tomatoes, peppers, cucumbers, and strawberries all thrive in sub-irrigated beds. Root vegetables do well too, as long as you have adequate growing medium depth.
- Top-water during germination: Capillary action works well for established plants, but seeds need consistent surface moisture to germinate. Water from above until seedlings are established, then let the sub-irrigation system take over.
- Refresh your growing medium annually: Adding a few inches of fresh compost each spring replenishes nutrients and maintains the light texture needed for good capillary movement.
- Keep a simple log: Note when you refill the reservoir, how quickly it empties in different weather conditions, and how your plants are performing. This information helps you fine-tune the system over time.
- Protect your liner: When working in the bed, avoid using sharp tools near the reservoir layer. A punctured liner means water loss and potential system failure.
- Winterize properly: At the end of the growing season, drain the reservoir completely to prevent liner damage from freezing water expanding inside the bed.
Conclusion
Designing and installing a sub-irrigation system is one of the most rewarding projects a community gardener can take on. While there's an initial investment of time and materials, the long-term payoff in water savings, plant health, and reduced maintenance is well worth it. By delivering moisture directly to where plants need it most — the root zone — sub-irrigation works with nature rather than against it.
Whether you're building a compact wicking bed for herbs and salad greens or designing a larger perforated pipe system for a full community plot, the principles remain the same: a reliable reservoir, good capillary movement, a properly placed overflow drain, and the right growing medium. Take your time with the planning phase, follow the installation steps carefully, and don't be discouraged by small adjustments along the way.
Community gardening is about learning together, and sub-irrigation is a technique worth sharing with your fellow plot holders. Once your neighbors see how lush and productive your water-efficient bed becomes, you may find yourself becoming the go-to irrigation expert in your garden community.