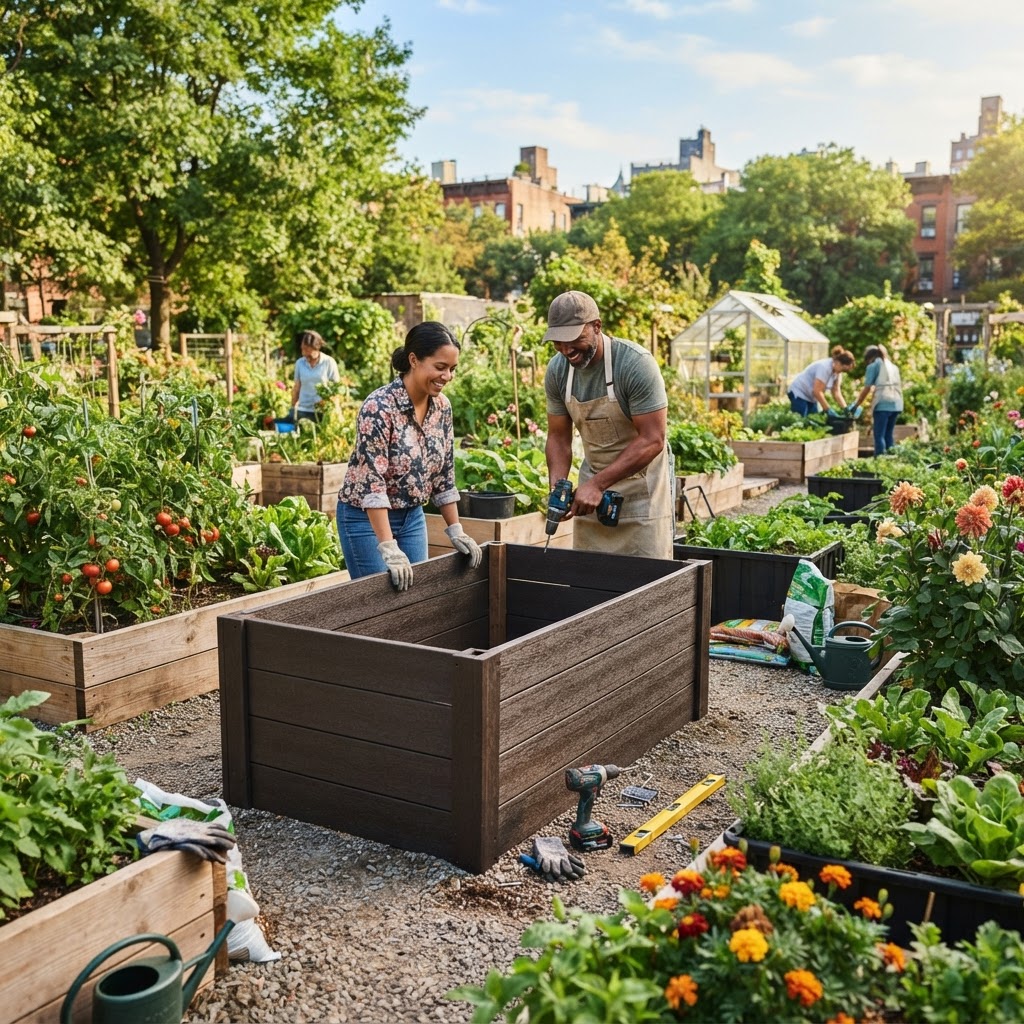
Urban gardening continues to grow in popularity, and for good reason. Whether you're working with a small backyard, a rooftop plot, or a shared community garden space, raised beds offer a flexible and productive way to grow food and flowers in challenging conditions. One material that's gaining serious traction among urban gardeners is recycled plastic lumber — a durable, low-maintenance, and environmentally responsible alternative to traditional wood.
If you've been curious about using recycled plastic lumber for your next raised bed project, this guide will walk you through everything you need to know, from choosing the right materials to assembling your beds safely and effectively.
What Is Recycled Plastic Lumber?
Recycled plastic lumber (RPL) is a manufactured building material made primarily from post-consumer plastic waste — think milk jugs, detergent bottles, plastic bags, and other high-density polyethylene (HDPE) products. These plastics are collected, cleaned, melted down, and reformed into boards and planks that closely resemble traditional timber in shape and function.
Unlike virgin plastic, RPL gives discarded materials a second life, diverting tonnes of plastic from landfills and oceans. The resulting boards are dense, moisture-resistant, and remarkably long-lasting — qualities that make them particularly well-suited to the demanding conditions of urban garden environments.
Some RPL products also incorporate other recycled materials such as wood fibre or rubber, creating composite boards with slightly different properties. For raised bed construction, pure HDPE or mixed-plastic boards are generally preferred because of their food-safe profile and resistance to biological degradation.
Why Choose Recycled Plastic Lumber for Urban Raised Beds?
Urban environments present unique challenges for raised bed gardeners. Pollution, limited space, fluctuating temperatures, and the need for portable or semi-permanent structures all influence what materials will perform best over time. Here's why recycled plastic lumber stands out:
Longevity: Recycled plastic lumber doesn't rot, warp, or splinter the way natural wood does. While a timber raised bed might last five to ten years before needing replacement, a well-constructed RPL bed can last several decades with minimal maintenance.
Food Safety: High-quality HDPE-based plastic lumber is considered food-safe and does not leach harmful chemicals into surrounding soil. This is a significant advantage over treated timbers, which may contain preservatives like copper compounds that can accumulate in soil over time.
Low Maintenance: You won't need to treat, stain, or seal RPL boards. There's no concern about the material breaking down or harbouring pests and disease in the way that aged or damp wood can.
Environmental Credentials: Using recycled plastic lumber actively supports a circular economy. For community gardens with a sustainability mission, this can be a meaningful talking point and a way to model responsible material use.
Weather Resistance: Urban environments can be harsh — intense heat from surrounding buildings, sudden rain, freeze-thaw cycles. RPL handles all of these conditions well without cracking or deteriorating.
Getting Started
Before you purchase a single board, it's worth spending time on planning. A little preparation at the beginning saves significant effort and expense later.
Assess Your Site
Walk through your intended garden space and note the following:
- Surface type: Is your bed going onto concrete, tarmac, compacted earth, or grass? This will affect your drainage strategy.
- Sun exposure: Most vegetables need six or more hours of direct sunlight daily. Note how shadows from buildings, fences, or trees fall across the space at different times of day.
- Access to water: Consider proximity to a tap or water butt. Raised beds dry out faster than ground-level plots, especially in urban heat.
- Weight restrictions: If you're building on a rooftop or balcony, consult a structural engineer before proceeding. Filled raised beds are extremely heavy.
Measure and Plan Your Dimensions
A standard raised bed width of around 90 to 120 centimetres (roughly three to four feet) allows you to reach the centre comfortably from either side without stepping in. Bed length is largely up to you, though beds longer than three metres can become unwieldy to work around.
For depth, aim for at least 25 to 30 centimetres of soil depth for most vegetables. Root crops like carrots and parsnips benefit from 40 to 45 centimetres or more.
Gather Your Tools
For a basic RPL raised bed build, you'll need:
- A tape measure
- A handsaw or circular saw (RPL can be cut with standard wood-working tools)
- A power drill and appropriate drill bits
- Stainless steel or galvanised screws (avoid standard steel, which will rust)
- A spirit level
- Safety glasses and gloves
Choosing the Right Recycled Plastic Lumber
Not all recycled plastic lumber is created equal, and it's important to select a product that is genuinely safe and appropriate for food-growing environments.
Look for Food-Safe Certification
Reputable RPL suppliers should be able to confirm that their products are manufactured from food-grade or food-safe plastics. HDPE (marked with recycling code 2) is the most commonly recommended type. Avoid boards made from mixed plastics that may include PVC, as this material can contain additives that are less desirable near edible crops.
Check for Additives and Colorants
Some RPL boards contain UV stabilisers, colourants, or other additives. Ask your supplier for a full material disclosure if you're uncertain. Most reputable products designed for garden or outdoor use are formulated with safety in mind, but it's always worth confirming.
Consider Board Thickness and Profile
For raised beds, boards between 38mm and 50mm thick provide good structural integrity. Thinner boards may flex or bow outward under the pressure of soil, especially for taller beds. Some suppliers offer interlocking profile boards or boards with pre-drilled holes, which can simplify assembly considerably.
Designing Your Raised Bed
Once you've settled on your materials, sketch out your design before cutting anything. A simple rectangular bed is the most practical starting point, especially for beginners.
For a bed with walls higher than 30 centimetres, consider adding internal corner posts or mid-span stakes to prevent the walls from bowing outward. RPL is heavier than timber, so the boards themselves provide some rigidity, but additional support is worthwhile for taller or longer beds.
If your bed will sit on a hard surface, think about how you'll manage drainage. Drilling several drainage holes in the base or using a gravel layer at the bottom of the bed will prevent waterlogging.
Step-by-Step Construction Guide
Step 1: Prepare the Ground
Clear the area of weeds and level the surface as much as possible. If building on grass or soil, lay cardboard or a permeable weed-suppressing membrane across the base to discourage weeds from growing up into your bed.
Step 2: Cut Your Boards
Measure and mark your boards carefully before cutting. RPL cuts similarly to dense hardwood — a circular saw with a fine-tooth blade works well. Always wear safety glasses when cutting.
Step 3: Assemble the Frame
Lay out your four wall boards and begin connecting them at the corners. Pre-drill your holes to prevent cracking, then drive in your stainless steel screws. Check for square by measuring diagonally from corner to corner — if both diagonal measurements are equal, your frame is square.
Step 4: Add Corner Posts if Needed
For beds taller than 30 centimetres or longer than 2 metres, insert corner posts (either RPL posts or stainless steel stakes) to reinforce the structure. Drive them into the ground if building on soil, or bolt them securely to the base boards for hard surfaces.
Step 5: Level the Bed
Place your assembled frame in its final position and use a spirit level to ensure it sits evenly. An uneven bed can cause water to pool on one side, which affects both drainage and plant health.
Step 6: Line and Fill
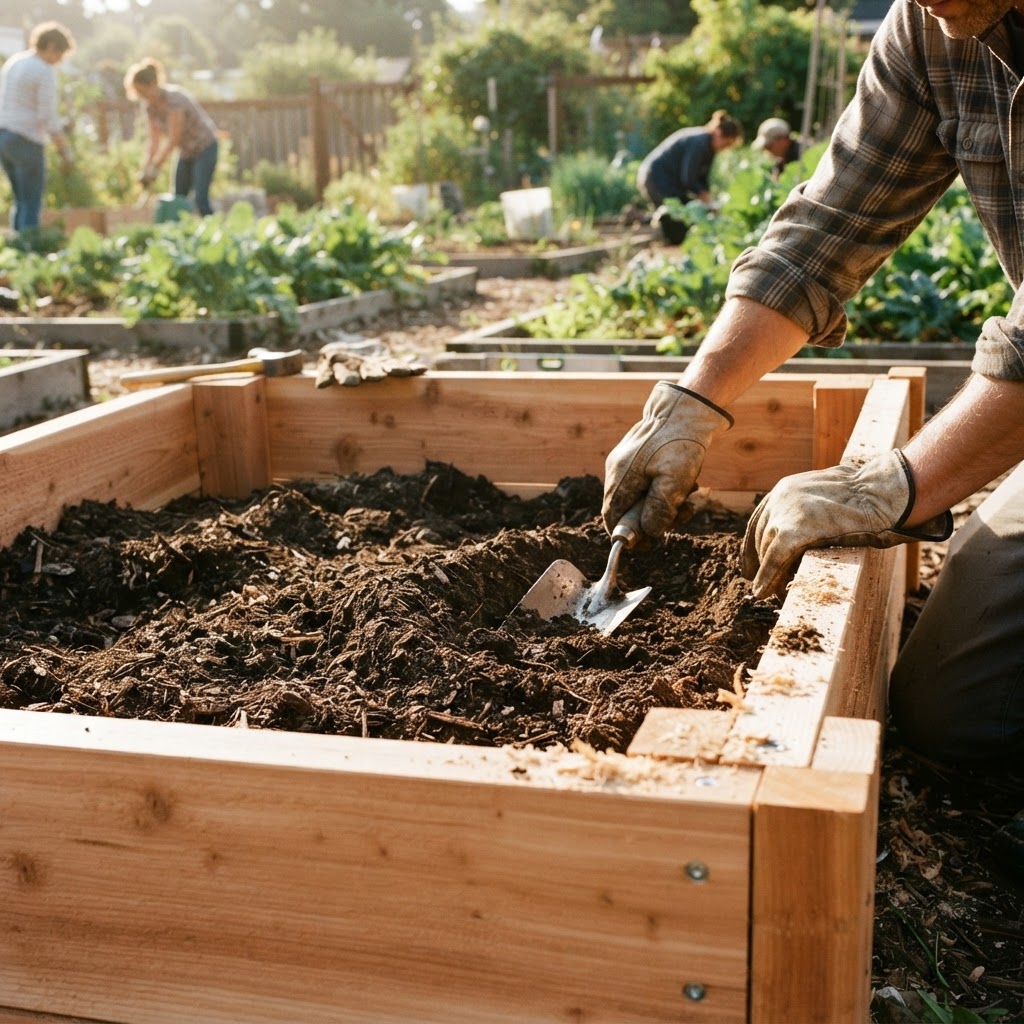
If desired, line the interior walls (not the base) with a breathable membrane to protect the boards from direct soil contact and simplify future soil removal. Then fill with a quality raised bed compost mix. A blend of topsoil, compost, and horticultural grit provides excellent drainage and fertility.
Soil and Drainage Considerations
One of the most overlooked aspects of raised bed gardening is getting the soil mix right. Even the best-constructed bed will underperform if filled with poor growing medium.
Aim for a loose, well-structured mix that drains freely while retaining enough moisture to support plant roots. Avoid using pure topsoil from the garden, which can become compacted and waterlogged in a raised bed context.
For urban environments where the underlying ground may be contaminated, raised beds are especially valuable — they provide a clean growing environment completely separate from any ground-level soil issues. Always source your fill from reputable suppliers.
Common Mistakes to Avoid
Even experienced gardeners run into problems with raised bed construction. Here are the most frequent pitfalls to steer clear of:
Using the wrong type of plastic lumber: Not all recycled plastic products are suitable for use near food crops. Always confirm the material is HDPE-based and food-safe before purchasing.
Skimping on wall thickness or support: Thin boards or beds without adequate corner support will bow outward once filled with heavy, wet soil. This not only looks unsightly but can cause structural failure over time.
Ignoring drainage: Placing a raised bed on an impermeable surface without drainage holes or a gravel layer will lead to waterlogging and root rot.
Overfilling with soil immediately: Soil settles significantly after watering. Fill your bed, water it thoroughly, let it settle, then top up before planting. Skipping this step leads to beds that look half-empty by midsummer.
Forgetting about access: Building beds that are too wide, positioned too close together, or without clear pathways around them makes routine maintenance frustrating. Leave at least 60 centimetres between beds for comfortable access.
Using incompatible fixings: Standard steel screws will rust and stain your boards within a single season. Always use stainless steel or hot-dip galvanised fixings.
Tips for Success
With your bed built and filled, here's how to get the most from your investment:
Start with a good soil blend: A mix of roughly 60% quality topsoil, 30% mature compost, and 10% horticultural grit or perlite gives most vegetables an excellent start.
Water consistently: Raised beds drain more freely than ground-level plots, which means they can dry out quickly in warm weather. Check soil moisture regularly, especially during the first growing season.
Mulch generously: A layer of compost, wood chip, or straw on the surface of your bed helps retain moisture, suppresses weeds, and gradually improves soil structure.
Rotate your crops: Even in a small raised bed, try to avoid growing the same plant families in the same spot year after year. This helps prevent the build-up of soil-borne diseases and pests.
Feed regularly: The intensive planting typical of raised beds depletes nutrients more quickly than traditional garden beds. Top-dress with compost each season and use liquid feeds during the growing period.
Label your beds and keep records: Community gardens often involve multiple people tending the same space. Clear labelling and a simple planting diary prevent confusion and help you learn what works best in your specific conditions.
Inspect fixings annually: While RPL itself requires little maintenance, check your screws and joints once a year and tighten or replace any that have worked loose.
Conclusion
Constructing raised beds from recycled plastic lumber is a smart, sustainable, and highly practical choice for urban community gardeners. The material's durability, food-safety credentials, and low maintenance requirements make it an excellent long-term investment, particularly in environments where traditional timber would degrade quickly or require regular treatment.
By taking the time to plan your dimensions, choose high-quality food-safe RPL, build with proper support and drainage, and fill with a well-structured growing medium, you'll create a productive growing space that serves your community for many years to come.
Whether you're setting up your very first plot or expanding an established community garden, recycled plastic lumber raised beds represent one of the most responsible and rewarding ways to grow food in the urban landscape.