Getting Started
Building raised beds is one of the most rewarding projects a community garden can undertake. Whether your garden is just getting off the ground or you're expanding an existing space, raised beds bring structure, productivity, and a sense of shared ownership that flat-ground plots sometimes lack.
Before picking up a single tool, it helps to understand what you're working toward. A raised bed is essentially a contained growing area where soil is elevated above the natural ground level, typically enclosed within a frame made from wood, metal, stone, or recycled materials. This simple concept solves a surprising number of common gardening challenges — from poor native soil and drainage issues to accessibility for gardeners with limited mobility.
In a community setting, raised beds also have a social dimension. They help define individual plots, reduce conflicts over boundaries, and make the garden look organized and intentional to the wider public. A well-built raised bed signals to visitors and funders alike that your community garden means business.
This guide will walk you through everything you need to know — from initial planning and material selection to construction, soil preparation, and long-term maintenance. Even if you've never built anything before, you'll find this process manageable, especially when tackled as a group project.
Why Raised Beds Work So Well in Community Gardens
Community gardens often face site challenges that individual backyard gardeners don't have to worry about. Many community garden sites are former parking lots, industrial land, or neglected urban lots where the native soil is compacted, contaminated, or simply lacking in nutrients. Raised beds sidestep these problems entirely by allowing gardeners to bring in clean, fertile soil from the start.
Here are the core reasons raised beds are such a good fit for shared garden spaces:
Better soil control. You fill the bed with exactly the growing medium you want. There's no need to spend years trying to rehabilitate difficult native soil.
Fewer weeds. A fresh soil mix introduced into a raised bed contains far fewer weed seeds than disturbed ground. Pathways between beds can be covered with mulch, wood chips, or gravel to suppress further weed growth.
Improved drainage. Elevated soil drains more efficiently than compacted ground, reducing the risk of waterlogged roots after heavy rain.
Warmer soil in spring. Raised beds warm up faster than ground-level soil, giving you a longer growing season — a meaningful advantage in cooler climates.
Defined, respectful boundaries. In a shared space, clear bed boundaries reduce misunderstandings and help everyone feel secure in their own growing area.
Reduced physical strain. Higher beds mean less bending and kneeling, which makes gardening more comfortable and accessible for a wider range of community members.
Planning Your Raised Bed Layout
Good planning before construction saves a lot of headaches later. Gather your core group of organizers and work through these key decisions together.
Determine Bed Dimensions
The most important rule with raised bed sizing is that every part of the bed should be reachable without stepping inside it. Stepping on garden soil compacts it and undoes much of the benefit you're creating.
- Width: Keep beds no wider than 1.2 metres (about 4 feet) if they are accessible from both sides, or around 60–75 cm (2–2.5 feet) if they sit against a wall or fence and can only be reached from one side.
- Length: Length is flexible, but beds between 2.4 and 3.6 metres (8–12 feet) are practical for most settings. Longer beds can be harder to walk around and may require extra structural support along the sides.
- Height: Standard raised beds are 20–30 cm (8–12 inches) deep, which suits most vegetables. For gardeners using wheelchairs or for those who prefer to sit while gardening, beds of 60–90 cm (24–36 inches) are far more comfortable. These taller beds require more materials and soil but represent a meaningful investment in accessibility.
Map Out Pathways
Pathways between beds need to be wide enough for comfortable movement. A minimum of 60 cm (24 inches) is workable for pedestrians, but if your community includes people using wheelchairs, mobility scooters, or large wheelbarrows, pathways of at least 90–120 cm (36–48 inches) are strongly recommended. Sketch your layout on paper or use a free online garden planning tool before committing.
Check Sun Exposure and Water Access
Orient long beds in a north-south direction where possible to minimize shading of one bed by another. Make sure every bed is within a reasonable distance of a water source — hauling watering cans across a large site quickly becomes exhausting. If you're planning a permanent installation, consider whether irrigation infrastructure could be part of the project.
Get Any Necessary Permissions
In many community gardens, a lease or land use agreement with a local council, landowner, or housing association governs what can be built. Check that permanent raised bed construction is permitted before you begin. Some sites may require you to document that materials are non-toxic, especially if there's any history of land contamination.
Choosing the Right Materials
The material you choose for your raised bed frame affects durability, cost, aesthetics, and safety. Here's a breakdown of the most popular options.
Untreated Timber
Untreated hardwood — oak, cedar, and larch are popular choices — is a classic option for raised beds. It looks natural, is easy to work with, and biodegrades harmlessly at the end of its life. The downside is cost and longevity: even rot-resistant hardwoods will eventually decay, typically within 10–20 years depending on the species and local conditions.
Avoid using old railway sleepers treated with creosote, and never use pressure-treated timber that contains harmful preservatives. Some modern pressure-treated timbers are considered safer, but in a food-growing context, untreated or naturally rot-resistant wood is the safest and most transparent choice for a community setting.
Galvanised Steel Raised Bed Kits
Corrugated galvanised steel beds have become increasingly popular in community gardens. They're durable (often lasting 20 years or more), look modern and tidy, and can be ordered in flat-pack kits that slot together without specialist skills. They do heat up in full sun, which can dry out soil faster at the edges, but this rarely causes serious problems in the UK climate.
Recycled Plastic Lumber
Planks made from recycled plastic are rot-proof, require no treatment, and are often made from post-consumer waste. They're more expensive upfront than timber but will outlast wood by decades. They can also be heavier and less pleasant to handle during construction.
Stone, Brick, and Block
Stone or brick raised beds are permanent, beautiful, and incredibly durable. They're also significantly more expensive and labour-intensive to build. If your community garden has a long-term lease and the budget or donation of materials, a well-built stone or brick bed can last a generation. These are better suited to established, permanent sites than to newer or transitional gardens.
Building Your Raised Bed Step by Step
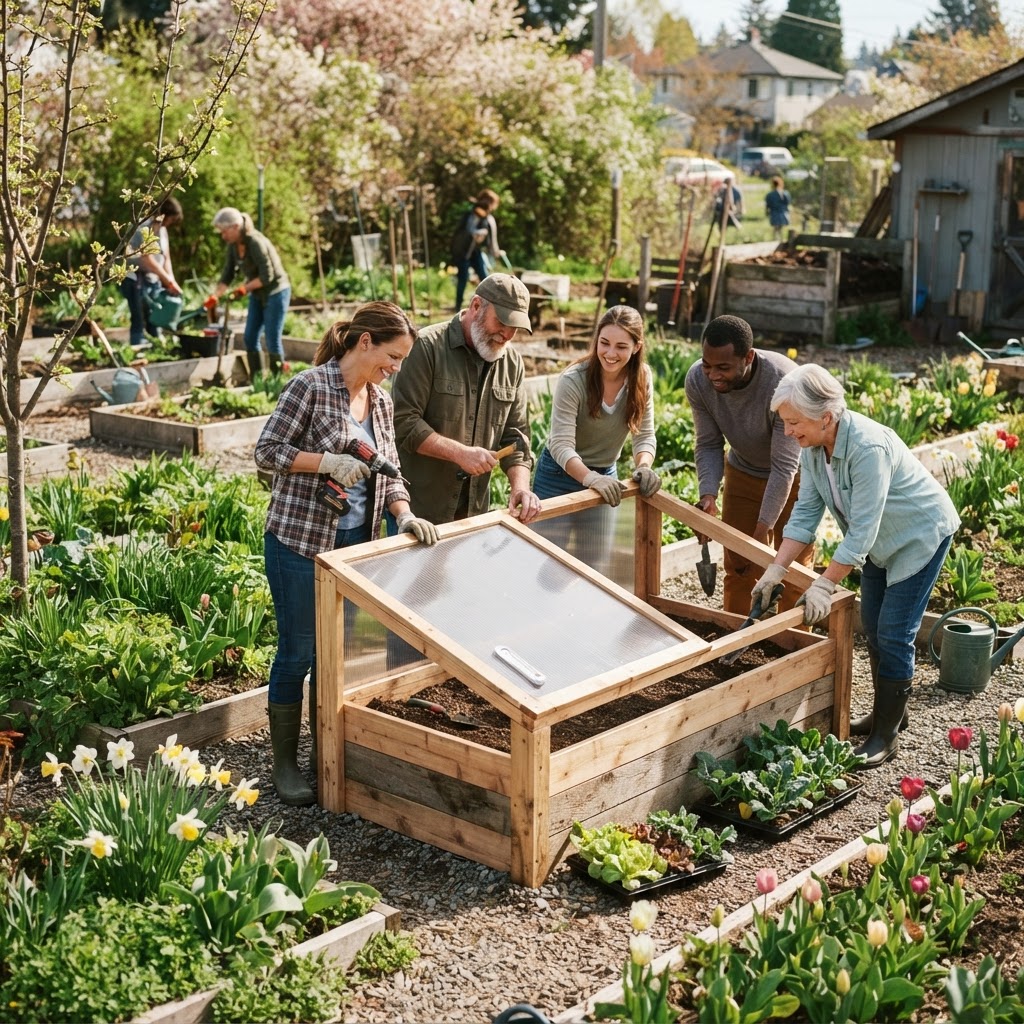
Let's walk through the construction process for a classic timber raised bed — the most common choice for community gardens getting started.
What You'll Need
- Timber planks (e.g., 22–38mm thick, 200mm wide for a standard bed height)
- Corner posts or L-shaped corner brackets
- Galvanised screws or nails (non-galvanised fixings will rust quickly in outdoor soil conditions)
- Saw (hand saw or circular saw)
- Drill and screwdriver bits
- Tape measure and pencil
- Spirit level
- Mallet or hammer
- Cardboard (optional, for weed suppression)
Step 1 – Prepare the Site
Clear the area of any existing vegetation. If there are persistent weeds like bindweed or couch grass, remove as much root material as possible. Lay flattened cardboard boxes across the ground inside the bed footprint — this biodegradable layer suppresses weeds without chemicals and will break down within a season.
Use a rake or spade to level the ground as best you can. A slight slope is fine, but a pronounced tilt will make your bed uneven and may affect drainage.
Step 2 – Cut Your Timber to Length
If you're building a standard 1.2m x 2.4m bed, you'll need:
- Two planks at 2.4 metres for the long sides
- Two planks at 1.2 metres for the short ends
If you want a taller bed, simply stack two layers of planks on top of each other.
Step 3 – Assemble the Frame
Lay your planks out in the bed's footprint. Attach corner posts (short pieces of 50x50mm or 75x75mm timber work well) to the inside corners using galvanised screws. Alternatively, use pre-made metal corner brackets, which simplify alignment considerably.
Drive vertical stakes into the ground at the corners (and along the long sides for beds over 2 metres) using a mallet. These stakes should extend a few inches below ground to anchor the frame securely and prevent the sides from bowing outward as the bed fills with heavy soil.
Step 4 – Check for Level
Use your spirit level to check that the top edge of your frame is reasonably level on all sides. Small discrepancies don't matter much, but a significantly tilted bed can cause water to drain unevenly and soil to shift over time.
Step 5 – Secure the Frame
Once aligned, drive additional screws through the planks into the corner posts to lock everything together. For longer beds, add a central support stake along each long side, screwing it to the plank from the outside to prevent the sides bowing under soil pressure.
Step 6 – Line the Base (Optional)
Some gardeners line the base of the bed with a permeable membrane to prevent deep-rooted weeds from pushing up through the bed from below, while still allowing drainage. This isn't always necessary, especially if you've used cardboard and your soil below is reasonably clear of perennial weeds.
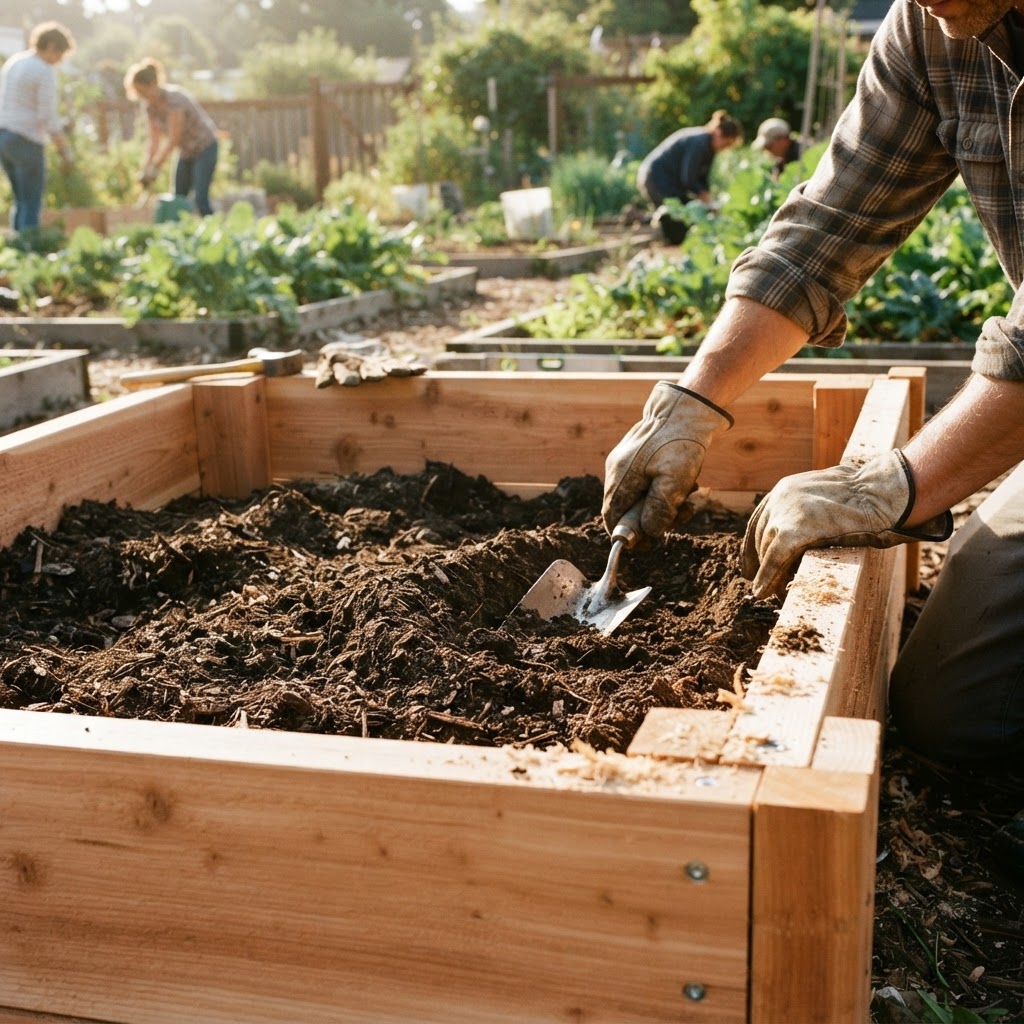
Filling Your Raised Bed with the Right Soil Mix
The soil you choose is just as important as the structure holding it. A well-constructed bed with poor growing medium will disappoint every time.
A reliable general-purpose raised bed mix combines:
- Topsoil — around 50–60% of the total volume. Use good-quality topsoil, ideally screened and from a reputable supplier.
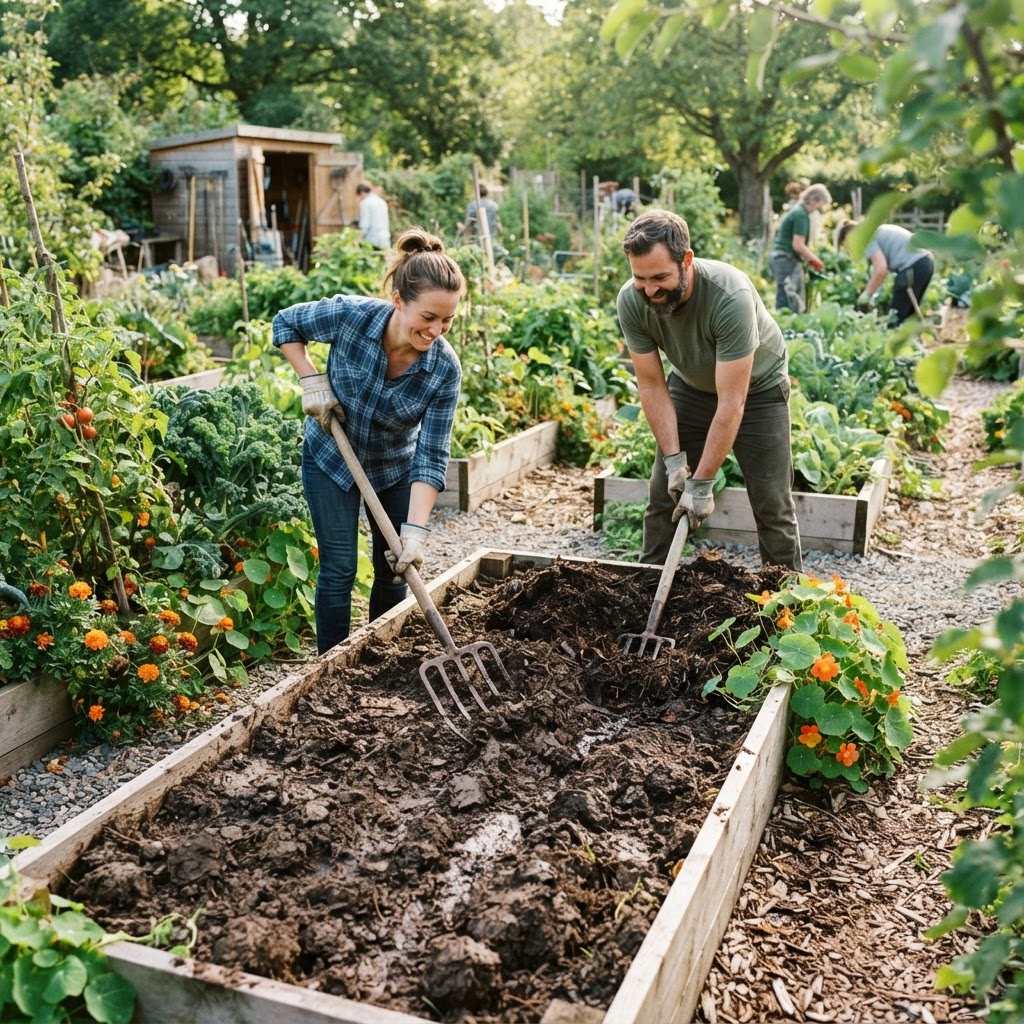
- Compost — around 30–40%. Well-rotted compost adds organic matter, improves moisture retention, and feeds soil biology. Homemade compost is ideal, and many community gardens run their own composting systems.
- Grit or horticultural sand — around 10–20% to improve drainage, especially useful in heavy clay areas.
Avoid using bagged "multi-purpose compost" as the primary filling. While fine as an amendment, it compacts quickly, drains poorly when used in bulk, and can leave plants struggling for nutrients after the first season.
Fill the bed in layers if possible, watering lightly between each layer to help settle the material. Expect the soil to settle by 5–10% after the first good rain, so fill beds slightly above the rim to compensate.
Accessibility and Community Considerations
A community garden exists to serve its whole community — including people with disabilities, older gardeners, families with young children, and anyone else who might face barriers to traditional ground-level gardening.
When planning your beds, build accessibility in from the start rather than as an afterthought:
- Taller beds (60–90cm) allow wheelchair users and those who cannot bend comfortably to reach plants without strain.
- Wider pathways ensure that mobility aids can pass freely.
- Smooth path surfaces (compacted gravel or paving) are easier to navigate than bark chips for wheelchair and walking frame users.
- Seating or ledges along the bed frame give gardeners the option to sit while working.
It's also worth thinking about how bed allocation works within your community. Raised beds can be assigned to individuals, families, or small groups. Clear labelling, shared tool storage nearby, and regular group workdays help build the sense of community that makes these gardens so valuable beyond just the food they produce.
Maintaining Raised Beds Over Time
Once your raised beds are built and planted, they'll need ongoing care to stay productive year after year.
Top up soil annually. Organic matter breaks down over time, and soil levels naturally drop. Adding a layer of compost at the start of each growing season replenishes nutrients and maintains bed depth.
Check and repair the frame. Inspect timber frames each spring for signs of rot, especially at ground level and at any joints. Catching and replacing a decaying plank early prevents structural failure.
Manage drainage. If you notice waterlogging after rain, check that the base of the bed is not compacted and that pathways around the bed aren't directing runoff into the growing area.
Rotate crops. Even within a small raised bed, rotating plant families between growing seasons reduces the buildup of pests and soil-borne diseases.
Protect in winter. Covering empty beds with cardboard, compost, or a mulch layer over winter protects soil life and prevents nutrient leaching from heavy rainfall.
Conclusion
Building raised beds for your community garden is a project that pays dividends for years to come. It transforms difficult ground into productive growing space, makes the garden more welcoming and organised, and gives every member a defined, cared-for plot they can feel truly proud of.
The process doesn't require expert building skills or expensive equipment — a few willing hands, the right materials, and a clear plan are all it takes to get started. By involving your community members in the build itself, you also create a shared sense of investment and ownership that makes the garden stronger as a whole.
Start small if you need to. Even a handful of well-built beds can demonstrate what's possible and inspire further expansion. With each season, your raised bed garden will become richer, more productive, and more deeply embedded in the life of your community.