There's something deeply satisfying about baking a loaf of bread from grain your community grew together. From seeding the field to sharing the first slice, a communal grain project connects neighbours, builds food resilience, and offers a tangible link to one of humanity's oldest agricultural traditions. Whether your community garden has a half-acre plot or a generous shared allotment, growing grain for local bread production is more achievable than most people think — and far more rewarding than almost any other group project.
This guide will walk you through everything you need to know to plan, grow, harvest, and process a communal grain crop, turning your community garden into a genuine grain-to-loaf operation.
Getting Started
Before you sow a single seed, the most important work happens in the planning stage. A communal grain project requires coordination, shared responsibility, and a realistic understanding of the space and time involved.
Assess Your Available Space
Grain crops need more space than most vegetables to yield a meaningful harvest. A small patch of twenty square metres can still produce enough grain for a symbolic bake, but if your goal is to supply a genuine portion of flour for multiple loaves, aim for at least a quarter-acre (roughly one thousand square metres) of dedicated growing space. Talk to your community garden committee or allotment association about designating a shared plot specifically for this purpose.
Gather Your Community
A grain project works best as a true collective effort. Call a planning meeting early in the year to gauge interest, assign roles, and share the workload. You'll want people involved in planting, weeding, watering during dry spells, harvesting, threshing, and baking. Creating a simple rota or sign-up sheet ensures no one person carries the burden and everyone feels invested in the outcome.
Budget and Source Your Seeds
Grain seeds are generally inexpensive, especially when bought in bulk for a community project. Look for heritage or landrace varieties through seed libraries, local grain networks, or specialist seed suppliers. Heritage wheats like Einkorn, Emmer, or Rouge de Bordeaux are popular choices for community projects because of their flavour, hardiness, and cultural interest. Budgeting for seeds, any necessary tools, and milling costs early will prevent surprises later.
Choosing the Right Grain
Not all grains are equal when it comes to bread-making, and your regional climate will heavily influence what grows well.
Wheat
Wheat is the most common choice for community bread projects and for good reason. It contains the gluten proteins necessary for the stretchy, airy texture most people associate with bread. Winter wheat is sown in autumn and harvested the following summer. Spring wheat is sown in spring and harvested in late summer. Winter wheat generally yields more but requires your plot to be tied up over the colder months.
Rye
Rye is a hardy grain that tolerates poor soils, cold climates, and wetter conditions better than wheat. It produces a denser, darker loaf with a distinctive tangy flavour, particularly when used with a sourdough starter. If your plot is in a northern region or has heavy clay soil, rye might outperform wheat significantly.
Spelt
Spelt is an ancient relative of wheat that is experiencing a revival among artisan bakers. It's easier to grow organically because it has a natural husk that protects it from some pests, but this same husk means it requires dehulling before milling — an extra processing step. Spelt flour makes delicious, nutty-flavoured bread and is often tolerated better by people with mild wheat sensitivities.
Oats
While oats don't contain enough gluten to make a standalone risen loaf, they're wonderful for flat breads, oat bread blends, and porridge. They grow well in cool, wet climates and can be a practical choice for communities in Scotland, Ireland, or similar regions.
Preparing Your Plot
Grain crops prefer well-drained, fertile soil with a near-neutral pH. Preparation in the season before planting makes an enormous difference to your eventual yield.
Soil Testing and Amendment
Get a basic soil test done through a local agricultural extension service or garden centre. Grain crops do best in soil with a pH between six and seven. If your soil is acidic, incorporating garden lime in autumn can help. Add well-rotted compost or manure to improve soil structure and provide slow-release nutrients without over-fertilising.
Clearing and Tilling
Remove all perennial weeds thoroughly — couch grass and bindweed in particular can compete aggressively with young grain seedlings. A light tilling or broadforking will loosen the top layer of soil, but avoid deep tilling if possible, as it can bring weed seeds to the surface and disrupt soil structure. Leaving the prepared bed covered with cardboard or a tarp for several weeks before sowing can help suppress weeds before planting.
Planting Your Grain Crop
Timing
For winter wheat or rye, aim to sow in early to mid-autumn, roughly six to eight weeks before the ground freezes. This gives the plants time to establish before winter dormancy. Spring varieties are sown as soon as the ground is workable in early spring, usually late February to April depending on your location.
Sowing Methods
For a community garden setting, hand broadcasting is the most accessible method. Walk across the prepared bed in a grid pattern, casting seed in wide sweeping arcs. Aim for a seed rate of around one hundred to one hundred and fifty grams per square metre for wheat. After broadcasting, rake the surface lightly to cover seeds to a depth of two to four centimetres, then firm the soil gently by walking over it or using the back of a rake.
For more uniform coverage, some groups use a simple push-along seed spreader or a hand-crank broadcaster, both of which are relatively affordable and can be shared within the group.
Marking and Recording
Use stakes and string to mark the edges of your grain plot clearly. Keep a simple log noting the variety sown, date of sowing, seed rate used, and any amendments made to the soil. This record will prove invaluable for future seasons.
Caring for the Crop Through the Season
Grain is considerably lower maintenance than most vegetables, but it's not entirely hands-off.
Weeding
The first six weeks after germination are the most vulnerable period. Weeds compete directly with young grain plants for light, water, and nutrients. Hand weeding between rows or across the bed is the most practical approach for a community garden scale. Once the grain reaches knee height and begins to form a canopy, it will shade out most weeds naturally.
Watering
Established grain crops are generally drought-tolerant, but germinating seeds and young seedlings benefit from consistent moisture. If you experience a dry spell in the first few weeks after sowing, water the bed thoroughly every few days. Once the plants are well established, natural rainfall should suffice in most temperate climates.
Pest and Disease Awareness
Keep an eye out for aphids on the developing ears, which can reduce yield if populations are high. Encourage natural predators by maintaining flowers and hedgerow plants at the plot's edges. Fungal diseases like rust or mildew can appear in warm, humid conditions — choosing resistant varieties and ensuring good airflow by not over-crowding your planting will reduce risk significantly.
Harvesting Your Grain
Knowing when and how to harvest is one of the most critical skills in grain growing.
Timing the Harvest
Grain is ready to harvest when the stalks have turned fully golden and the grains in the ear are hard and dry. Pinch a grain between your fingernails — if it dents easily, it needs more time; if it's firm and doesn't dent, it's ready. The ears should be bowing slightly under the weight of the grain. Aim to harvest during a dry spell, as damp grain will mould in storage.
Harvesting by Hand
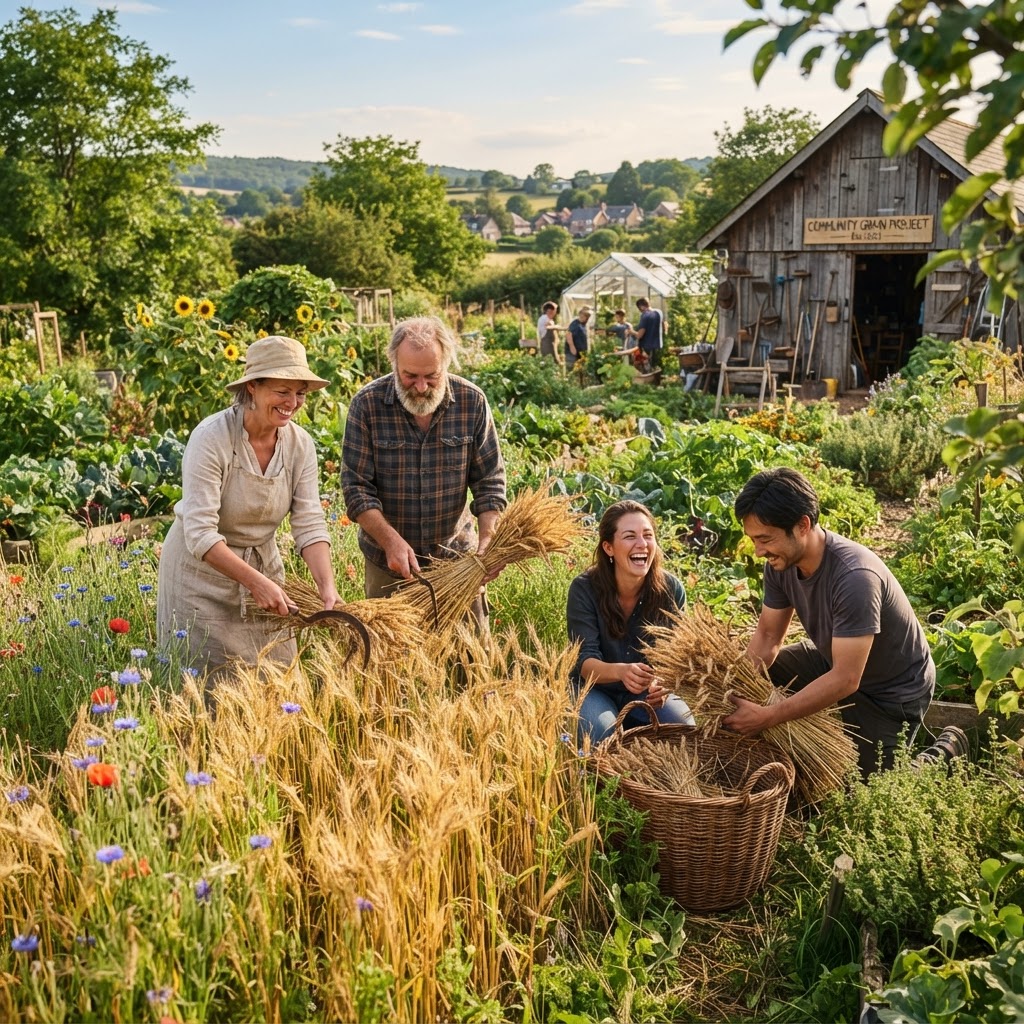
For community garden scale, scythes or sickles are the traditional and most appropriate tools. Cutting in the early morning when dew has dried but heat hasn't fully arrived is ideal. Cut the stalks near the base and gather them into bundles called sheaves, securing each with a twisted handful of stalks. Stand the sheaves upright in small teepee-like stooks to continue drying in the field for one to two weeks before processing.
Threshing, Winnowing, and Milling
This is where your community project really comes into its own as a collective effort.
Threshing
Threshing separates the grain from the straw and chaff. The traditional method involves beating dry sheaves against the inside of a barrel or a wooden frame over a tarpaulin. It's physical work but enormously satisfying — and ideal as a community event. Flails (a wooden handle attached to a shorter striking piece by rope or leather) increase efficiency and are simple to make or source.
Winnowing
After threshing, you'll have a mixture of grain and chaff. Winnowing uses wind or a fan to separate them. Pour the mixture slowly from one container to another in a moderate breeze. The lighter chaff blows away while the heavier grain falls cleanly. Repeat two or three times until the grain is clean.
Milling
For genuine flour, your clean grain needs to be milled. Small hand-operated stone mills or electric countertop grain mills can be purchased or hired, and many community grain projects invest in a shared mill as a long-term asset. Some heritage mills and community food hubs also offer milling services. Freshly milled whole-grain flour has an extraordinary flavour that no supermarket product can replicate.
Organising the Community Baking Day
The harvest celebration and baking day are the culmination of all your hard work. Book a community kitchen or set up outdoor bread ovens if your garden has them. Share recipes in advance — a simple whole-grain sourdough or a classic loaf works beautifully with fresh-milled flour. Document the day with photos, share the loaves, and take time to reflect on what the group has achieved together.
Common Mistakes to Avoid
- Harvesting too early. Grain cut before it's fully ripe will shrivel as it dries and yields poor flour. Be patient and test individual grains before cutting.
- Skipping the drying stage. Storing grain that isn't fully dry is the most common cause of mould and crop loss. Always stook in the field and check moisture before storage.
- Underestimating the space needed. Setting expectations too high for a small plot leads to disappointment. Be honest about yield expectations from the start.
- Neglecting early weeding. Leaving weeds unchecked in the first weeks can dramatically reduce your yield. Schedule community weeding sessions during this critical window.
- Milling too far in advance. Whole-grain flour goes rancid faster than white flour because it retains the oils from the bran and germ. Mill as close to baking day as possible.
- Poor communication within the group. Without clear roles and regular updates, enthusiasm wanes and critical tasks get missed. Keep communication simple, regular, and inclusive.
Tips for Success
- Start small in your first year. A modest, successful harvest is far more motivating than an ambitious failure. Scale up once your community has the confidence and knowledge.
- Partner with a local baker or farmer. Experienced grain growers and bakers are often delighted to share knowledge with community projects. A single site visit can save months of trial and error.
- Choose heritage varieties. Beyond their culinary interest, heritage grains are often more resilient and better adapted to lower-input growing conditions.
- Keep records every season. Note what worked, what didn't, which variety performed best, and what the group enjoyed most. These notes become invaluable for refining the project year after year.
- Make it social. Schedule sowing days, weeding mornings, and harvest events as community celebrations with food and drink. The social glue is what keeps people coming back.
- Apply for community grants. Many local councils, food charities, and environmental organisations offer small grants for community food growing projects. A grain mill or a set of scythes can be funded this way.
Conclusion
Growing a communal grain crop from seed to loaf is one of the most complete and meaningful projects a community garden can undertake. It requires patience, collective effort, and a willingness to learn from both successes and setbacks. But the rewards — in knowledge, in community bonds, and in that extraordinary first taste of bread made entirely from your shared labour — are unlike anything else a garden can offer.
Start with a manageable plot, choose a grain suited to your climate, involve as many community members as possible, and don't be afraid to make mistakes in the first season. Each year's harvest will teach you something new and bring your community closer to the land and to each other.