Community gardens thrive when gardeners experiment with techniques that build long-term soil health, reduce maintenance, and maximize harvests. Hugelkultur — a centuries-old practice of building raised mounds over buried wood — is one of those rare methods that delivers on all three fronts. When integrated thoughtfully into permanent community garden mounds, hugelkultur principles can transform ordinary plots into self-sustaining growing systems that benefit every gardener who tends them.
What Is Hugelkultur?
The word "hugelkultur" comes from the German words for "hill" and "culture" or "cultivation." At its core, the technique involves burying logs, branches, and woody debris beneath layers of organic material and soil to create a raised mound. As the buried wood slowly decomposes over years and decades, it acts like a sponge — absorbing water, releasing nutrients, and fostering the kind of rich microbial life that plants absolutely love.
Traditionally practiced in Eastern Europe and Germany, hugelkultur has gained renewed popularity among permaculture enthusiasts and community gardeners worldwide. The beauty of the method lies in its simplicity: you are essentially recycling woody waste into a long-lived, productive garden bed that requires less watering and fertilizing over time.
For community gardens specifically, this technique offers a compelling solution to some of the most common challenges groups face — poor native soil, limited water access, high gardener turnover, and the ongoing cost of amendments.
Why Hugelkultur Works Well in Community Gardens
Community gardens present unique opportunities and challenges compared to private home gardens. Plots are often handed between different members from season to season, infrastructure needs to be durable, and resources like water and compost are frequently shared.
Permanent hugelkultur mounds are ideally suited to this environment for several reasons:
Long-term soil building. Once established, a hugelkultur mound improves year after year as the buried wood breaks down. New gardeners who inherit a plot benefit from the work done by those who came before them, creating a genuine legacy of soil health.
Reduced watering needs. Buried wood absorbs significant amounts of water during rain events and releases it slowly during dry periods. In gardens where irrigation is shared or limited, this can be a practical game-changer.
A productive use for garden waste. Many community gardens accumulate fallen branches, pruned limbs, and woody debris with no clear disposal plan. Hugelkultur gives this material a purposeful second life.
Increased growing surface. A well-built mound adds vertical growing space, which is useful in gardens where plot footprints are fixed.
Getting Started
Before you break ground on your first community garden hugelkultur mound, there are a few important steps that will set your project up for success.
Consult your garden's governing body first. Community gardens operate under shared rules and agreements. Before building a permanent raised mound, speak with your garden coordinator or committee. Discuss the size, height, and placement you have in mind. Getting buy-in from other gardeners and leadership early avoids conflicts down the line and may even inspire other plot holders to get involved.
Document your plan. Sketch a simple diagram showing the proposed mound dimensions, orientation, and materials you intend to use. This helps communicate your vision clearly and creates a useful reference once construction begins.
Gather your materials in advance. Successful hugelkultur mounds rely on layering different types of organic material in sequence. Before you start digging, make sure you have access to logs, branches, straw, compost, and topsoil. Coordinate with fellow gardeners who may have wood to donate from tree trimming.
Start with a single mound. If this is your first hugelkultur project, resist the urge to transform an entire plot at once. Building one well-constructed mound gives you the experience to refine your approach before scaling up.
Choosing the Right Location and Size
The placement and dimensions of your mound will significantly influence its performance and its relationship to the rest of the garden space.
Orientation and Sun Exposure
In the Northern Hemisphere, a mound running east to west with a gentle south-facing slope maximizes sun exposure across the growing surface. This orientation also allows you to plant sun-loving crops on the south-facing side and shade-tolerant varieties on the north side, effectively doubling the variety of what you can grow.
Sizing Considerations
For community gardens, mounds that are approximately one to one-and-a-half metres wide at the top and no more than one to one-and-a-half metres in height tend to be the most practical. This size remains accessible from both sides without stepping onto the growing surface, which is essential in shared spaces where not every gardener will be familiar with no-dig principles.
Length can vary based on your plot, but mounds between two and four metres long are manageable for most community garden contexts. Longer mounds can be built in sections, which also allows multiple gardeners to contribute materials and maintenance.
Slope and Drainage
Consider the natural drainage of your site. Building a mound in a low-lying area that pools water may seem counterintuitive — but it can actually work very well, as the mound elevation keeps root zones above waterlogged ground while the buried wood absorbs and filters excess moisture. Avoid positioning mounds directly against fences or shared structures.
Selecting and Layering Materials
The layering of materials is where the science of hugelkultur really comes to life. Think of it as building a lasagne — each layer serves a specific purpose and contributes to the whole.
The Wood Core
The foundation of any hugelkultur mound is its woody core. Hardwoods like oak, apple, alder, and birch are excellent choices because they decay slowly and hold moisture well. Avoid wood from black walnut, which releases compounds toxic to many plants, and steer clear of treated timber, painted wood, or anything that may have been exposed to chemicals.
A mix of large logs at the base and medium branches layered on top gives you a solid structure with good moisture-holding capacity. Sourcing wood locally — from community tree work, fallen branches, or neighbouring plots — keeps costs low and reduces waste.
Nitrogen-Rich Layers
Fresh wood consumes nitrogen as it decomposes, which can temporarily rob surrounding soil of this essential nutrient. Counteract this by adding nitrogen-rich materials between and above the woody layers. Green plant material, fresh grass clippings, kitchen vegetable scraps, and aged animal manure are all excellent options. These layers help balance the carbon-to-nitrogen ratio and speed up the decomposition process in the upper layers.
Compost and Topsoil
Above the woody and nitrogen layers, add a generous amount of finished compost followed by good-quality topsoil. This is the layer your plants will root into initially, so quality matters. Aim for at least twenty to thirty centimetres of combined compost and topsoil at the top of your mound. In community gardens, pooling resources to purchase quality topsoil for a shared mound project is a worthwhile investment.
Mulch Layer
Finish the mound with a thick layer of straw, wood chip mulch, or shredded leaves. This top layer suppresses weeds, retains moisture, and continues adding organic matter as it breaks down. In a busy community garden where not every plot is monitored daily, a good mulch layer is your best ally against weed pressure.
Building Your Permanent Mound
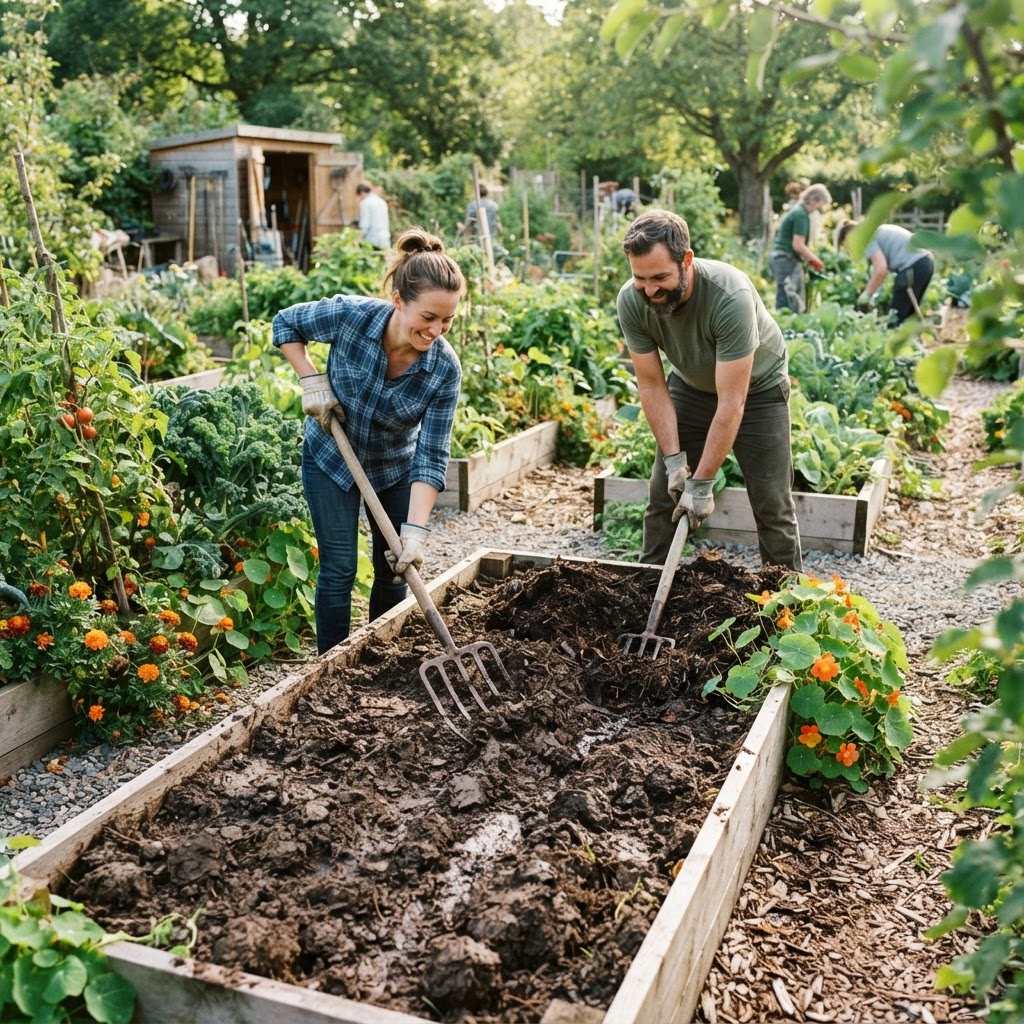
With your materials assembled and your plan approved, construction can begin. Work as a group where possible — building a mound is physical work, and many hands make for lighter lifting and a more enjoyable experience.
Begin by mowing or cutting down any vegetation on the site. You can lay this green material directly onto the ground as your first layer — it will decompose and contribute nutrients over time. There is no need to remove the turf if you are applying a thick enough covering.
Place your largest logs on the ground first, fitting them together as snugly as you can. Stack medium branches on top, filling gaps with smaller twigs and woody debris. This woody core should form roughly half the eventual height of your mound.
Next, add your nitrogen-rich materials, spreading them evenly across the wood. Follow with compost, then topsoil, patting each layer down gently as you go. Finally, apply your mulch topping and water the entire mound thoroughly.
The mound will settle noticeably in the first few weeks and months, particularly as rain compresses the layers and decomposition begins. This is normal and expected — your mound may lose a third of its initial height during the first season. Top up with compost and topsoil as needed.
Maintaining Hugelkultur Mounds in a Shared Space
Permanent mounds in community gardens require a small amount of ongoing maintenance but reward that effort generously.
Establish clear guidelines for your garden group about how the mound should be tended between growing seasons. At minimum, topping up the mulch layer each autumn and adding a layer of compost each spring will keep the mound productive. Create a simple maintenance log that lives with the plot so different gardeners can see what has been done and when.
Avoid deep digging into the mound. The layered structure and developing fungal networks beneath the surface are part of what makes hugelkultur so effective. Encourage plot holders to plant using minimal soil disturbance — transplanting seedlings or making seed furrows rather than turning the bed over each season.
Common Mistakes to Avoid
Using the wrong wood. Fresh, green wood from chemically treated sources or allelopathic trees like black walnut can damage your mound and harm plants. Always confirm the source and species of your wood before including it.
Building too steep. A mound with sides that are too steep will shed water and topsoil during heavy rain. Aim for gentle, gradual slopes that allow water to percolate down into the wood core rather than running off.
Skipping the nitrogen layer. Forgetting to add nitrogen-rich material between the wood and the growing layers is a common beginner error. Without it, new plants in the first season may show signs of nitrogen deficiency — yellowing leaves and poor growth.
Planting too soon after building. Freshly built mounds are biologically active and still settling. While you can plant into them in the first season, expect variable results as temperatures within the mound fluctuate during decomposition. Hardy transplants and deep-rooted vegetables tend to fare better than delicate seedlings in year one.
Ignoring garden rules. In a community setting, building permanent structures without community consent can create tension and may result in your mound being dismantled. Always work collaboratively and transparently with your garden organisation.
Tips for Success
- Involve multiple plot holders in the build. Shared investment in construction leads to shared pride in maintenance and a stronger sense of community around the project.
- Plant a polyculture on your mound. Hugelkultur mounds support a wide variety of crops planted together. Mixing flowering plants, vegetables, and herbs encourages beneficial insects and maximises the mound's growing surface.
- Label the mound clearly. A simple sign explaining what hugelkultur is and why the mound is there educates visiting gardeners and prevents well-meaning but damaging interventions.
- Take photos and notes each season. Tracking how your mound evolves helps future plot holders understand what stage of decomposition the wood is at and what amendments might be needed.
- Be patient with the first two years. Hugelkultur mounds truly hit their stride in years three to five, when decomposition is well underway and the internal ecosystem is thriving. Early harvests may be modest, but they will grow with each successive season.
- Use the mound edges. The base of a hugelkultur mound, where moisture accumulates, is ideal for moisture-loving plants like celery, nasturtiums, or strawberries.
Conclusion
Integrating hugelkultur principles into permanent community garden mounds is one of the most rewarding long-term investments a gardening group can make. By burying woody material and building carefully layered growing mounds, you create a self-sustaining ecosystem that builds fertility over time, reduces water demands, and gives every gardener who tends the plot something exceptional to work with.
The key to success in a community setting is collaboration — from the initial planning conversations through to the shared maintenance that keeps the mound thriving across seasons and changing membership. A well-built hugelkultur mound is not just a growing bed; it is a piece of shared infrastructure that embodies what community gardening is all about: working together to create something more nourishing and enduring than any of us could build alone.
Start small, document your progress, share the knowledge, and let the mound do the rest.