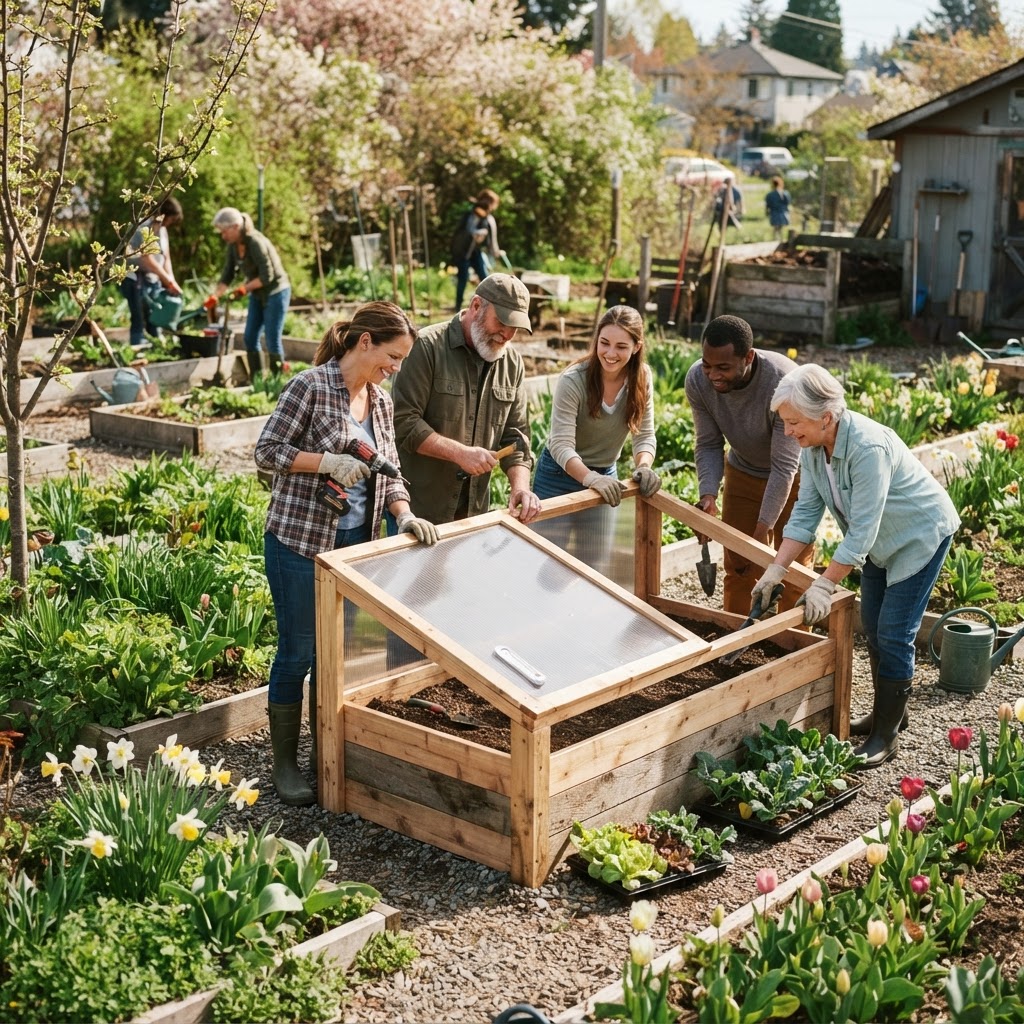
A cold frame is one of the most practical and rewarding structures a community garden can build together. Whether your growing season is short or you simply want to get a head start on spring, a well-designed communal cold frame can extend your planting calendar by weeks, protect tender seedlings from unexpected frosts, and serve as a shared resource that benefits every member of your garden community.
This guide walks you through everything you need to know — from planning and materials to construction and ongoing management — so your group can design and build a cold frame that truly works for everyone.
Getting Started
Before you pick up a single tool, the most important step is getting your community garden members aligned on the project. A communal cold frame is a shared investment of time, money, and space, so starting with a clear plan and open communication will save a lot of headaches later.
Begin by calling a short planning meeting or circulating a simple sign-up sheet. You'll want to answer a few key questions as a group:
- How many plots will benefit from the cold frame? This helps determine the size you need.
- What is your budget? Cold frames can be built cheaply with reclaimed materials or more durably with new lumber and polycarbonate panels.
- Who will build it? Identify members with carpentry skills, but keep the build approachable so everyone can contribute.
- Where will it be located? Placement is critical for maximizing sun exposure and protecting seedlings.
- Who is responsible for daily management? Opening and closing lids based on temperature is essential and needs a clear rotation schedule.
Once these questions are answered, you're ready to move into the design and building phase with confidence.
Understanding Cold Frames and Why They Work
A cold frame is essentially a bottomless box with a transparent lid — typically angled toward the sun — that traps solar heat and shelters plants from wind, frost, and heavy rain. Think of it as a low-tech greenhouse that sits directly on the ground.
The transparent top (called the "light") lets sunlight in while retaining warmth inside the frame. On a sunny day in early March, the temperature inside a cold frame can be dramatically warmer than outside air temperatures, creating a microclimate where seeds can germinate and seedlings can harden off safely.
For community gardens, cold frames are especially valuable because:
- They extend the growing season by protecting transplants from late frosts, allowing gardeners to start crops like lettuce, kale, broccoli, and pansies weeks earlier than they otherwise could.
- They serve as a hardening-off station, transitioning indoor seedlings gradually to outdoor conditions before final planting.
- They're low-maintenance compared to a full greenhouse and require no electricity or complex systems.
- They're cost-effective and can often be built from donated or reclaimed materials.
Planning Your Communal Cold Frame
Choosing the Right Location
Location makes or breaks a cold frame's effectiveness. Look for a spot that:
- Faces south (in the Northern Hemisphere) to capture maximum sunlight throughout the day.
- Is sheltered from strong winds, such as near a fence, wall, or hedge, without being shaded by it.
- Has good drainage so water doesn't pool inside or underneath the frame.
- Is accessible to all members, ideally near a central path or water source.
Avoid placing the cold frame under trees where falling debris can damage the lid or where shade reduces effectiveness.
Sizing Your Cold Frame
For a communal cold frame serving multiple gardeners, aim for a structure that's practical to build and easy to manage. A good starting size for a community cold frame is 8 feet long by 4 feet wide. This is large enough to hold dozens of seedling trays while still being manageable for one or two people to open the lid.
You can also build multiple smaller frames (4 feet by 4 feet) placed side by side, which offers more flexibility — different sections can be managed independently, useful if members are starting different crops at different times.
The back wall (north-facing side) should be taller than the front wall to create an angled lid that sheds rain and maximizes sun exposure. A common height ratio is 12 to 18 inches at the back and 8 to 10 inches at the front.
Designing for Multiple Users
Because this is a shared resource, build in some organizational thinking from the start. Consider:
- Labeling sections with removable stakes or a whiteboard nearby so gardeners can track whose seedlings are where.
- A sign-up calendar posted at the frame so members can schedule usage during peak spring weeks.
- Clear ventilation guidelines posted on the frame itself, such as temperature thresholds for opening the lid.
Choosing Materials
Frame Materials
Untreated or naturally rot-resistant lumber is the safest choice for a structure where food plants will grow. Good options include:
- Cedar: Naturally rot-resistant, lightweight, and long-lasting. It's the premium choice but worth the investment for a communal structure meant to last many seasons.
- Douglas fir or pine: More affordable and widely available. Use thicker boards (2x10 or 2x12 inches) so they hold up over time. Avoid pressure-treated lumber, which can leach chemicals near edible plants.
- Reclaimed wood: Pallets, old fence boards, or salvaged lumber can significantly cut costs. Inspect carefully for rot, nails, and chemical treatments before using.
For the frame itself, 2x10 or 2x12 boards are ideal as they provide enough wall height and structural rigidity.
Glazing (The Lid)
The lid is the most important component. You have several options:
- Old storm windows or glass doors: A classic recycled option that works beautifully. Check local salvage yards, Habitat for Humanity ReStores, or community buy-nothing groups. The main drawback is weight and breakage risk.
- Polycarbonate panels: Lightweight, shatter-resistant, and excellent at retaining heat. This is often the best choice for a communal cold frame because it's durable and safer if the lid is being opened frequently.
- Corrugated plastic sheeting: A budget-friendly option, though less effective at heat retention than twin-wall polycarbonate.
- Heavy-duty greenhouse plastic film: Stretched over a simple wooden frame, this is the most affordable option but will need replacing every season or two.
Hardware
You'll need:
- Galvanized screws or decking screws (they resist rust)
- Hinges for attaching the lid to the back wall
- A prop stick or adjustable venting bar to hold the lid open at different heights
- L-brackets for corner reinforcement
Step-by-Step Building Guide
Step 1: Prepare Your Site
Clear the area of weeds and level the ground as much as possible. If the ground is uneven, use a shovel to create a flat surface. You don't need a permanent foundation — the frame can simply rest on the soil.
Step 2: Cut Your Lumber
For an 8x4 foot cold frame with angled walls:
- Two side boards cut at an angle from 18 inches (back) to 10 inches (front)
- One back board at 18 inches tall (or two boards stacked for extra height)
- One front board at 10 inches tall
- These boards form your rectangular box
Cut the side boards on a gentle diagonal so the top edge slopes naturally from back to front, matching your lid angle.
Step 3: Assemble the Frame
Lay your boards on a flat surface and pre-drill pilot holes to prevent splitting. Use galvanized screws and L-brackets at the corners for strength. Stand the assembled frame upright and check that it sits flat and square.
Step 4: Build or Attach the Lid
If using old storm windows, simply lay them across the top of the frame. They should overlap the edges slightly. For custom-built lids using polycarbonate:
- Build a simple wooden frame from 2x2 or 2x3 lumber the same dimensions as the cold frame opening.
- Cut polycarbonate panels to fit and secure with UV-resistant screws and washers.
- Attach the lid to the back wall of the cold frame using heavy-duty hinges.
Step 5: Add Ventilation Support
Drill a series of holes or attach a notched stick to the inside of the frame's back wall. This lets you prop the lid open at different heights — a small opening for light ventilation, a wider one for warmer days.
Step 6: Site the Frame
Carry the assembled frame to your chosen location. Orient it so the tall back wall faces north and the short front wall faces south. Press it firmly into the soil or use corner stakes to keep it in place.
Managing the Cold Frame as a Community
Temperature Monitoring
Place a min/max thermometer inside the cold frame. On sunny spring days, temperatures can climb quickly and damage seedlings if the lid isn't opened in time. Post a simple guideline near the frame:
- Below 40°F: Keep lid closed
- 40–60°F: Open lid slightly for ventilation
- Above 60°F: Open lid fully or prop at maximum height
Watering
Seedlings in cold frames dry out faster than you might expect because the lid sheds rain. Assign watering duties clearly in your rotation schedule and check soil moisture regularly.
Record-Keeping
Keep a simple logbook near the frame where gardeners can note dates of seedling placement, variety names, and observations. This becomes a valuable record for improving the process in future seasons.
Common Mistakes to Avoid
Overheating seedlings. This is the number one cold frame mistake. On a sunny March day, temperatures inside can reach damaging levels within hours if the lid isn't opened. Always check the forecast and assign someone to monitor on sunny days.
Poor placement. Putting the cold frame in a shaded or north-facing location drastically reduces its effectiveness. Take the time to observe sun patterns in your garden before committing to a spot.
Using treated lumber near food crops. Pressure-treated lumber contains chemical preservatives that can leach into soil. Always use untreated, naturally rot-resistant, or reclaimed untreated wood.
No ventilation system. Building a lid that opens but has no way to prop it at various heights makes temperature management frustrating. Build in a simple notched prop stick from the start.
Ignoring drainage. If water pools inside the frame, you'll end up with waterlogged, disease-prone seedlings. Site carefully and consider adding a layer of gravel or coarse sand inside the frame's base.
No clear usage schedule. In a communal setting, without a sign-up system, peak spring weeks can become chaotic. Establish the system before anyone places their first seedling tray.
Tips for Success
- Start small and scale up. If this is your garden's first cold frame, build one 4x4 or 4x8 unit. Learn how it performs and expand in future seasons based on real experience.
- Collect donated materials before purchasing. Post a request to your garden's email list or community board for old storm windows, lumber scraps, or polycarbonate panels. Cold frames are ideal projects for reclaimed materials.
- Use a thermometer every single time you check. Don't guess at the temperature inside. Thermometers are inexpensive and prevent costly seedling losses.
- Add a simple interior layer of bubble wrap along the inside walls during the coldest nights of early spring. This extra insulation can protect against surprise deep freezes.
- Orient trays inside the frame so taller seedlings are at the back. This ensures shorter seedlings at the front still receive full light.
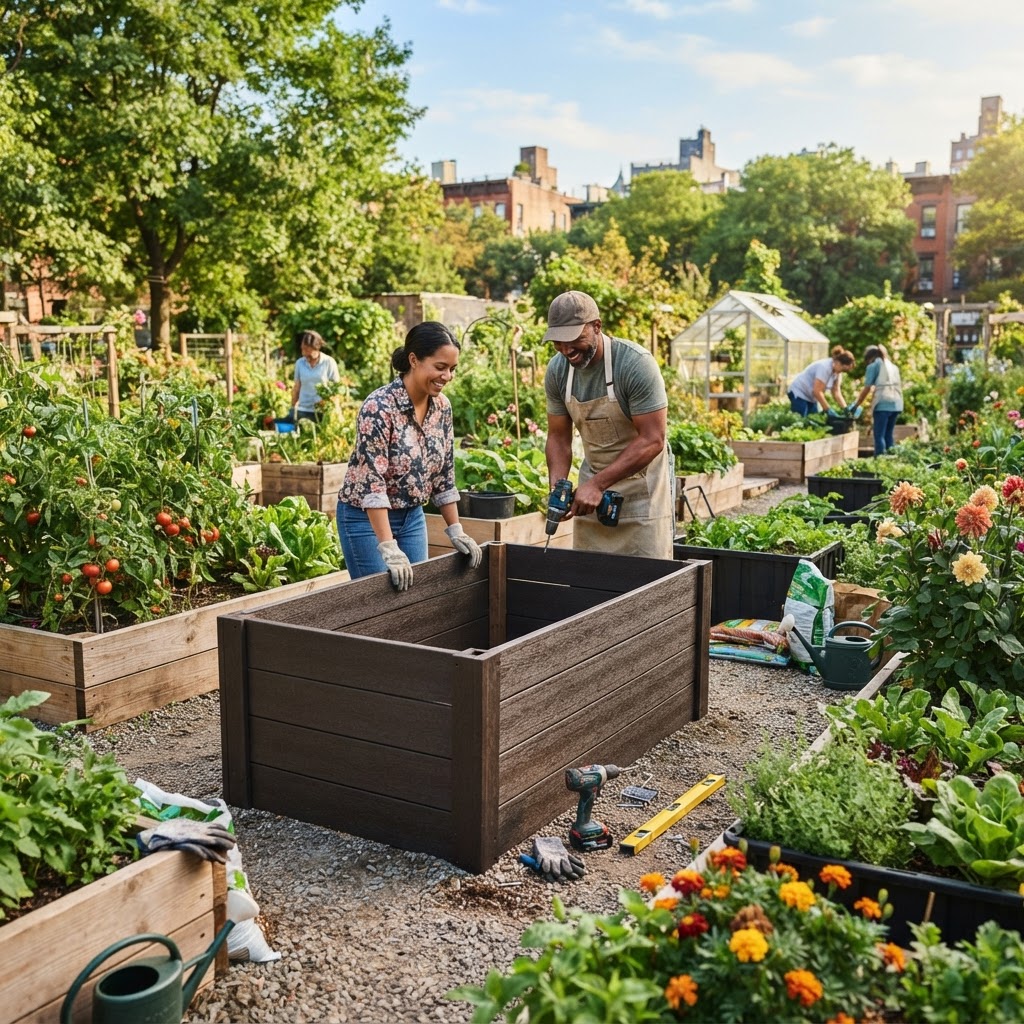
- Schedule a group build day. Making the construction a social event increases buy-in from members and ensures the cold frame feels like a shared community asset rather than one person's project.
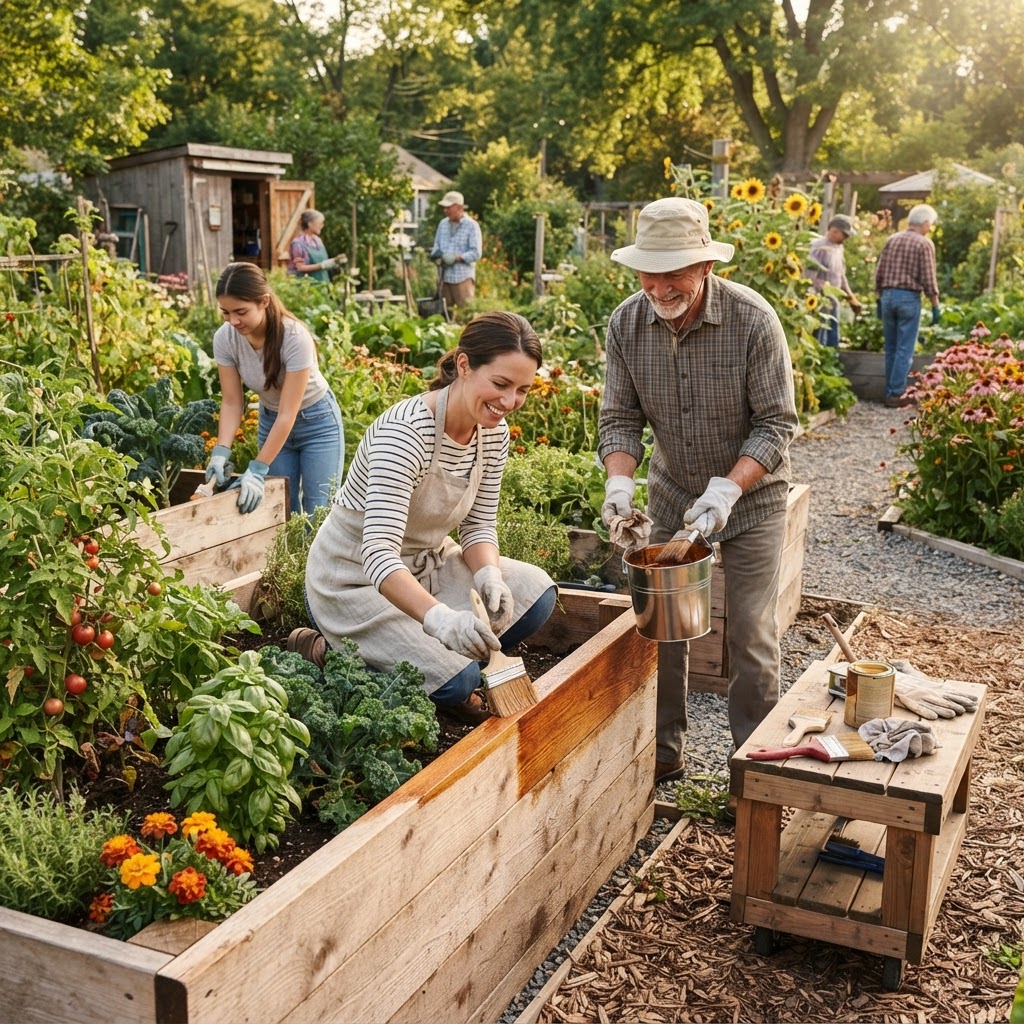
- Paint or seal the exterior of wooden frames with a non-toxic exterior finish to extend their life, particularly in wet climates.
Conclusion
A communal cold frame is one of the smartest investments a community garden can make. It's relatively simple to build, low in cost, and delivers real, measurable benefits — more growing weeks, healthier transplants, and a shared resource that brings gardeners together around a common goal.
The key to success lies in thoughtful planning before you build: choosing the right location, agreeing on a usage system, and making sure your community understands the basics of temperature management. When those foundations are in place, the cold frame practically runs itself.
Whether you're working with a modest budget and reclaimed materials or investing in a durable cedar-and-polycarbonate structure, the principles remain the same. Build it together, manage it together, and enjoy the rewards of getting your spring season off to an early, thriving start.