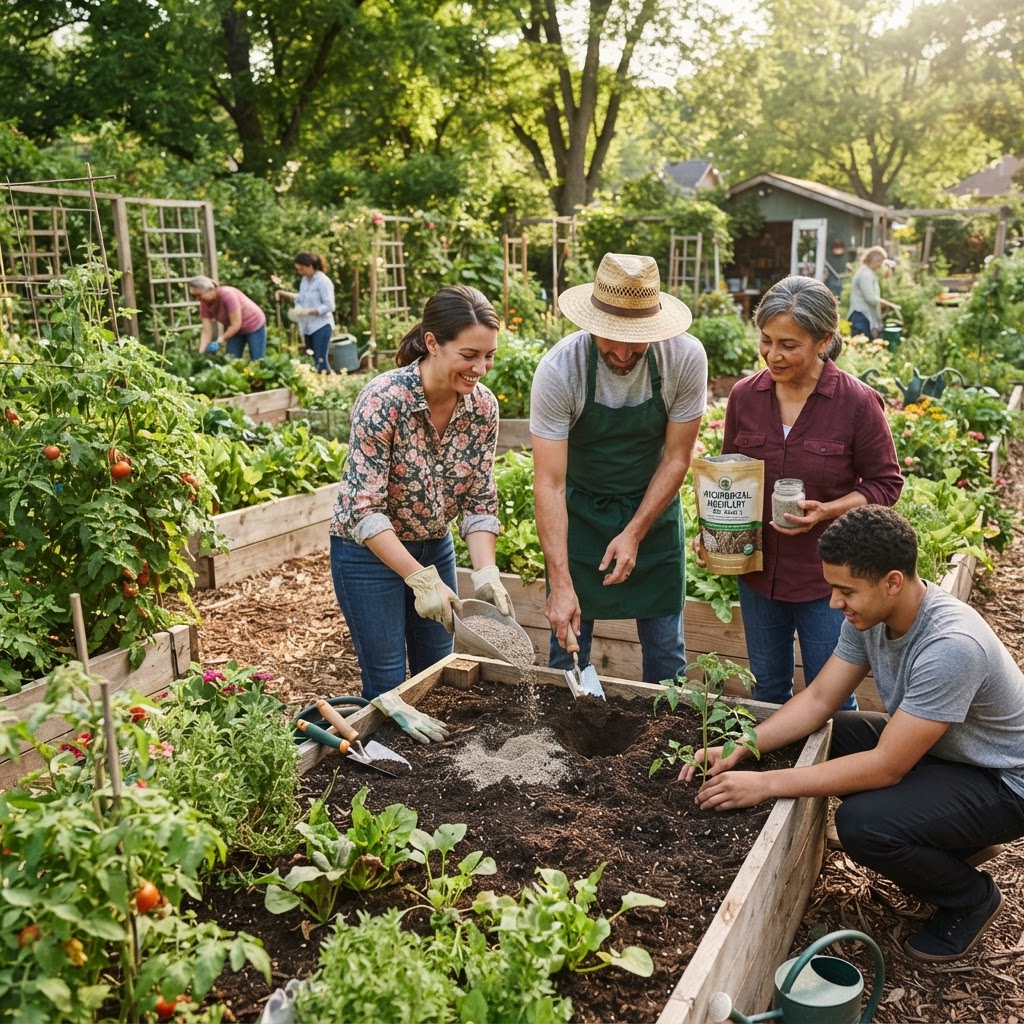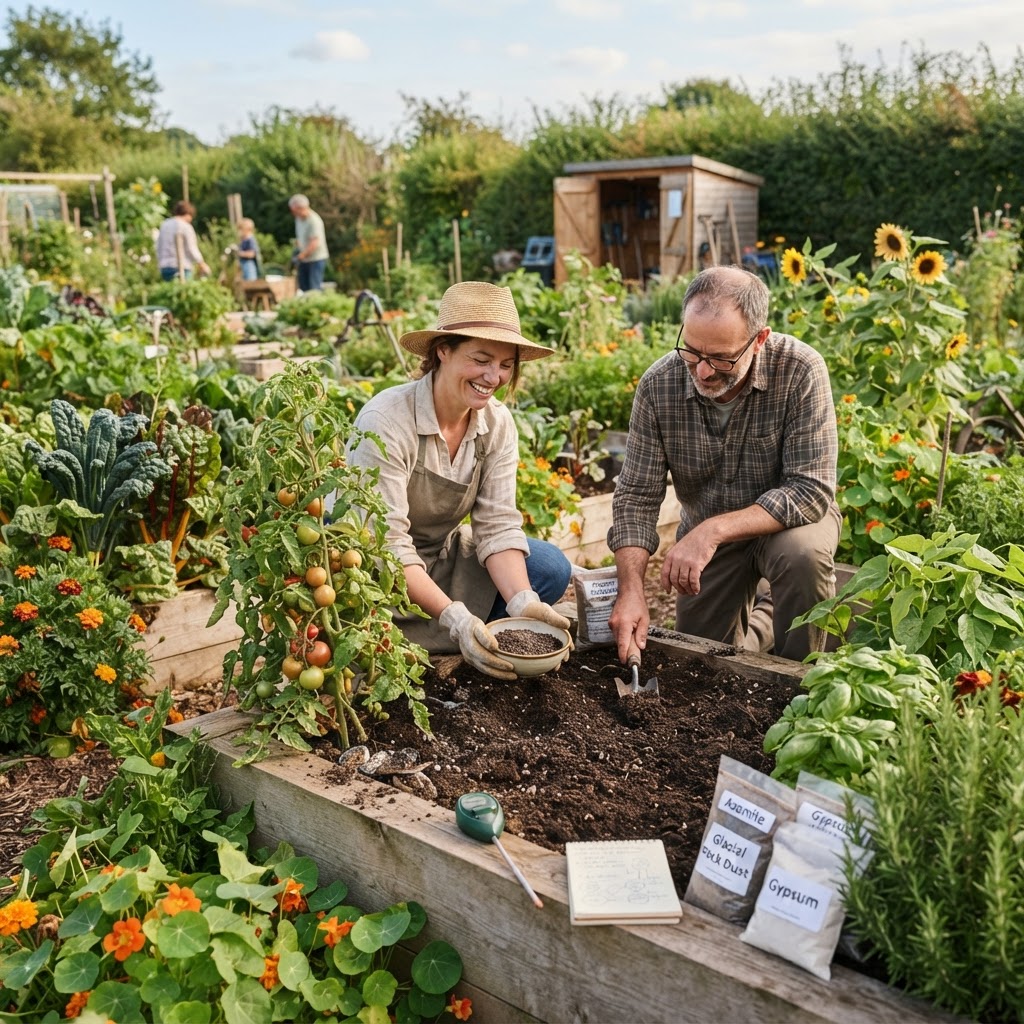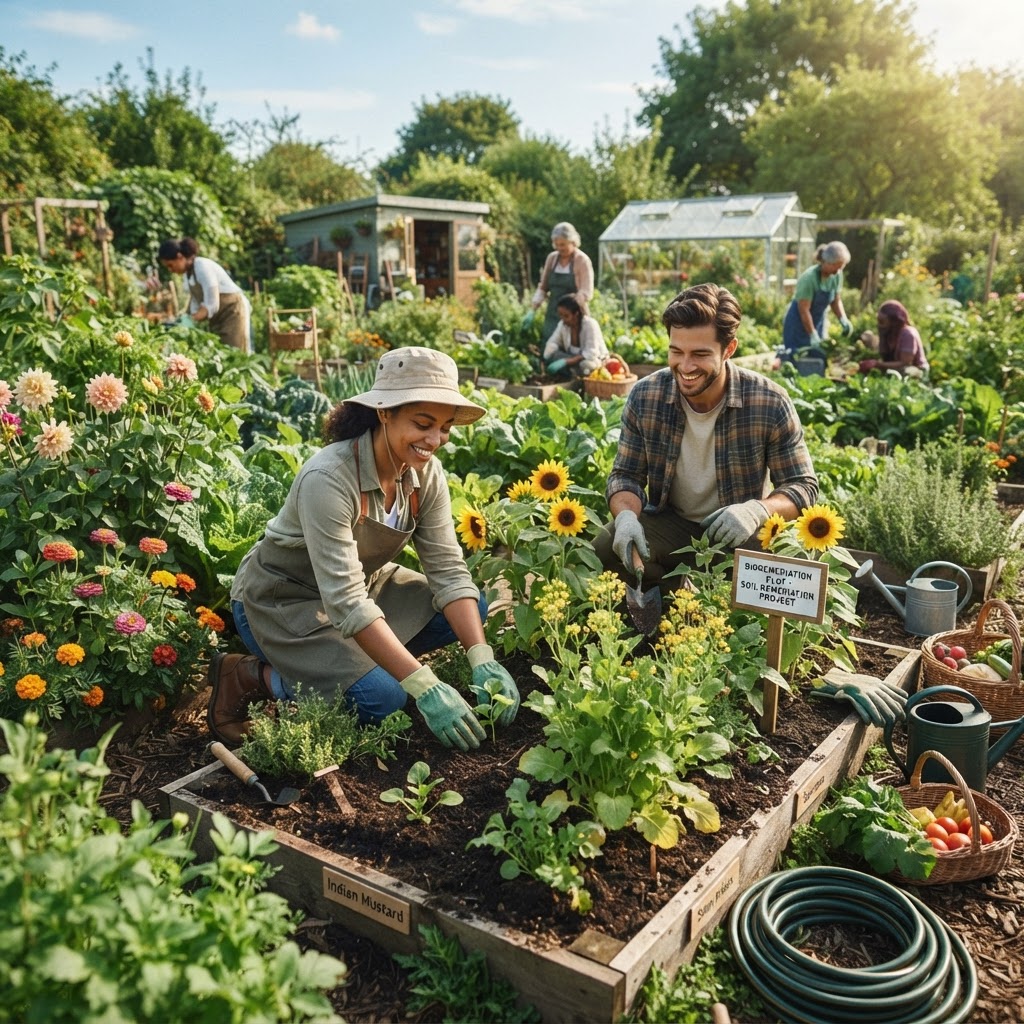
Bokashi fermentation is one of the most efficient and versatile methods for turning food waste into valuable soil amendments. Unlike traditional composting, bokashi can handle nearly any organic food waste — including meat, dairy, and cooked foods — without producing foul odours or attracting pests. For community gardens looking to manage food waste responsibly while building soil fertility, a large-scale bokashi system offers a practical and rewarding solution.
This guide will walk you through everything you need to know to design, build, and maintain a community bokashi fermentation system that works at scale.
Getting Started
Before you purchase any equipment or recruit volunteers, it helps to understand what bokashi actually is and why it differs from conventional composting.
Bokashi is a Japanese term meaning "fermented organic matter." The process uses a mixture of effective microorganisms — primarily lactic acid bacteria, yeasts, and phototrophic bacteria — to ferment food waste rather than decompose it. The microorganisms are typically carried on a wheat bran or rice bran medium, which is layered with food waste in an airtight container.
The result after two to four weeks is a pickled, partially broken-down material that still looks similar to the original waste but has been transformed at a microbial level. This pre-digested material breaks down very rapidly once it is buried in soil or added to a compost pile, releasing nutrients quickly and inoculating the surrounding soil with beneficial microbes.
For a community garden, this means you can accept a much wider range of organic waste from participants, process it efficiently, and dramatically improve your garden soil — all without the space requirements or management intensity of large windrow composting.
What you'll need to get started:
- A dedicated space for your bokashi station
- Airtight fermentation vessels (scaled to your community's waste volume)
- Bokashi bran or effective microorganism solution
- A resting area for post-fermentation processing
- Committed volunteers or a waste drop-off schedule
Understanding Bokashi at Scale
A single household bokashi bucket handles roughly five to ten litres of food waste per cycle. A community garden serving dozens of households or partnering with local food businesses will need to think much bigger.
At community scale, you are essentially managing a continuous flow system — waste comes in regularly, fermentation cycles need to be staggered, and the output needs to go somewhere productive. This requires planning around three key phases: collection, fermentation, and soil application.
The Collection Phase
Food waste arrives from garden members, local households, or small food businesses. You need clear guidelines about what can be accepted (virtually all food waste), how it should be prepared (ideally drained of excess liquid and cut into smaller pieces), and how frequently it will be collected or dropped off.
The Fermentation Phase
Sealed containers sit undisturbed for two to four weeks while the microorganisms do their work. During this time the contents acidify, killing pathogens and beginning the breakdown process. A successful ferment will smell pleasantly sour and tangy — similar to pickles or sourdough. A failed ferment smells putrid or rotten and indicates contamination or insufficient bran.
The Soil Application Phase
Fermented bokashi material is not finished compost — it needs to be buried or blended into a compost system where soil microbes can complete the transformation. Within one to two weeks of burial, the material breaks down almost entirely, leaving enriched, biologically active soil behind.
Choosing the Right Containers and Equipment
Scaling up requires moving beyond standard household buckets. Here are the most practical options for community systems.
Large Airtight Drums
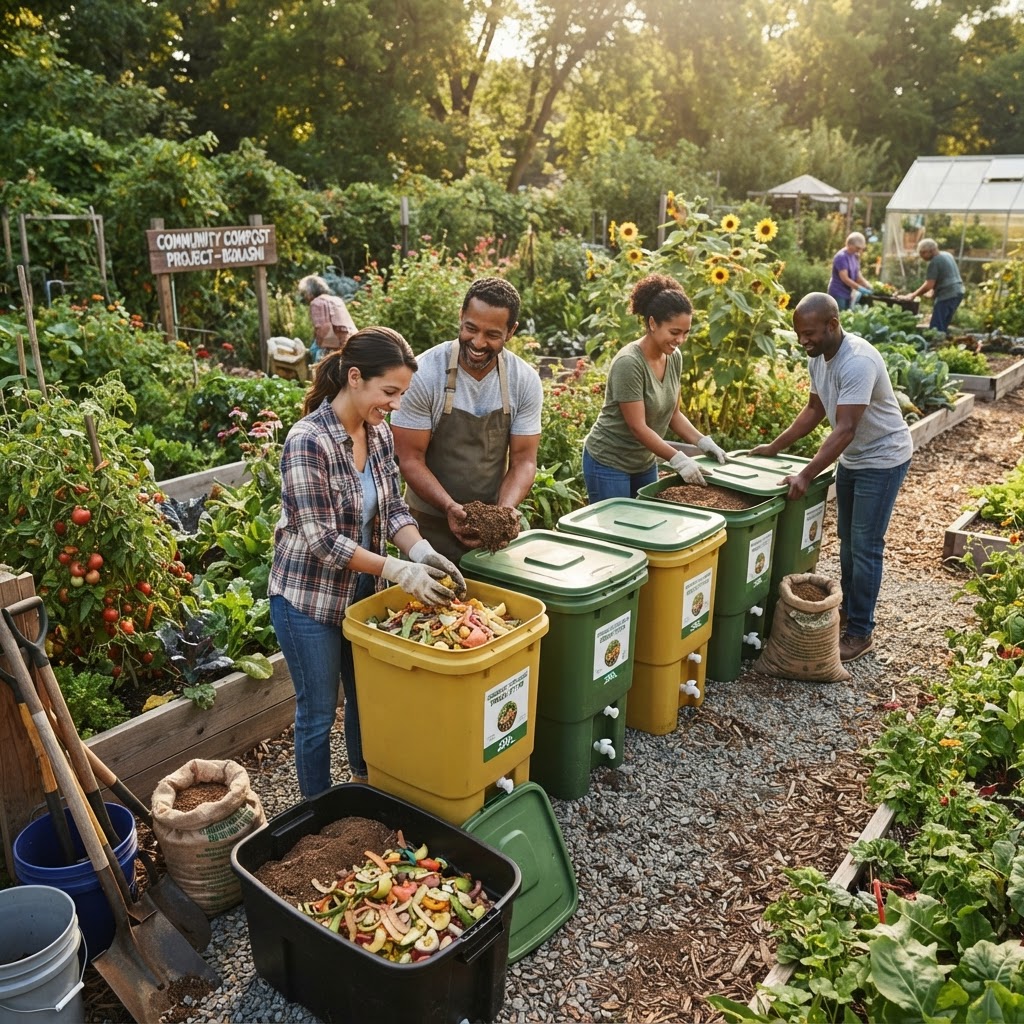
Food-grade plastic drums with secure lids (typically 60 to 200 litres) are the workhorses of a community bokashi system. Look for drums with spigots near the base so you can drain bokashi liquid (sometimes called "bokashi tea") without opening the lid. These can be sourced from food manufacturers, brewing suppliers, or specialist composting equipment retailers.
Stackable Bin Systems
Some community gardens use a bank of smaller bins (20 to 30 litres each) in a purpose-built shelving unit. This approach allows multiple fermentation cycles to run simultaneously and makes it easier to track which batches are ready for processing.
Dedicated Bokashi Shed or Station
A weather-protected bokashi station keeps containers at a more consistent temperature, which improves fermentation reliability. A simple lean-to structure or repurposed garden shed works well. Bokashi ferments best between 15°C and 30°C, so in colder climates some insulation around containers during winter is worth considering.
Drainage and Liquid Collection
At scale, bokashi liquid production becomes significant. This liquid is highly acidic and must be diluted before use (typically 1 part liquid to 100 parts water) as a plant tonic or drain treatment. Install trays or collection vessels beneath your drums to capture any drips and make harvesting the liquid easy.
Making or Sourcing Bokashi Bran
The effectiveness of your bokashi system depends entirely on the quality and quantity of the bran used.
Buying Ready-Made Bran
Commercial bokashi bran is widely available from garden centres and online retailers. For community use, purchasing in bulk significantly reduces costs. Look for bran that specifies effective microorganism content and has a reasonable shelf life — typically six months to a year when stored in a cool, dry place.
Making Your Own Bran
Communities with a strong DIY ethic can produce their own bokashi bran using an effective microorganism solution (sold as EM-1 or similar products), wheat or rice bran, and molasses. The process involves mixing the ingredients to achieve the right moisture level, sealing the mixture in an airtight bag for two to four weeks, then drying and storing the finished bran. This can reduce long-term costs considerably and gives your community greater self-sufficiency.
How Much Bran to Use
A general guideline is to use roughly one tablespoon of bran per kilogram of food waste, added in layers between each addition of waste. At community scale, you may go through several kilograms of bran per month, so planning your supply chain matters.
Setting Up Your System
With your containers and bran sourced, it's time to build the system.
Step 1: Establish Your Bokashi Station
Set up your containers in your chosen sheltered location. Ensure each drum or bin has a tight-fitting lid and a drainage spigot if possible. Label each container with its start date so you can track fermentation progress.
Step 2: Create a Layering Protocol
Post clear instructions at the station. Each time waste is added, it should be compressed to remove air pockets, covered with a generous layer of bokashi bran, and then the lid should be resealed immediately. Minimising air exposure is critical — oxygen inhibits the anaerobic microorganisms responsible for fermentation.
Step 3: Stagger Your Batches
Run at least three to four containers simultaneously in different stages: one actively being filled, one sealed and fermenting, and one or more ready for soil application. This ensures a continuous output without bottlenecks.
Step 4: Prepare Your Soil Application Sites
Designate areas in the garden for trench composting (digging a 30cm deep trench, filling it with fermented bokashi material, and covering with soil) or set up a secondary compost pile where the bokashi output can be blended with carbon-rich materials like wood chips or straw to complete decomposition.
Managing Community Contributions
The human element is often the trickiest part of a community bokashi system.
Provide clear, laminated signage at the drop-off station explaining what can and cannot be added. While bokashi handles most food waste, large bones, excessive liquid, and non-food items should be excluded. Bags or containers brought by contributors should be emptied directly — plastic bags do not belong in the fermentation vessel.
Hosting a brief workshop for new garden members to demonstrate the layering process makes a significant difference. People who understand why each step matters tend to follow the protocol much more consistently than those who are simply handed instructions.
Assigning a rotating team of two or three volunteers to monitor containers, drain liquid, seal finished batches, and move material to soil application sites keeps the system running without placing undue burden on a single person.
Processing the Fermented Waste
After two to four weeks, open your sealed container and check for signs of successful fermentation: a sour, vinegary smell, white fungal threads on the surface, and material that retains its original appearance but feels softer.
Fermented material can be:
- Trench buried directly in garden beds at a depth of at least 20cm to avoid attracting wildlife
- Added to a hot compost pile as a nitrogen-rich activator
- Blended into potting mix preparation areas in small quantities to enrich growing media
- Used to inoculate new garden beds being prepared for the first time
Avoid applying undiluted fermented material directly around plant roots — the high acidity can temporarily inhibit germination and root growth. Always cover buried material with at least 10cm of soil.
Common Mistakes to Avoid
Allowing air into containers. This is the single most common cause of failed ferments. Always compress waste firmly, replace the lid immediately after each addition, and check that seals are intact.
Using too little bran. Skimping on bran is a false economy. Insufficient microbial inoculant leads to putrefaction rather than fermentation. When in doubt, add more.
Adding waste that is too wet. Excess liquid creates anaerobic conditions that favour the wrong microbes. Encourage contributors to drain liquid from food waste before adding it, and drain accumulated liquid from containers every few days.
Not labelling or dating containers. Without dates, it becomes impossible to track which batches are ready, leading to either premature opening or material sitting too long before processing.
Skipping community education. A technically perfect system fails if contributors don't follow protocol. Contamination from non-food items or improper layering undermines the whole process.
Applying fermented material directly around plant roots. The acidity of freshly fermented bokashi can damage plants. Always bury material deeply or allow it to rest in a compost blend before direct garden use.
Tips for Success
- Start smaller than you think you need to, then expand once your team is comfortable with the process and demand is established.
- Keep a simple log noting start dates, volumes added, and fermentation outcomes. This data helps you improve the system over time.
- Celebrate the bokashi liquid. Many community gardens overlook this byproduct. Diluted and used as a plant tonic, it visibly improves plant vigour and is a wonderful reward for participants to take home.
- Build relationships with local food businesses — cafes, restaurants, and delis often generate consistent, clean food waste and can become reliable contributors once they trust your system.
- Insulate containers in winter. A simple wrap of old carpet or bubble wrap around fermentation drums maintains temperature and keeps microbial activity strong through cold months.
- Involve children and schools. Bokashi is safe, low-odour, and visually fascinating — it makes an excellent educational activity for school groups visiting the garden.
- Have a backup plan for failures. Even well-run systems occasionally produce a failed batch. A putrid container should be sealed immediately and its contents added to a hot compost pile rather than discarded.
Conclusion
A large-scale community bokashi system transforms food waste from a problem into a genuine asset. By fermenting almost any organic material quickly, safely, and with minimal odour, bokashi suits the practical realities of community garden life — shared spaces, mixed abilities, and a diverse range of contributors.
The investment in good containers, quality bran, and thorough community education pays dividends in the form of reduced waste, enriched garden soil, and a visible demonstration of what a community can achieve together. Once the system is running smoothly, it becomes one of those garden features that members are genuinely proud of — a working example of a closed-loop approach to food and soil.
Start with a modest setup, learn your community's rhythms, and scale up with confidence. Your soil — and your community — will thank you.