If you've discovered that your community garden soil contains moderate levels of heavy metals like lead, cadmium, zinc, or arsenic, it can feel overwhelming. But don't panic — this is a situation that many urban and suburban gardeners face, and there are proven, nature-based strategies you can use to address it. Bioremediation is the process of using living organisms — primarily plants, microbes, and fungi — to reduce, neutralize, or remove contaminants from soil. When implemented thoughtfully, it's an accessible, cost-effective approach that fits beautifully into the ethos of community gardening.
This guide will walk you through what bioremediation actually means in practice, how to assess your situation, and how to build a multi-season plan that gradually improves your soil's health and safety.
What Are Moderate Heavy Metal Levels and Why Do They Matter?
Heavy metals occur naturally in soil at low background levels, but human activity — industrial history, old paint, vehicle emissions, certain pesticides, and urban runoff — can concentrate them to levels that pose risks to human health and plant health alike.
"Moderate" contamination generally refers to levels that are elevated above background or regulatory thresholds but haven't rendered the soil entirely unusable. For example, lead levels between roughly 200 and 400 parts per million (ppm) in a garden context are cause for concern and action, but they're not necessarily at the level of a hazardous waste site. Your local cooperative extension service or environmental agency will have guidance on what counts as moderate in your specific region, and those thresholds can vary.
At moderate levels, bioremediation is a realistic and rewarding option. You likely won't fix the problem in a single season, but with a structured multi-year plan, you can meaningfully reduce contamination and make your garden safer for everyone involved.
Getting Started
Before you plant a single remediation crop or call in a mycologist, you need to lay the groundwork properly. Rushing into action without this foundation is one of the most common mistakes gardeners make.
Get a Professional Soil Test
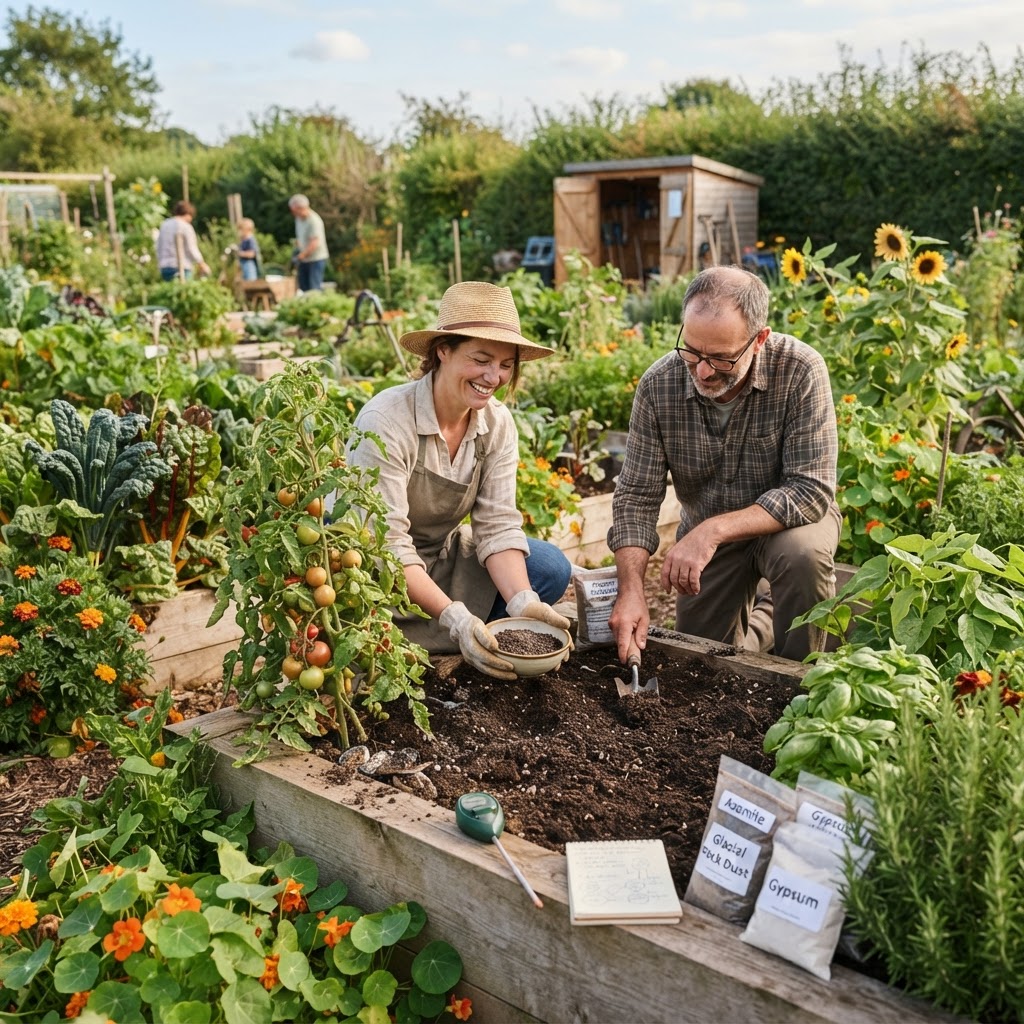
Standard soil fertility tests don't measure heavy metals. You need a specific heavy metals panel from a certified laboratory. Many land-grant universities and state extension programs offer this service affordably. Test multiple areas of your garden, since contamination is rarely uniform — you might find that one bed near an old fence line has much higher lead levels than a bed in the center of the plot.
Keep records of your baseline results. These numbers are your starting point, and you'll want to retest every one to two growing seasons to measure your progress.
Understand What You're Working With
Different heavy metals behave differently in soil and respond to different remediation strategies:
- Lead binds tightly to soil particles and is relatively immobile but is a serious neurotoxin, especially for children.
- Cadmium is highly mobile in soil and readily taken up by plants, making it a priority for food safety.
- Zinc is an essential micronutrient at low levels but toxic at high concentrations.
- Arsenic is particularly persistent and often requires a combination of strategies.
Knowing which metals are present at moderate levels helps you choose the right plants and microbial amendments for your specific situation.
Establish Interim Safety Measures
While bioremediation is underway, take practical steps to protect gardeners and visitors:
- Mulch all pathways and bare soil areas heavily to reduce dust and direct contact.
- Post clear signage about the remediation process and any food-growing restrictions.
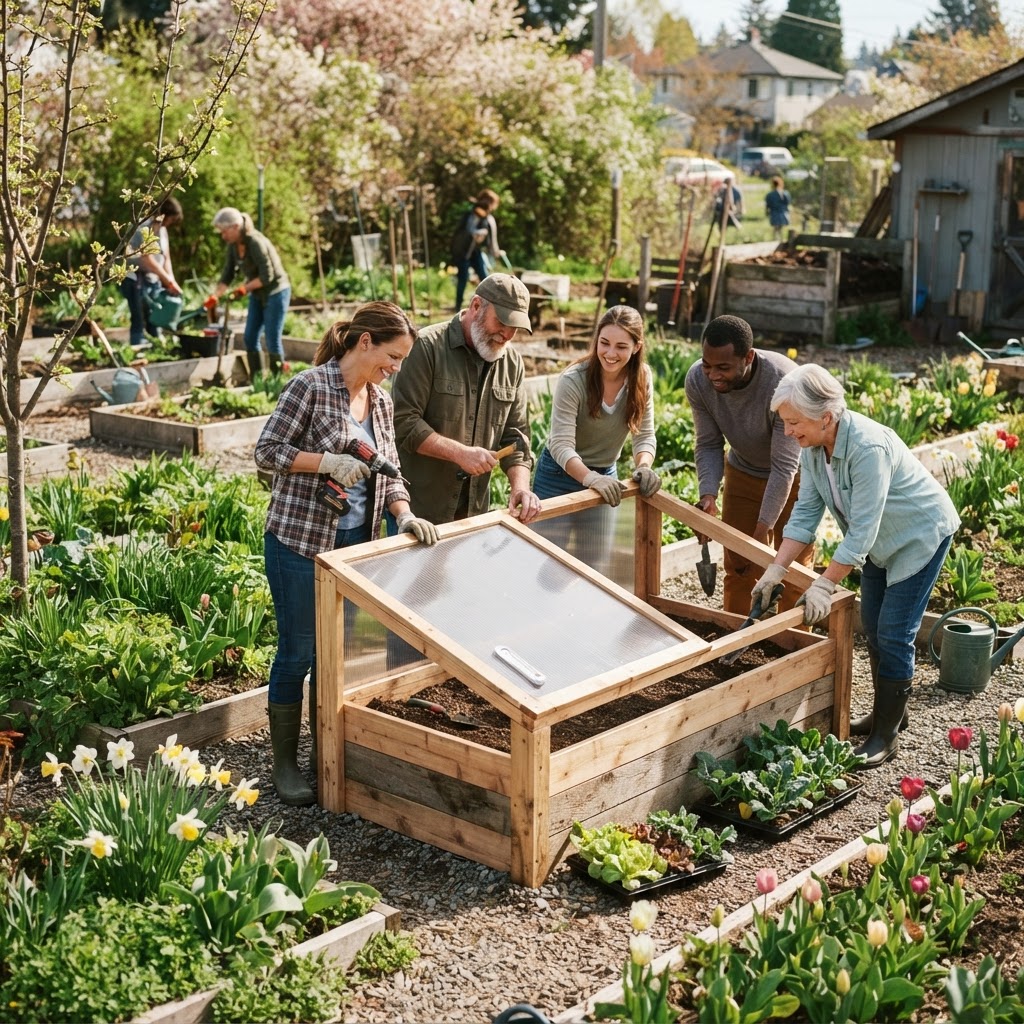
- Use raised beds with clean imported soil for growing edible crops during the remediation period.
- Encourage thorough handwashing and discourage children from playing in untreated areas.
Understanding Your Bioremediation Options
Bioremediation for heavy metals in community garden settings typically involves three overlapping approaches:
Phytoremediation uses specific plants — called hyperaccumulators — that absorb heavy metals from the soil into their tissues. These plants are then carefully harvested and disposed of, physically removing metals from the site.
Microbial bioremediation relies on bacteria and fungi that can transform heavy metals into less toxic or less bioavailable forms. While microbes don't remove metals the way plants do, they can reduce the amount that plants and humans can absorb — a process called immobilization.
Phytostabilization is a variation where plants are used not to extract metals but to stabilize the soil, reduce erosion, and decrease the mobility and bioavailability of contaminants without necessarily removing them.
For most community garden situations with moderate contamination, a combination of phytoextraction (using hyperaccumulators) and microbial support will be your most practical path forward.
Building Your Bioremediation Plan Step by Step
Year One: Assessment and Stabilization
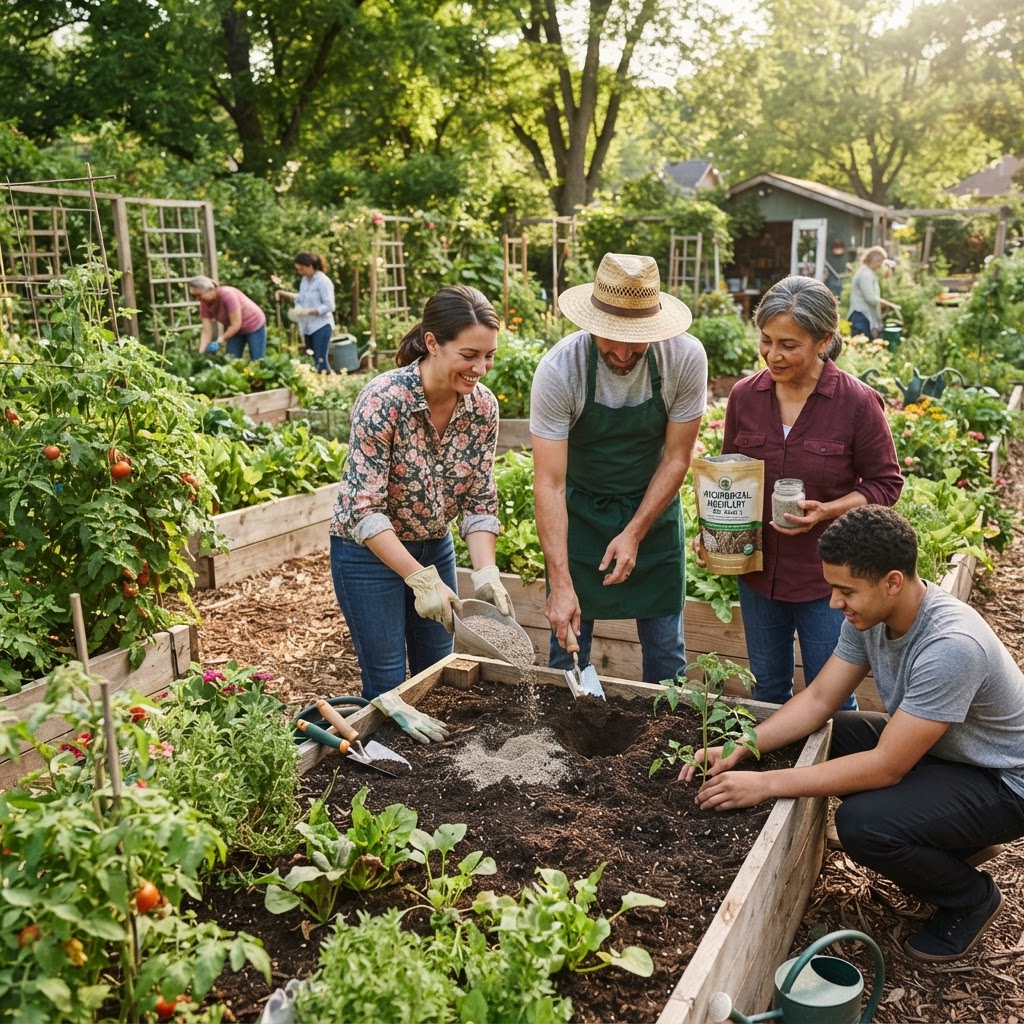
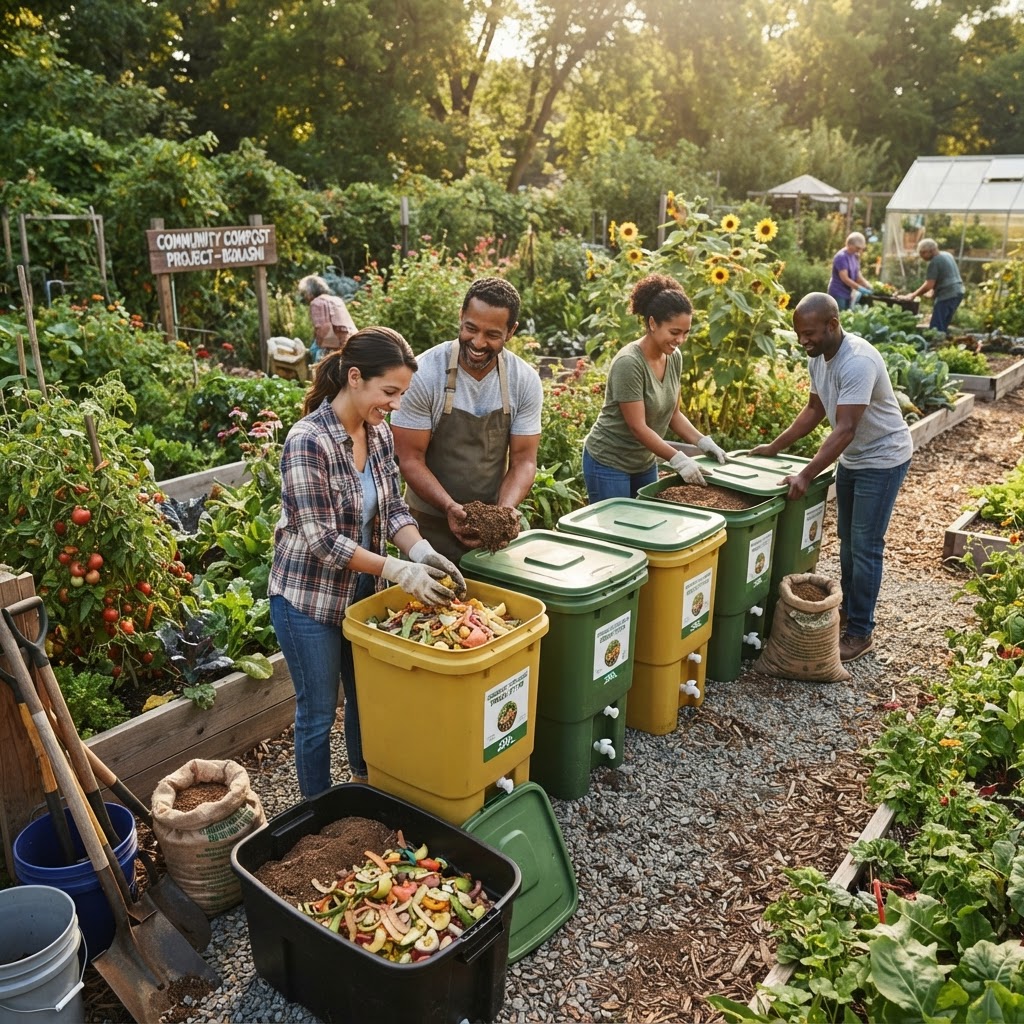
Spend the first season getting your baseline data, establishing soil health improvements, and beginning phytostabilization. Add organic matter generously — compost, aged wood chips, and biochar can all help bind heavy metals temporarily, reducing their movement into groundwater and their uptake by plants while you plan.
Introduce mycorrhizal inoculants and compost teas to begin building a robust microbial community. A living, biologically active soil is far more capable of supporting remediation work than depleted, compacted ground.
Year Two and Beyond: Active Phytoextraction
Now you begin planting hyperaccumulating species in targeted areas. Plan for at least two to three full growing cycles. Monitor progress with soil tests at the end of each season or every other season.
Rotate your remediation plantings strategically. Some hyperaccumulators are annual, others perennial, and combining them can address different soil depths and metal types simultaneously.
Plants That Help: Phytoremediation Species to Know
Not every plant is created equal when it comes to absorbing heavy metals. Here are some well-documented species worth knowing:
Alpine pennycress (Noccaea caerulescens) — One of the most studied hyperaccumulators, known for exceptional zinc and cadmium uptake. It's a small plant but remarkably efficient.
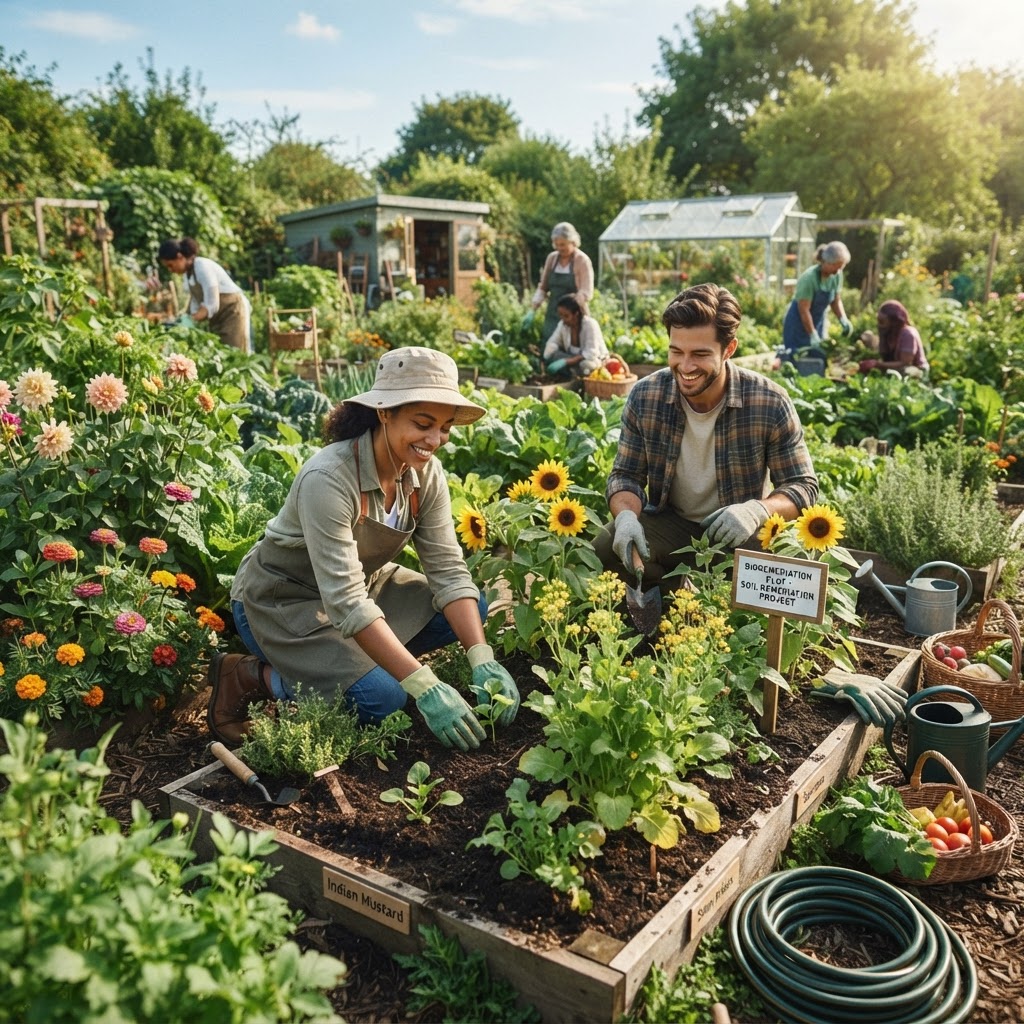
Sunflowers (Helianthus annuus) — Famously used after nuclear accidents, sunflowers are effective at absorbing lead and other metals. They're easy to grow, widely available, and visually appealing during the remediation period.
Indian mustard (Brassica juncea) — A highly effective accumulator of lead, cadmium, and zinc. It grows quickly and produces significant biomass, which means more metal is removed per harvest.
Vetiver grass (Chrysopogon zizanioides) — Excellent for phytostabilization, preventing erosion and reducing metal mobility, though it accumulates metals primarily in its roots rather than its shoots.
Thlaspi species — Various species in this genus are known hyperaccumulators of zinc, cadmium, and nickel.
Ferns, particularly brake fern (Pteris vittata) — One of the best-known arsenic hyperaccumulators. If arsenic is among your problem metals, this fern is a powerful tool.
Plant in dense, repeated plantings for maximum effect. A single sparse crop of sunflowers won't move the needle significantly — you want robust, well-tended growth across the entire remediation area.
The Role of Microbes and Fungi
While plants get most of the attention in phytoremediation discussions, the microbial community in your soil is an equally important partner.
Mycorrhizal fungi form symbiotic relationships with plant roots and can significantly increase a plant's ability to tolerate and accumulate heavy metals. They essentially extend the root system's reach and help manage the oxidative stress that heavy metals cause in plant tissues. Introducing mycorrhizal inoculants when planting your hyperaccumulators is a simple and worthwhile step.
Rhizobacteria — the bacteria living in the root zone — can release compounds that make heavy metals more soluble and bioavailable to plants, effectively "unlocking" metals that would otherwise remain bound to soil particles. Look for soil inoculants containing plant growth-promoting rhizobacteria (PGPR) when shopping at your local garden supplier.
Compost and worm castings introduce broad microbial diversity that supports all of these processes. Regular applications throughout your remediation period keep the biological engine running.
Managing Harvested Plant Material Safely
This is the step that many first-time bioremediation gardeners underestimate, and it's critically important. When hyperaccumulating plants are harvested, their tissues contain concentrated amounts of heavy metals. This material cannot be composted in your regular pile, used as mulch, or left to decompose on site — doing so would simply return the metals to the soil.
Options for disposal:
- Contact your local municipal waste authority about disposing of contaminated plant biomass as hazardous or special waste. Regulations vary significantly by location.
- Some areas have incineration facilities capable of handling metal-laden plant material safely — the ash volume is small and can be managed as hazardous waste.
- Document every harvest: record which plants, from which beds, on which dates, and how the material was disposed of. This record-keeping matters if you ever need to verify your remediation progress for regulatory purposes.
Never compost, feed to animals, or burn hyperaccumulator harvests in open fires. Treat this plant material with the same care you would any mildly hazardous waste.
Common Mistakes to Avoid
Skipping the baseline soil test. You can't measure progress if you don't know your starting point. Testing is non-negotiable.
Planting edible crops too soon. Even as bioremediation progresses, don't assume that reduced soil metal levels automatically mean safe food production. Retest, consult local guidelines, and be conservative. Use raised beds with clean soil for edibles in the meantime.
Underestimating the timeline. Bioremediation of moderately contaminated soil takes years, not months. Expecting dramatic results after a single season leads to disappointment and abandonment of the process.
Improper disposal of remediation plants. As discussed above, casually composting or mulching hyperaccumulator harvests defeats the entire purpose and can make things worse.
Ignoring soil pH. Heavy metal availability is strongly influenced by pH. Metals become more bioavailable (and thus more uptakeable by plants — useful for extraction) in acidic conditions, but this also means more risk of metals entering food crops. Maintain a slightly higher pH around 6.5 to 7.0 in food-growing areas while managing lower pH in dedicated remediation plots where you want maximum uptake.
Working alone. Bioremediation is a community project. Coordinate with your garden committee, local extension agents, and if possible, a soil scientist or environmental consultant. Shared knowledge leads to better outcomes.
Tips for Success
- Test, then test again. Build regular soil testing into your garden calendar. It's the only way to know if your efforts are working.
- Keep detailed records. Document what you planted, where, when, and what the results looked like. Future gardeners and community members will benefit from this history.
- Engage the community. Explain the process clearly to all garden members. When people understand why certain beds are planted with mustard or sunflowers instead of tomatoes, they're more likely to respect and support the work.
- Pair remediation with overall soil health building. Healthy, biologically diverse soil remediates more effectively. Don't just focus on the contamination problem — build organic matter, feed your microbes, and improve drainage and structure simultaneously.
- Celebrate incremental progress. A reduction in heavy metal levels from one test to the next is a real achievement worth acknowledging. This work is slow, but it's meaningful.
- Connect with local resources. Many cooperative extension services, environmental nonprofits, and university programs offer guidance, testing, and sometimes even plant material for communities undertaking remediation work. You don't have to figure this out entirely on your own.
- Plan for the long haul. Build the remediation timeline into your garden's multi-year plan. Assign plot coordinators to remediation beds each season so the work continues even as volunteers rotate.
Conclusion
Discovering moderate heavy metal contamination in your community garden soil is a challenge, but it's far from the end of the story. Bioremediation gives you real, practical tools to work with nature rather than against it — gradually drawing contaminants out of the ground, improving soil health, and ultimately creating a safer, more productive garden for everyone.
The key ingredients are patience, careful planning, good record-keeping, and community engagement. No single season of planting sunflowers will solve everything, but a thoughtfully implemented multi-year plan — grounded in real soil data and supported by the right plants and microbial allies — can make a genuine difference.
Start with that first soil test, take interim safety measures seriously, and build your plan one step at a time. The garden community that goes through this process together often comes out with not just cleaner soil, but a deeper shared understanding of their land and a stronger bond between members.