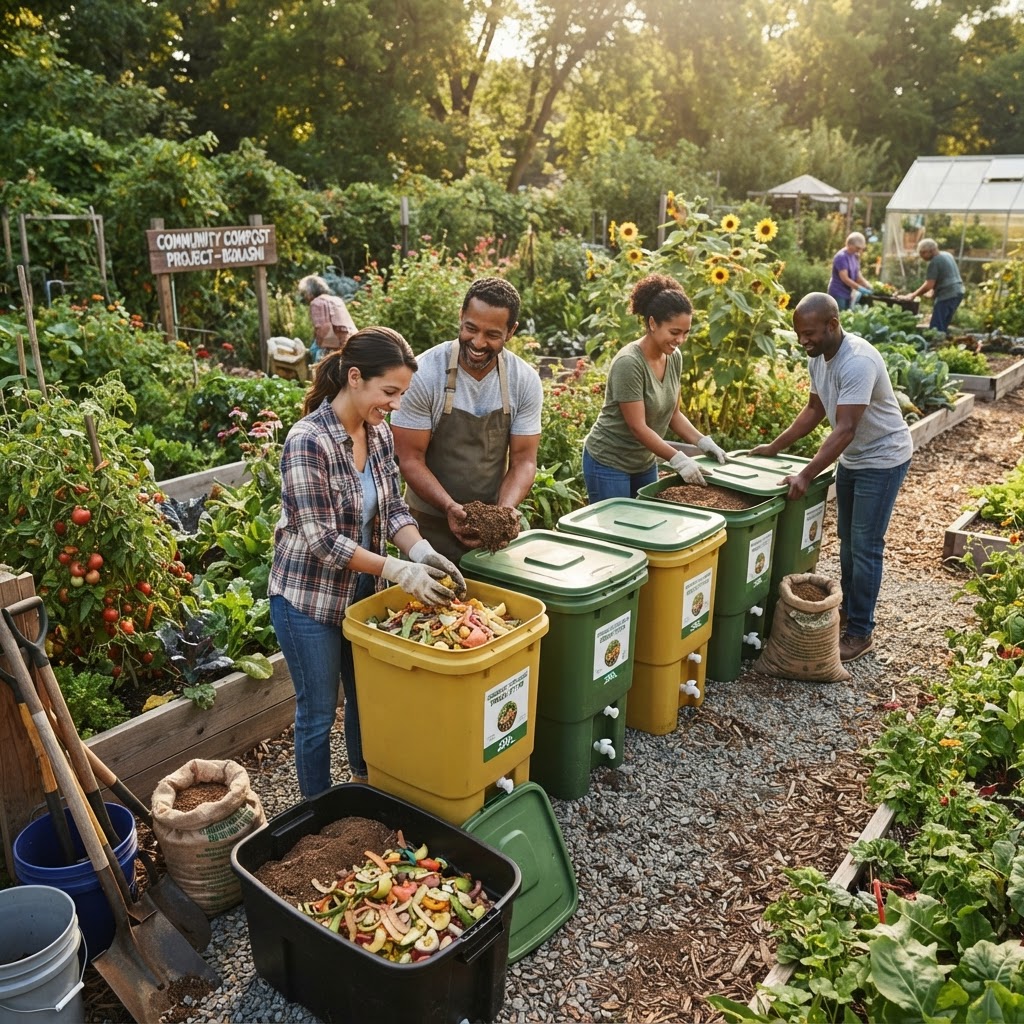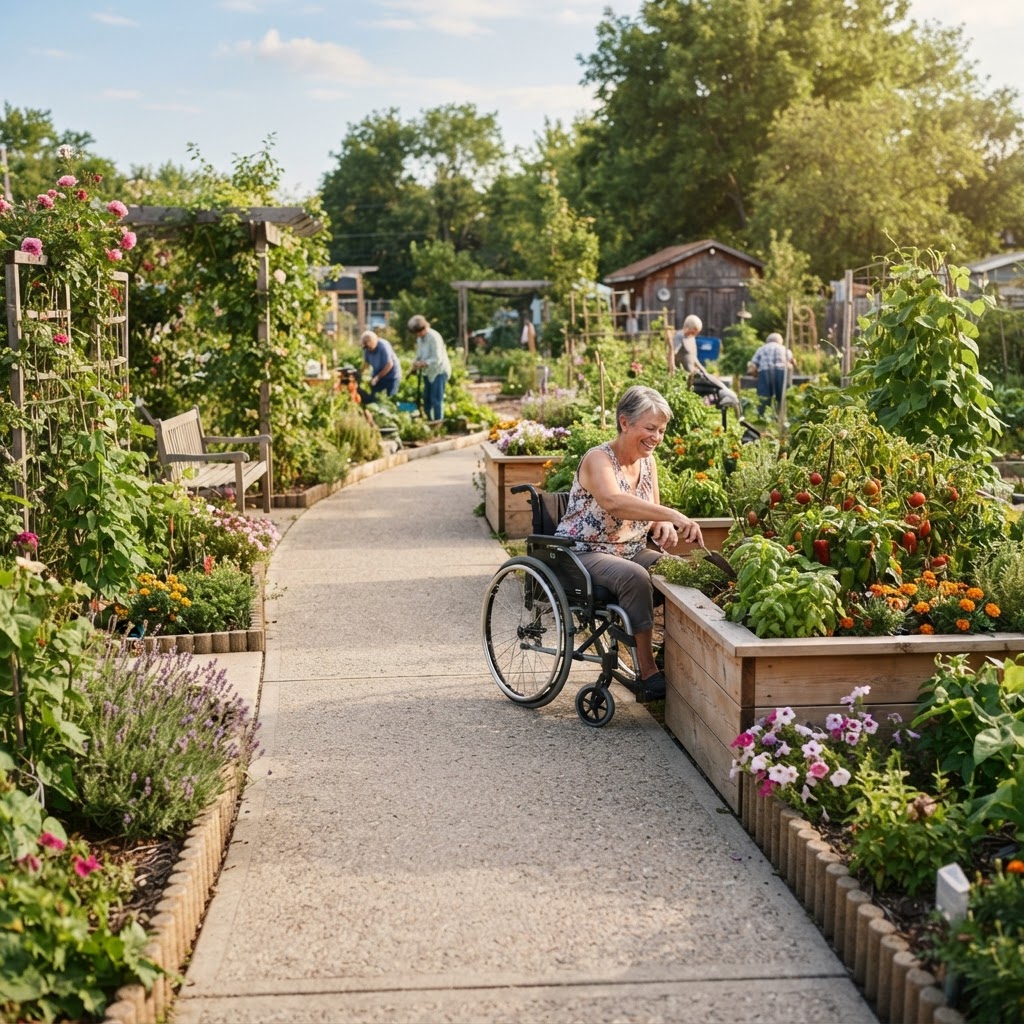
Community gardens are places where everyone should feel welcome, empowered, and able to participate fully. When paths are thoughtfully designed with wheelchair accessibility in mind, they don't just benefit people who use wheelchairs — they make the entire garden more navigable for stroller-pushing parents, older gardeners, delivery carts, and anyone who might temporarily need extra support. Creating an inclusive garden is one of the most rewarding investments a community can make.
This guide will walk you through everything you need to know about designing wheelchair accessible paths for your community garden, from the foundational planning stages to the finishing details that make a real difference in daily use.
Getting Started
Before you pick up a shovel or order gravel, the most important step is to consult with the people who will actually use the paths. If your community includes wheelchair users, invite them to walk — or roll — through your existing space and share what works and what doesn't. Their firsthand perspective is invaluable and will save you from expensive redesigns later.
Start by mapping out your current garden layout. Take note of:
- Existing obstacles such as tree roots, drainage ditches, uneven ground, or narrow entry points
- Key destinations within the garden — raised beds, water sources, tool storage, seating areas, and composting stations
- Natural traffic patterns where people already tend to move
- Problem areas that become muddy, flooded, or unstable in wet weather
Once you have a clear picture of what you're working with, you can begin planning a path network that connects all the important areas of the garden in a logical, flowing route. Think of accessibility as the backbone of your design rather than an afterthought. When accessibility is built in from the beginning, it's both more effective and more cost-efficient.
It's also worth contacting your local municipality or disability services organization early in the planning process. Many regions have funding grants, technical assistance programs, or volunteer resources specifically available for community accessibility projects.
Understanding Accessibility Standards and Guidelines
While community gardens are not always legally required to meet the same standards as commercial public spaces, using established accessibility guidelines as a baseline is a smart approach. The Americans with Disabilities Act (ADA) in the United States, and similar frameworks in other countries, provide detailed guidance on what makes a path genuinely usable for wheelchair users.
Key principles drawn from accessibility guidelines include:
- Minimum path width of 36 inches (approximately 91 cm), though 48–60 inches is strongly preferred for comfortable use
- Firm, stable, and slip-resistant surfaces that don't shift under the weight of a wheelchair
- Maximum slopes that allow independent navigation without excessive effort
- Rest areas and passing zones at regular intervals
- Clear, consistent edge delineation to prevent wheels from sliding off the path
Even if your garden is in a rural or informal setting, treating these guidelines as goals rather than minimums will result in a garden that is genuinely welcoming rather than technically compliant but practically difficult to navigate.
Path Width and Turning Radius Considerations
Path width is one of the most frequently underestimated elements in accessible garden design. A standard manual wheelchair is about 24–26 inches wide, but the person using it needs additional space for their hands to operate the wheels. Add a companion walking alongside, and the space required grows significantly.
Minimum and Recommended Widths
- 36 inches (91 cm): The absolute minimum for single-direction travel along a straight path
- 48 inches (122 cm): Comfortable for most wheelchair users traveling alone
- 60 inches (152 cm): Allows two people to pass each other comfortably, or a wheelchair user and a pedestrian to walk side by side
- Main thoroughfares: Consider 72 inches or more for the garden's primary access routes, especially near entry points
Turning Radius
Wheelchair users need adequate space to change direction. A standard manual wheelchair requires a turning circle of approximately 60 inches (152 cm) in diameter to make a 180-degree turn without having to back up and reposition multiple times. At path junctions and the ends of garden rows, design widened areas or T-shaped intersections that accommodate this turning space. These widened spots also serve as natural gathering points and can double as rest areas.
Surface Materials and Their Trade-offs
The surface you choose will determine whether your path is genuinely usable or merely accessible on paper. A technically wide path covered in loose pea gravel is still a barrier for many wheelchair users. Here's a breakdown of common materials and how they perform in real garden conditions.
Paved and Hard Surfaces
Concrete and asphalt offer the most reliable, low-maintenance surface for wheelchair access. They provide excellent firmness and stability year-round, are easy to clean, and handle moisture well with proper drainage. The main drawbacks are cost and the permanence of the installation — mistakes are difficult to correct. For community gardens with long-term stability and available budget, these are excellent choices for main paths.
Interlocking pavers offer many of the same benefits as concrete with slightly more flexibility. Individual pavers can be replaced if they crack or become uneven. Choose pavers with minimal joint gaps, as wider gaps can catch wheelchair casters and make rolling more difficult.
Compacted Materials
Crushed granite or decomposed granite compacts into a firm, relatively stable surface when properly installed. It needs a good compaction base and regular maintenance to remain effective. It can become loose at the surface over time and may wash away in heavy rain if not bordered properly. It's more affordable than paving and blends naturally into garden aesthetics.
Packed gravel (crusher run or road base): Similar to decomposed granite, this material compacts well and can provide a reasonably firm surface. It must be properly contained with solid edging and maintained regularly to prevent displacement.
Materials to Approach with Caution
Loose gravel, wood chips, and bark mulch are common in garden paths because they're affordable, attractive, and permeable. However, they are problematic for wheelchair users. Loose surfaces create significant rolling resistance, can shift under wheels, and are very difficult to navigate in a manual wheelchair. If you use these materials in garden beds, do not use them on accessible paths.
Grass and soil paths are similarly unsuitable unless they are specifically engineered with sub-base compaction and drainage. Wet conditions quickly render them muddy and impassable.
Slope, Grade, and Drainage
Slope affects not just comfort but safety. A path that is too steep can be impossible or dangerous for a manual wheelchair user to navigate independently, and even powered wheelchairs can struggle on steep grades.
Recommended Grade Standards
- Running slope (the direction of travel): No more than 1:20 (a 5% grade) for standard accessible paths. Shorter ramp-like sections can be steeper — up to 1:12 (an 8.3% grade) — but should be brief and paired with level rest areas on either end.
- Cross slope (side to side): No more than 1:50 (2%) to prevent wheelchairs from drifting sideways. This is a frequently overlooked detail that causes real difficulties in practice.
Working with Natural Topography
Community gardens are rarely perfectly flat. When your site has significant slopes, consider these strategies:
- Terracing with level path segments connected by short, gradual ramps
- Switchback paths that travel across a slope rather than directly up it, reducing the effective grade
- Retaining walls and raised berms to create level zones for paths
Drainage
Water management is essential for maintaining accessible surfaces. Standing water and mud are major barriers. Build a slight crown (very gentle curve) in the center of paths to encourage water to run off to the sides. Install proper drainage channels alongside paths in areas prone to water accumulation. Permeable surfaces that allow water to drain through the path itself — like properly installed compacted gravel — can also be effective in appropriate climates.
Rest Areas and Passing Zones
Long paths without places to stop and rest are tiring and discouraging for many users. Plan for widened areas or small plazas every 100–200 feet along longer paths. These zones serve multiple functions:
- Resting spots with seating and space for a wheelchair to park beside a bench without blocking the path
- Passing zones where two wheelchair users or a wheelchair and a pedestrian can comfortably pass each other
- Social gathering areas where gardeners naturally stop to chat, share tools, or admire the plants
Pair rest areas with practical amenities like water taps, tool storage hooks, or shade structures to maximize their usefulness.
Edging, Borders, and Safety Features
Clearly defined path edges serve both functional and safety purposes. A raised edge of 2–4 inches helps wheelchair casters track on the path rather than veering off into adjacent beds. However, raised edges can also become trip hazards for pedestrians if they're too abrupt.
Consider using:
- Timber edging that is flush or very slightly raised on the garden side
- Concrete curbs with a beveled inner face
- Stone or brick borders that are stable and clearly visible
Color contrast between path surfaces and borders also helps people with low vision navigate more confidently. A light-colored path beside darker mulched beds is a naturally effective combination.
Signage and Wayfinding
Even the best-designed path is more valuable with clear wayfinding. Use signage at garden entrances to indicate the location of accessible routes, especially if some paths in the garden are not fully accessible. Signs should be:
- Mounted at a height readable from a seated position (typically 40–60 inches from the ground)
- Written in clear, high-contrast text
- Supplemented with symbols and tactile elements where possible
Include a simple map of the garden near the entrance that clearly marks the accessible route network.
Common Mistakes to Avoid
Learning from common pitfalls will save your project time, money, and frustration.
- Designing paths too narrow: Even well-intentioned designers frequently underestimate the space a wheelchair user needs in practice. When in doubt, go wider.
- Using loose surface materials: No matter how charming wood chips look, they are not appropriate for accessible paths. Commit to firm, stable surfaces throughout the accessible route.
- Ignoring cross slope: A path that slopes sideways even slightly will cause wheelchairs to constantly drift and require correction, making the route exhausting and difficult.
- Failing to plan for drainage: A beautiful path that turns to mud every time it rains is effectively inaccessible during a significant portion of the gardening season.
- Consulting after designing: Involving wheelchair users and people with disabilities at the beginning of planning, not at the end, is critical. Their experience cannot be replaced by reading guidelines alone.
- Neglecting maintenance: Accessible surfaces require ongoing care. Roots that lift pavers, gravel that spreads onto paths, or edges that break down over time can quickly undermine your design.
Tips for Success
- Start with your main spine: Design one fully accessible main route through the entire garden before adding secondary paths. This ensures every area can be reached.
- Pilot a small section: If budget is limited, build one well-designed accessible path as a model and expand from there as resources allow.
- Use contrasting colors: Visual contrast at path edges and transition points helps everyone navigate more safely.
- Install accessible raised beds along your primary path: Connecting wheelchair-height raised beds directly to the accessible route transforms the garden into a fully usable growing space, not just a place to pass through.
- Think seasonally: Test your paths in wet and dry conditions before calling the project complete.
- Build in flexibility: Leave room to adjust and improve. Accessible design is an ongoing conversation, not a one-time installation.
- Celebrate the investment: Communicate to your whole garden community why these changes matter — inclusive design benefits everyone and builds community pride.
Conclusion
Designing wheelchair accessible paths for a community garden is one of the most meaningful contributions you can make to your growing community. When the paths are right — wide enough, firm enough, and thoughtfully connected — the entire garden becomes a place where people of all abilities can garden, socialize, and thrive.
The principles aren't complicated, but they do require intention, careful material selection, and a genuine commitment to hearing from the people these paths will serve. Whether you're starting a new garden or retrofitting an existing one, every improvement you make toward greater accessibility is a step toward a more welcoming, vibrant, and resilient community space.
Start where you can, build what you're able to, and keep listening to your community. The garden will grow more inclusive with every season.