Urban community gardens face a unique set of challenges that rural or suburban gardens simply don't encounter. Tall buildings, neighboring structures, fences, and dense tree canopies can dramatically shift sunlight patterns throughout the day — and those patterns change significantly from season to season. Understanding how sunlight moves through your garden space is one of the most valuable skills you can develop as a community gardener, and it forms the foundation of nearly every planting decision you'll make.
Seasonal sunlight mapping is the practice of observing, recording, and analyzing how sunlight reaches different parts of your garden plot across the year. Done well, it removes the guesswork from plant placement, helps you maximize limited growing space, and prevents the frustration of watching carefully tended vegetables struggle simply because they were planted in the wrong spot.
This guide is designed to walk you through the process from beginning to end, whether you're just getting started with your first plot or looking to refine a system you've been using informally for years.
Getting Started
Before you pick up a pencil or open a mapping app, take a moment to simply observe your garden space at different times of day. Notice where shadows fall in the morning, at midday, and in the late afternoon. Look up and identify the structures or trees that are casting those shadows. This initial, informal observation is your starting point.
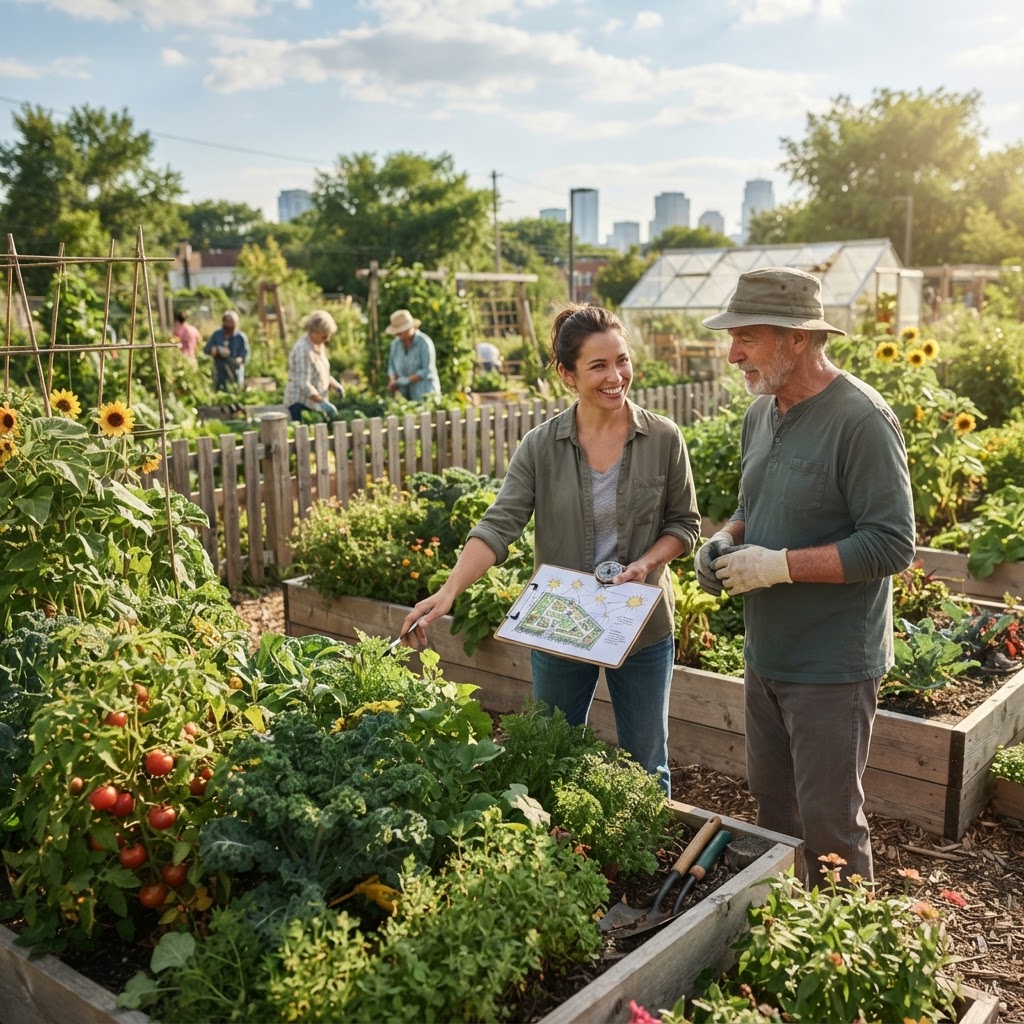
To begin a formal sunlight map, you'll need a rough sketch of your garden plot. This doesn't need to be architectural-grade — a hand-drawn rectangle with approximate measurements is perfectly fine. Mark north on your sketch, because understanding which direction your garden faces will help you predict where the sun will travel throughout the day and year.
Start your mapping process at the beginning of a new season, ideally in late winter or early spring when you're preparing for the growing year ahead. However, don't worry if you're starting mid-season — partial data is still useful data, and you can fill in gaps over time.
Why Seasonal Mapping Matters in Urban Environments
In open rural gardens, sunlight mapping is relatively straightforward because the sun is the primary variable. In urban community gardens, the environment adds layers of complexity that make seasonal tracking especially important.
Buildings change everything. A six-story apartment building to the south of your plot can cast a shadow that wipes out full sun for four to six hours a day in winter, but barely touches your garden in midsummer when the sun sits higher in the sky. Without mapping, you might mistakenly assume your plot gets full sun because it looks bright in July — only to discover in September that your fall brassicas are in deep shade.
The sun's path shifts dramatically by season. The sun rises and sets at very different points on the horizon depending on the time of year. In summer, it arcs high and wide, providing long hours of intense light. In winter, it hugs the southern horizon, creating long, low-angled shadows from even small structures. This means a spot that's perfect for tomatoes in July might be entirely unsuitable for winter greens.
Trees are seasonal variables too. Deciduous trees can block significant summer light but allow much more winter sun through their bare branches. If you're planning a cool-season garden under the shadow of nearby deciduous trees, you may have more usable light than you think.
Tools and Materials You'll Need
You don't need expensive equipment to create an effective sunlight map. Here's what works well:
- Graph paper or a simple notebook for hand-drawn maps and observation notes
- A compass or compass app on your phone to determine true north
- A camera or smartphone for taking reference photos at the same times each day
- Colored pencils or markers to shade different zones on your map (full sun, partial sun, shade)
- A watch or phone alarm to remind yourself to check and record observations at consistent intervals
For gardeners who enjoy using technology, there are sun tracking apps that use your phone's GPS and compass to overlay the sun's path on your camera view. These can be genuinely helpful for visualizing future shadows, but they work best as a supplement to real-world observation rather than a replacement for it.
A simple observation log — even just a notes app on your phone — is invaluable. Record the date, time, weather conditions, and what you observe in each zone of your garden.
How to Conduct Your Sunlight Observations
Choosing Your Observation Times
Consistency is the key to useful data. Choose at least three observation times per day: morning (around two hours after sunrise), midday, and mid-afternoon (around two to three hours before sunset). If you can add an early morning and late afternoon check, your data will be even richer.
On each observation day, note which parts of your plot are in full sun, partial sun, or shade at each time point.
Conducting Observations Across Seasons
Ideally, you'll observe your garden across all four seasons. This doesn't mean doing daily observations year-round — rather, choose one or two dedicated observation days per season when you spend focused time watching and recording the light.
Key seasonal windows to prioritize:
- Late winter/early spring — to understand baseline light before trees leaf out
- Late spring — to capture light as deciduous trees are filling in
- Midsummer — to record peak-season conditions
- Early fall — to understand the transition as days shorten and the sun moves lower
Even two or three seasonal snapshots will tell you far more than a single observation ever could.
Creating Your Observation Grid
Divide your plot into a simple grid on your sketch map. Even a rough three-by-three or four-by-four grid gives you enough spatial detail to work with. At each observation time, shade in the grid squares that are receiving full sun, partial sun, or are in shade. Over multiple observations, patterns will emerge clearly.
Interpreting Your Sunlight Map
Once you've gathered observations across multiple times and seasons, you'll begin to see distinct zones in your garden.
Full sun zones receive six or more hours of direct sunlight per day. These are your prime spots for sun-loving crops like tomatoes, peppers, squash, cucumbers, and most fruiting vegetables.
Partial sun zones receive three to six hours of direct sunlight. These are excellent for many herbs, leafy greens, peas, and root vegetables like carrots and beets, which can actually benefit from some afternoon shade protection in hot summers.
Shade zones receive fewer than three hours of direct sunlight. These aren't wasted space — they're opportunities. Shade-tolerant plants like mint, some lettuces, arugula, kale, and certain flowers can thrive with limited direct light.
Look for transitional zones — areas that are sunny in spring and fall but shaded in summer, or the reverse. These require more nuanced planning but can be used strategically with succession planting.
Applying Your Map to Garden Planning
Your sunlight map becomes a practical planning tool when you match plant requirements to your observed zones.
Start each growing season by pulling out your map before you finalize planting decisions. Cross-reference the light requirements on seed packets and plant tags with the zones you've identified. This single habit can dramatically improve your growing success rate.
Consider creating a seasonal planting overlay — a second layer drawn on tracing paper or a digital layer if you're using a computer — that shows what will be planted where in spring, summer, and fall. This helps you see how your crop rotation interacts with your light zones over time.
Also think about vertical gardening possibilities. Trellised plants, tall crops like corn or sunflowers, and staked tomatoes cast their own shadows. Note which direction these shadows fall and whether they'll affect neighboring beds or other gardeners' plots.
Common Mistakes to Avoid
Mapping Only in One Season
This is the most common and consequential error. A summer map tells you nothing reliable about spring or fall conditions. Commit to at least two seasonal observations before making permanent infrastructure decisions like raised bed placement.
Trusting Apps Over Real Observation
Sun tracking apps are useful tools, but they model an idealized sun path. They don't account for irregular building heights, neighboring trees, or the way light bounces and filters through your specific urban environment. Always verify app predictions with actual eyes-on observation.
Ignoring Reflected Light
Urban environments are full of reflective surfaces — white walls, glass windows, light-colored pavement. These can significantly boost light levels in technically shaded areas. Don't write off a spot as too shady until you've actually spent time observing it.
Recording Too Infrequently
Taking a single snapshot observation and calling it your map is insufficient. Light changes not just by season but by weather, by how leafy nearby trees get, and by any new construction in the neighborhood. Build observation into your regular garden visits rather than treating it as a one-time task.
Forgetting to Note the Date and Season
Observation notes without dates are nearly useless when you look back at them later. Always record the date, approximate time, and season for every entry.
Tips for Success
Make it a social activity. In community gardens, you have a built-in resource — other gardeners. Ask long-time plot holders about their light observations. Experienced neighbors can give you years of accumulated knowledge in a single conversation.
Photograph from the same spot. Choose a fixed position at the edge of your plot and take photos from there at each observation session. Over time, your photo archive becomes a powerful seasonal record that supplements your written notes.
Use seasonal markers. Tie your observations to familiar seasonal events — the spring equinox, the summer solstice, the first frost date — to make your records easier to organize and compare year over year.
Create a simple legend. Use consistent color-coding in your maps. Green for full sun, yellow for partial sun, and blue for shade is an intuitive system that's easy to reproduce every season.
Revisit your map after major changes. If a tree comes down, a new building goes up, or a neighboring plot adds a tall trellis structure, update your map. Urban environments change, and your map needs to evolve with them.
Share your maps with fellow gardeners. Community gardens function best as communities. Your light observations may help a neighbor troubleshoot a struggling plant or plan their own layout. Consider keeping a shared log or bulletin board where plot holders can post their seasonal findings.
Conclusion
Seasonal sunlight mapping might sound like an extra step in an already busy gardening practice, but in reality, it's one of the highest-return investments of time you can make. A few hours of structured observation across the seasons will inform years of better planting decisions, fewer crop failures, and more satisfying harvests.
Urban community gardens are dynamic, complex environments where light is both a precious resource and an ever-shifting variable. Mapping that variability transforms it from a frustration into a planning asset. You move from reacting to problems — why won't my tomatoes fruit? why are my greens bolting so fast? — to designing proactively around the actual conditions in your specific plot.
Start simple. Sketch your plot, grab a pencil, and spend thirty minutes observing light at three different times on one day. Then do it again next month, and the month after. Before long, you'll have a detailed picture of your garden's unique light personality — and you'll be able to use that picture to grow more food, with more confidence, in every season.