Getting Started
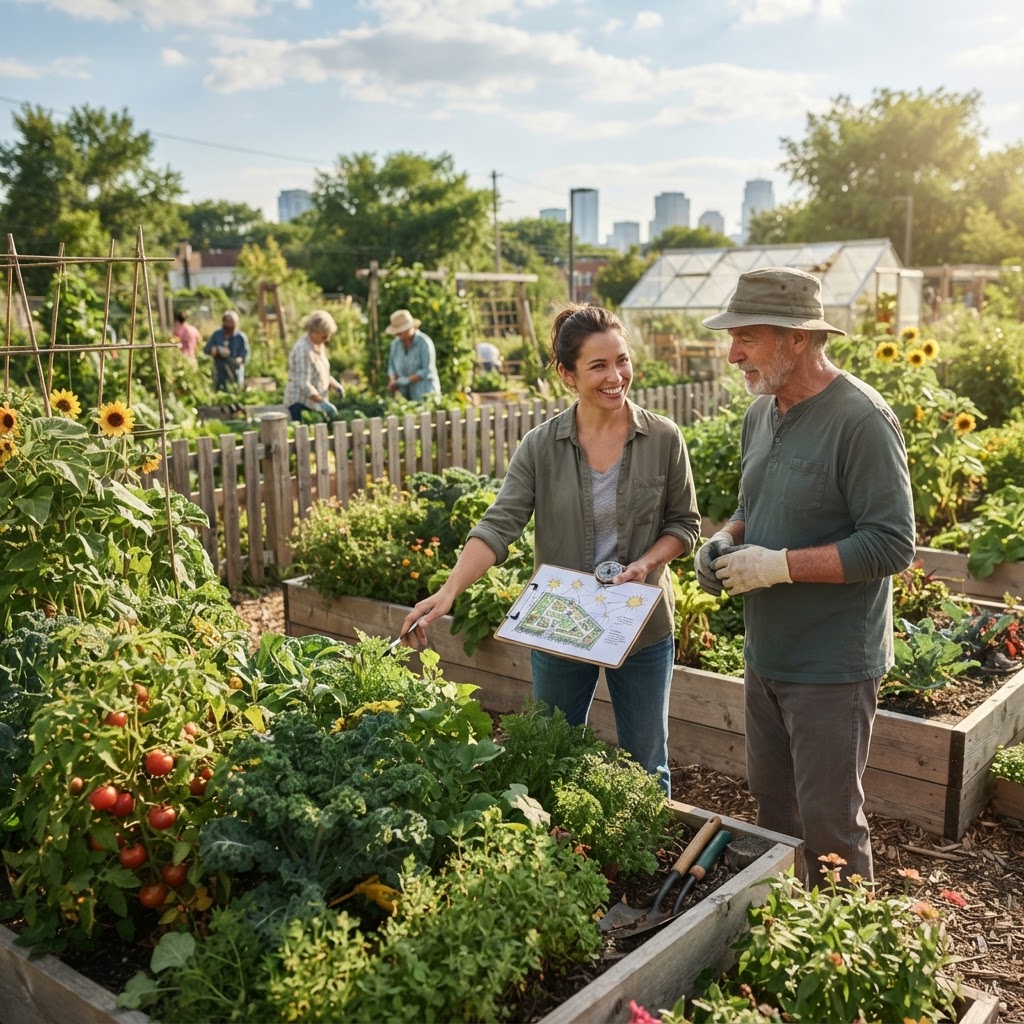
Before you dive into data collection, it helps to lay some groundwork as a group. Sun mapping works best when it's a collaborative effort, so start by introducing the idea at a garden meeting and inviting members to participate. Even gardeners who tend their own plots can contribute observations about conditions in their area of the garden.
Set a timeframe. A thorough sun map takes at least a full growing season to build with accuracy. You want to capture data across different months because sun angles change dramatically between spring, summer, and autumn. Plan to review and update the map at the start of each season.
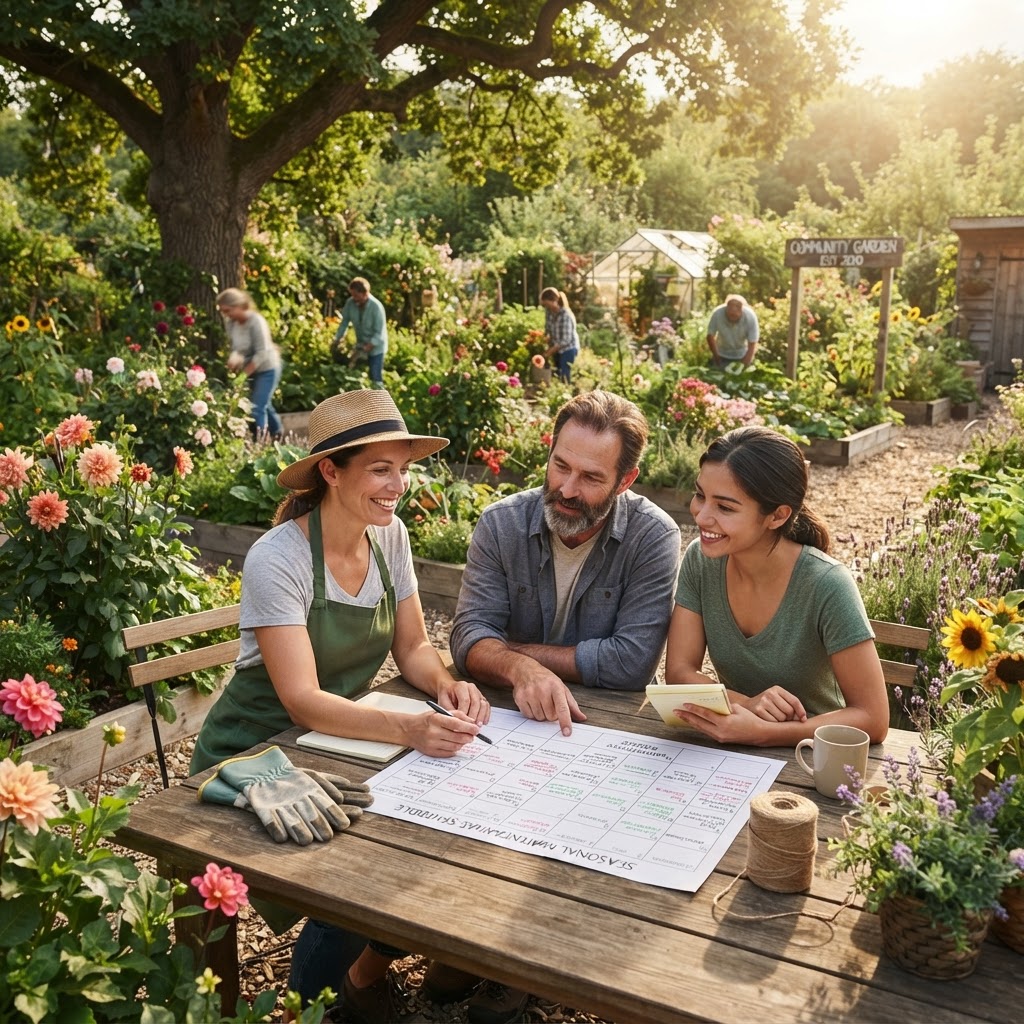
Designate a map coordinator. This person doesn't need to be a gardening expert — they just need to be organized and communicative. The coordinator collects observations, updates the master map, and shares it with the group. Many community gardens rotate this role annually.
Choose your mapping format. You can go low-tech with a paper grid map pinned to a communal noticeboard, or use a shared digital document or collaborative drawing tool that everyone can access online. Both approaches work well; choose whichever fits your community's habits and resources.
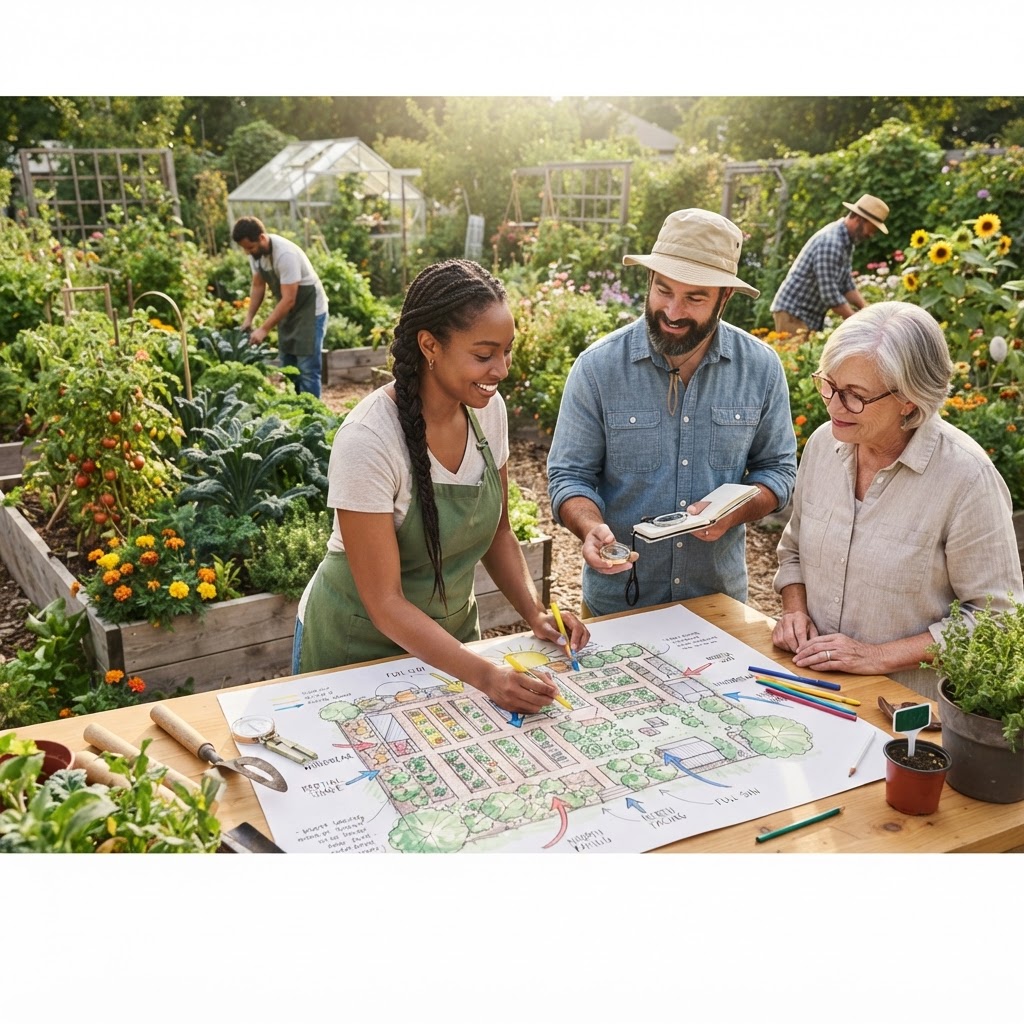
Sketch a base map first. Before adding any sun or climate data, draw a simple overhead layout of your garden. Include all fixed structures: beds, pathways, sheds, fences, walls, trees, pergolas, and any tall permanent plantings. Label each plot or zone clearly. This base map becomes the canvas onto which you'll add layers of environmental information over time.
Why Sun Mapping Matters in a Community Garden
In a home garden, a single gardener learns their space through years of trial and error. In a community garden, members come and go, plots change hands, and new gardeners arrive without the institutional knowledge their predecessors built up over years. A communal sun map solves this problem by externalizing that knowledge and making it available to everyone.
Sun exposure is one of the most critical variables in plant selection. Most fruiting vegetables and herbs require six or more hours of direct sunlight each day. Leafy greens, many root vegetables, and shade-tolerant plants can manage with fewer hours. Placing a sun-hungry tomato plant in a spot that only gets three hours of afternoon sun will produce a disappointing harvest no matter how good your soil is or how carefully you water.
Beyond individual plot success, a shared map helps the whole garden community work together more intentionally. Gardeners can plan complementary plantings, identify where shade from one plot might spill into a neighbouring bed, and collectively manage resources like water and compost more efficiently when they understand which areas of the garden are warmer, wetter, or drier than others.
Understanding Microclimates
A microclimate is a small area within a larger environment that has distinct temperature, moisture, wind, or light conditions compared to the surrounding space. Microclimates can exist within just a few metres of one another, and they profoundly influence how plants grow.
Common Microclimate Types
Warm and sheltered zones often form against south-facing walls or fences (in the northern hemisphere) where surfaces absorb heat during the day and radiate it back at night. These spots can be several degrees warmer than open ground nearby, making them ideal for heat-loving crops or for extending the growing season into early spring and late autumn.
Cold and frost-prone pockets tend to collect in low-lying areas, against north-facing structures, or in corners where cold air settles and has nowhere to drain away. These spots experience frost first and last, meaning tender plants placed there are at greater risk of damage.
Windy corridors form where gaps between buildings, fences, or hedgerows funnel wind into a concentrated stream. Exposed wind can dry soil rapidly, damage tender plants, and reduce pollinator activity. Identifying these corridors allows gardeners to choose wind-tolerant species or plan windbreaks.
Damp and shaded zones occur under trees, beneath overhanging structures, or on the north side of tall raised beds. These areas retain moisture longer, stay cooler, and may struggle with air circulation, increasing the risk of fungal diseases. They're also perfect for moisture-loving plants that would bolt or stress in full sun.
How to Identify Microclimates
Walk your garden at different times of day and in different weather conditions. Notice where frost lingers longest on a cold morning. Observe where the soil dries out fastest after rain. Feel where the air is noticeably warmer or cooler. Take note of where puddles form, where moss grows, and where certain plants seem to struggle or thrive without obvious explanation. All of these are clues to underlying microclimate patterns.
Tools and Materials You'll Need
You don't need expensive equipment to create a useful sun and microclimate map. Here's what helps:
- Base map of the garden (paper or digital)
- Compass or compass app to determine true north and south
- Observation log or notebook for recording times and conditions
- Coloured pencils or highlighters (for paper maps) or digital colour-coding
- A simple thermometer or min/max thermometer for temperature tracking
- Sticky flags or stakes to mark observation points in the garden
- Camera or smartphone for capturing shadow patterns at different times of day
- A free sun path calculator or app can help you predict shadow angles throughout the year based on your geographic location
Step-by-Step Guide to Creating Your Sun Map
Step 1: Divide the Garden into Zones
Using your base map, divide the garden into manageable observation zones. These might follow existing plot boundaries or simply be grid squares of roughly equal size. Label each zone clearly.
Step 2: Observe and Record Sun Exposure
Visit the garden at three key times on sunny days: mid-morning (around 9–10am), midday (around noon), and mid-afternoon (around 3–4pm). In each zone, note whether the area is in full sun, partial shade, or full shade at each observation time. Do this across multiple days and ideally across different seasons to build an accurate picture.
Use a simple coding system on your map:
- Full sun (six or more hours of direct sun): mark in yellow or write "FS"
- Partial sun/partial shade (three to six hours): mark in orange or write "PS"
- Full shade (fewer than three hours): mark in blue or write "SH"
Step 3: Track Shadow Movement
On a clear day, photograph each zone at your three observation times. Compare the images to see how shadows from trees, fences, or buildings move across the space. This is particularly useful in community gardens surrounded by tall structures where morning and afternoon sun may reach different areas.
Step 4: Record Microclimate Observations
Add a second layer to your map using notes or colour codes for microclimate features:
- Mark warm spots near south-facing walls with a sun and flame symbol or warm colour
- Mark frost pockets with a snowflake or cool colour
- Indicate wind corridors with arrows showing predominant wind direction
- Highlight damp or shaded zones with moisture or shadow indicators
Encourage all garden members to contribute their observations. Someone who gardens on an early morning shift will notice different things than someone who visits in the afternoon.
Step 5: Add Seasonal Notes
Update the map at least twice a year — once in spring and once in late summer — to capture how conditions change. Note when a deciduous tree loses its leaves (dramatically changing shade patterns in autumn and spring) and when the sun angle drops enough to cast longer shadows from surrounding buildings.
Recording and Interpreting Microclimate Data
Once you've collected a season's worth of observations, patterns will begin to emerge. Look for:
- Zones that consistently receive full sun across all three observation times — these are your premium spots for fruiting crops, sun-loving herbs, and heat-seeking flowers.
- Zones that shift from shade to sun across the day — these partial shade areas suit crops that benefit from morning sun but protection from intense afternoon heat, like salad leaves and chard in midsummer.
- Areas where temperature data shows consistent extremes — use these insights to guide decisions about what to plant there and when to start planting in spring.
Annotate the map with recommended plant families for each zone. This turns your observation document into a practical planting guide that new members can use immediately.
Sharing and Maintaining the Communal Map
A map is only valuable if people use it. Post a printed version in a weatherproof sleeve at the garden entrance or on the notice board. If your community uses a group messaging app or email list, share a digital version regularly and invite updates.
Create a simple legend so anyone unfamiliar with the map can interpret it at a glance. Host a short annual walkthrough where the map coordinator explains the key findings and updates members on any changes to the garden layout that might affect conditions.
Encourage a culture of contribution. When a gardener notices something new — a new tree blocking afternoon light, a neighbour's extension casting shadows over beds — invite them to bring that observation to the group.
Common Mistakes to Avoid
Observing only once. A single day of sun tracking gives you a snapshot, not a complete picture. Seasonal variation is enormous; a spot flooded with sun in midsummer might be almost entirely shaded in spring or autumn when the sun is lower in the sky.
Ignoring vertical elements. New fences, growing trees, and climbing plants on trellises can dramatically change sun patterns over time. Update your map whenever the physical landscape of the garden changes.
Assuming uniformity. Even a small garden bed can have different conditions at each end. Don't assume that one measurement or observation applies across a large area without checking.
Forgetting reflective surfaces. White walls, greenhouse glass, and water features can reflect and intensify sunlight in unexpected ways, creating warm bright spots or even damaging reflected glare for nearby plants.
Not involving all gardeners. A map built by one person's observations will always be incomplete. The richness of a communal map comes from multiple perspectives across different times and conditions.
Making it too complicated. If the map becomes too detailed or technical to understand at a glance, people will stop using it. Keep the coding system simple and the layout clean.
Tips for Success
- Start simple and build over time. A rough map updated regularly is far more useful than a perfect map that never gets finished.
- Take photos and attach them to the map as visual evidence of shadow patterns at different times and seasons.
- Use the map at every plot allocation meeting. When assigning plots to new members, consult the map together and discuss what grows best where.
- Create a companion planting guide based on the map that matches plant families to the sun zones you've documented.
- Involve children if your garden welcomes young gardeners — observation tasks are a fantastic educational activity, and kids often notice things adults overlook.
- Celebrate the map as a living document. The goal isn't perfection; it's a continuously improving shared resource that grows alongside your community.
- Cross-reference with your soil map if you have one, since conditions like drainage and nutrient levels often correspond to microclimate zones.
Conclusion
Creating a communal sun exposure and microclimate map is one of the most practical and inclusive projects a community garden can undertake. It democratises knowledge, reduces wasted effort, and helps every gardener — whether brand new or well experienced — make better decisions about where and what to plant. More than a planning tool, it's a physical record of your community's collective observation and care for the space you share.
The process of making the map is itself valuable. It gets gardeners talking, comparing notes, and spending time in the space with fresh eyes. It builds the kind of shared understanding that transforms a collection of individual plots into a genuine community garden.
Start with a base map, get your neighbours involved, and begin observing. You'll be surprised how quickly your collective knowledge grows — and how much better your harvests become when you let the landscape itself guide your planting.