Starting a community garden is an exciting milestone, but before you plant a single seed, you need to understand the land beneath your feet. A thorough site history and environmental assessment isn't just bureaucratic paperwork — it's the foundation of a safe, thriving garden that protects your community for years to come. Whether you're transforming an empty lot, repurposing an old industrial property, or breaking ground on municipal land, this guide will walk you through everything you need to know.
Getting Started
Before you gather your tools or call a meeting with fellow gardeners, take a moment to appreciate what a site assessment actually accomplishes. You're essentially becoming a detective, piecing together the story of a piece of land — who used it, what happened there, and what invisible legacies might remain in the soil, water, and air.
A proper assessment serves several purposes. It protects the health of everyone who will garden, volunteer, or simply visit the space. It helps you make informed decisions about what to grow, where to grow it, and what remediation steps might be needed. It also builds trust within your community and with local government partners who may be watching to see how responsibly your group operates.
Plan to spend at least a few weeks on this process before committing to a lease or beginning any ground disturbance. Rushing through an assessment can lead to costly mistakes that take years to correct.
Why Site History Matters
Land has memory. A vacant lot that looks perfectly innocent today may have hosted a dry cleaning facility decades ago, leaving behind chemical residues in the soil. A charming urban space with mature trees might have once been a rail yard, with petroleum contamination lurking beneath the surface. Even residential properties can harbor risks from old lead paint, buried fuel tanks, or decades of pesticide application.
For community gardens specifically, the stakes are elevated because you're growing food that people will eat. Children often participate in community gardens, and their developing bodies are more vulnerable to environmental toxins. Volunteers may spend significant time with their hands in the soil, increasing exposure risks.
Understanding a site's history also helps you plan more effectively. If you know a property was previously compacted for vehicle traffic, you'll know to plan for raised beds. If former tenants ran a landscaping business, there may be nutrient imbalances from years of fertilizer storage. Every piece of history informs better gardening decisions.
Researching the Land's Past
Reviewing Public Records
Start your investigation at your local government offices or online portals. Zoning records, building permits, and business license histories can reveal what activities took place on a property going back decades. Look for permits related to underground storage tanks, hazardous materials handling, or industrial operations. Tax records can show ownership changes that correspond to shifts in land use.
Many municipalities have digitized their historical records, making it possible to search from your computer. County assessor websites, city planning departments, and historical societies are all valuable starting points.
Consulting Sanborn Fire Insurance Maps
Sanborn maps were created to help insurance companies assess fire risk in American cities, and they ended up documenting land use in remarkable detail. These maps, which cover urban areas from the late 1800s through much of the twentieth century, show building footprints, materials, and the types of businesses operating on nearly every city block. Many public libraries provide free access to digitized Sanborn map collections, making them an accessible and surprisingly rich resource for urban gardeners.
Talking to Long-Time Neighbors and Community Members
Some of the most valuable historical information won't be written down anywhere. Long-time residents often have detailed memories of what used to occupy a space. Older neighbors may remember businesses, incidents, or land uses that predate any digital record. Approach these conversations with genuine curiosity and respect — you're asking people to share their knowledge, not interrogate them.
Local historical societies, neighborhood associations, and community organizations can also connect you with knowledgeable individuals or archived photographs and newspapers that document past land use.
Searching Environmental Databases
Government environmental agencies maintain databases of known contaminated sites, permitted facilities, and remediation projects. In the United States, the Environmental Protection Agency provides public-facing tools that allow you to search for facilities with environmental permits, Superfund sites, and brownfield locations near a given address. Your state environmental agency likely has additional, more localized databases. Similar resources exist in Canada, the UK, Australia, and many other countries through their respective environmental ministries.
Conducting a Physical Site Assessment
Once you've done your paper research, it's time to walk the land with fresh, informed eyes.
Documenting What You See
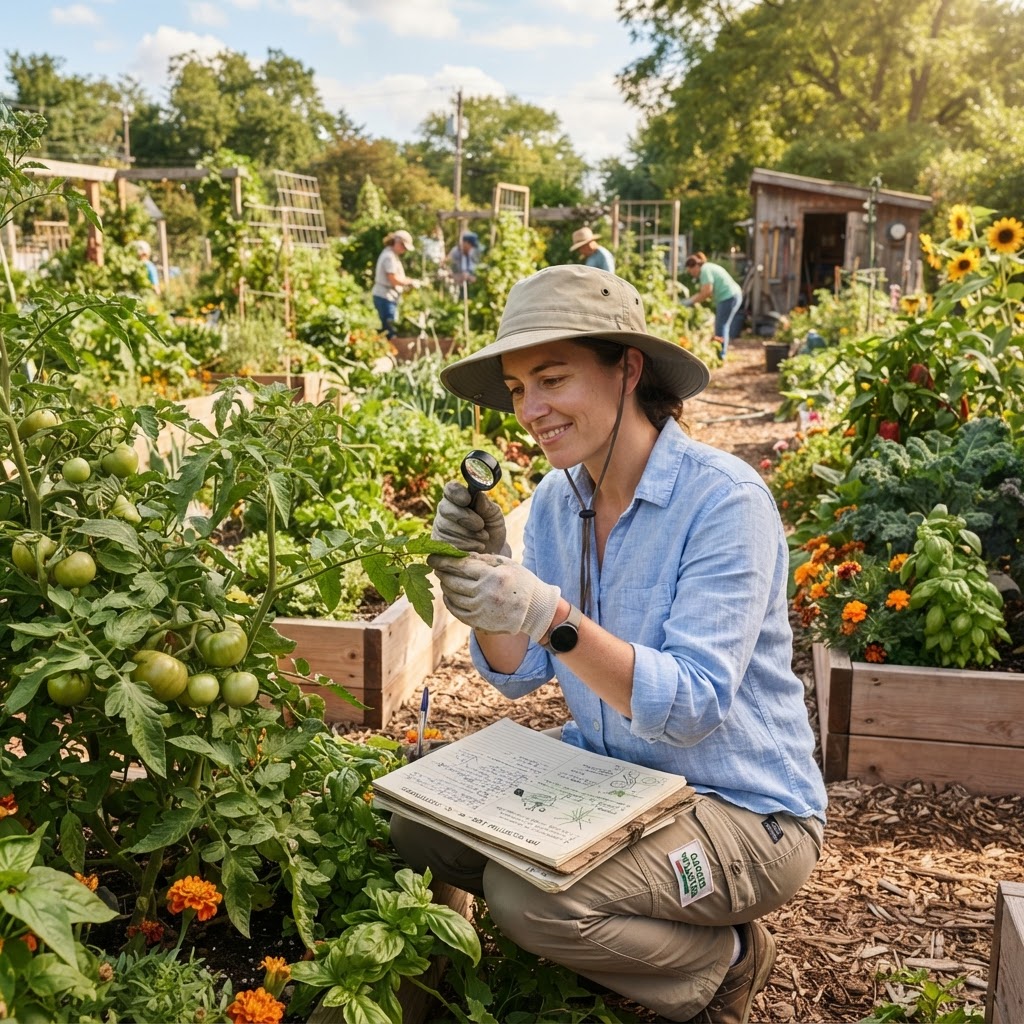
Bring a notebook, a camera, and a systematic approach. Walk the entire perimeter of the property, then divide the interior into a grid and walk each section. Document everything you observe: unusual discoloration in the soil, areas where vegetation is sparse or absent, strange odors, debris piles, old equipment, buried materials poking through the surface, and any signs of drainage issues.
Photograph everything of note, and sketch a rough map showing where you found each item of interest. This documentation becomes useful when discussing findings with soil testing labs or environmental consultants.
Identifying Potential Contamination Indicators
Certain visual cues can suggest contamination. Oily sheens on standing water, soil that appears stained in shades of orange, black, or gray, unusually bare patches where nothing will grow, and the presence of dumped materials are all worth noting. Clusters of dead or stunted vegetation can sometimes indicate areas of elevated contamination.
Structures on the property deserve careful attention. Old painted surfaces may contain lead. Pipes and fittings may include asbestos insulation or lead solder. Outbuildings that once stored chemicals may have soil contamination around their foundations.
Soil Testing and Environmental Sampling
A visual assessment, no matter how thorough, can't tell you what's actually in your soil. Laboratory testing is essential for any community garden project.
What to Test For
At minimum, test for the heavy metals most commonly associated with urban soils: lead, arsenic, cadmium, and mercury. Lead contamination from old paint and vehicle exhaust is particularly widespread in urban environments. If your site history suggests any industrial use, petroleum products, or agricultural chemical storage, expand your panel accordingly. Many labs offer specific packages for urban garden soil assessment.
How to Collect Soil Samples
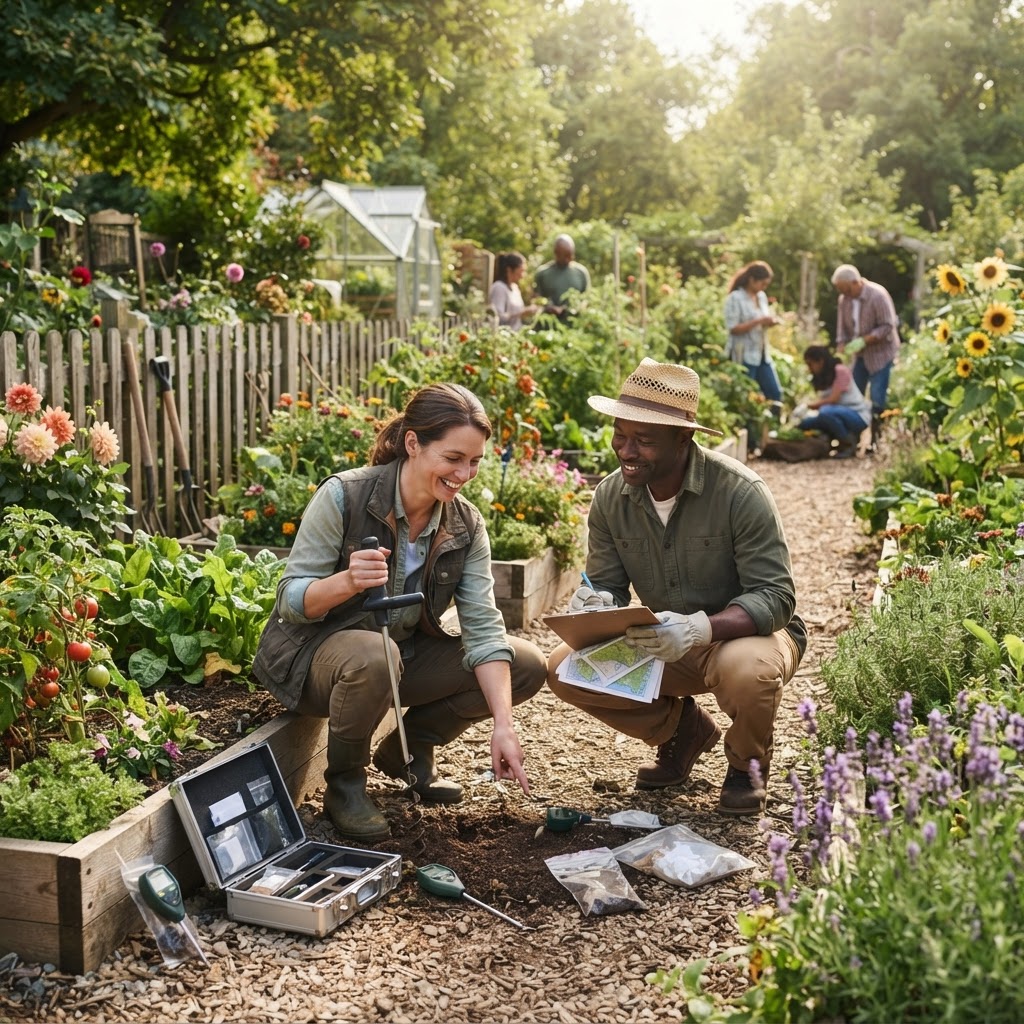
For a general assessment, collect samples from multiple locations across the site, including areas you plan to use for food production and areas near any structures or historical features of interest. Follow your testing lab's instructions for sample collection, as proper technique ensures accurate results. Most labs recommend collecting small amounts of soil from several spots within a sampling area and mixing them together to create a composite sample.
Sample collection depth matters. For surface contamination concerns, the top six to twelve inches are most relevant for growing vegetables. If you suspect deeper contamination or plan to do significant earthwork, consider deeper sampling as well.
Interpreting Results
Soil test results can be confusing without context. Work with your testing lab, a cooperative extension service, or an environmental consultant to understand what your numbers mean. Many jurisdictions have established guidance levels for contaminants in garden soil, which give you a benchmark for evaluating your results. A result above a guidance level doesn't necessarily mean the site is unusable, but it does mean you need to think carefully about remediation, raised bed strategies, or potentially choosing a different location.
Evaluating Water Sources and Drainage
Testing Your Water Supply
If your garden will rely on municipal water, your supply is regularly tested and regulated — but it's still worth knowing your local water quality report. If you're planning to use a well, collected rainwater, or any surface water source, independent testing is strongly recommended. Have water tested for the same heavy metals you tested for in soil, as well as coliform bacteria if there's any irrigation of edible crops involved.
Understanding Drainage Patterns
Observe the site during and after rainfall. Where does water flow? Where does it pool? Poor drainage creates growing challenges and can also concentrate contaminants in certain areas. Note any areas that remain soggy for extended periods, any obvious drainage infrastructure, and how the site relates to adjacent properties in terms of water flow.
Assessing Sun, Wind, and Microclimate
Environmental assessment extends beyond contamination concerns. Understanding the physical growing conditions on your site is equally important for planning a successful garden.
Track sun patterns across the site throughout the day. Note areas of full sun, partial shade, and deep shade, and consider how adjacent buildings and trees will affect light availability across different seasons. Most vegetables require at least six hours of direct sunlight daily.
Wind patterns affect moisture levels, plant stability, and even pest and disease pressure. Take note of prevailing wind directions and any areas where wind is funneled or blocked by structures and landscape features.
Working with Local Authorities and Experts
Don't hesitate to bring in professional help. Many communities have cooperative extension services that provide free or low-cost soil testing and consultation for community gardens. Environmental consultants can be engaged for more complex assessments, and some will work with nonprofit garden organizations at reduced rates.
Local health departments often have resources and expertise in environmental health that can be helpful, particularly for interpreting soil test results in the context of public health guidelines.
Engage with your local government early. Planning departments, parks departments, and environmental agencies can be allies. They may have existing assessments for properties under consideration, and building a relationship with these offices will serve your garden organization well throughout its life.
Common Mistakes to Avoid
Skipping the historical research and going straight to soil testing. Soil testing without context means you may not know what to test for, and you might miss important risk areas on the property.
Testing only in the most convenient locations. Sample strategically, based on your site history research and physical observations, not just in the easiest-to-reach spots.
Ignoring structures on the property. Old buildings, sheds, and paving can be sources of contamination even if the open soil tests clean.
Assuming a clean-looking site is safe. Many serious contaminants have no visible, odor, or taste indicators. Never skip testing based on appearance alone.
Failing to document your findings. Keep thorough records of all research, observations, samples, and test results. This documentation protects your organization and supports future decision-making.
Rushing the process. It can be tempting to start planting quickly, especially when enthusiasm is high and a growing season is approaching. Take the time to do this properly.
Tips for Success
-
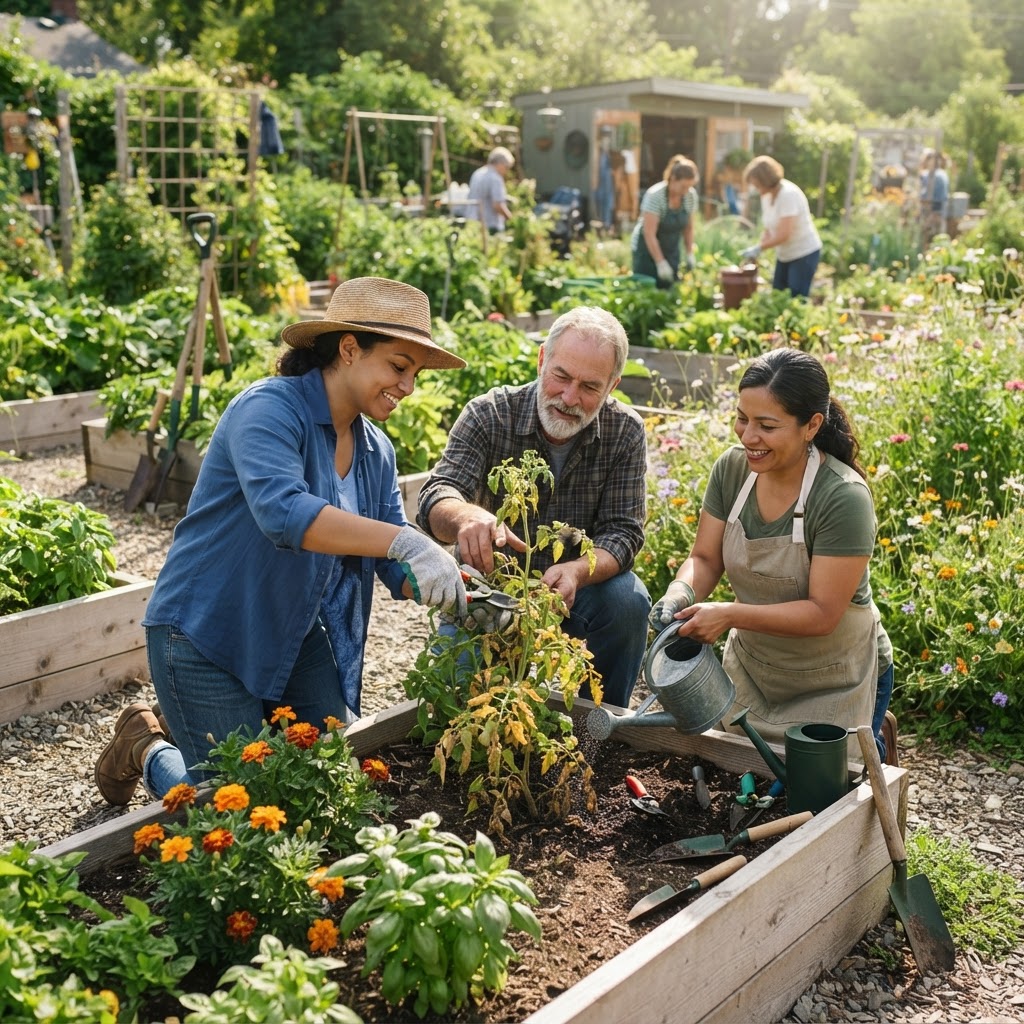
Involve community members in the assessment process. When people participate in understanding their garden space, they develop deeper investment in its success and a better understanding of any precautions that need to be followed.
-
Create a simple, readable summary of your findings to share with your community. Not everyone needs the technical details, but everyone deserves to understand the basics of what you found and what it means for how the garden will operate.
-
Revisit your assessment periodically. As you learn more about your site through seasons of gardening, new information may emerge that warrants additional testing or review.
-
Consider raised beds with imported soil as a flexible solution. Even if your site soil has some elevated contaminant levels, well-constructed raised beds with clean, tested growing media can allow safe food production in many situations.
-
Build relationships with local environmental professionals, extension agents, and public health officials. These relationships pay dividends throughout the life of your garden.
-
Keep your assessment documents organized and accessible. Future garden leadership will thank you for a well-maintained record of the site's history and testing results.
Conclusion
Conducting a comprehensive site history and environmental assessment is one of the most important investments your community garden can make. It may feel like time spent away from the actual gardening, but this groundwork protects every person who will ever participate in your garden and every plate of food that garden produces.
The process doesn't have to be overwhelming. By breaking it into manageable steps — researching the history, walking the site, collecting samples, evaluating growing conditions, and consulting with experts — you build a complete picture of your land that informs every decision going forward. When you finally do break ground, you'll do so with confidence, knowing that you've done your due diligence and created the safest, most thoughtfully planned space possible.
A garden rooted in solid preparation is a garden built to last.