Pests and diseases are an unavoidable reality in any garden, but how your community garden responds to them makes all the difference. Rather than reaching for a pesticide at the first sign of trouble, a garden-wide Integrated Pest Management (IPM) scouting protocol gives your community the tools to monitor, identify, and respond to pest pressure in a thoughtful, coordinated way. The result is a healthier garden ecosystem, lower costs, and a safer environment for everyone who tends and eats from the space.
This guide walks you through everything you need to know to set up and maintain an effective IPM scouting program across your entire community garden — from organizing your volunteers to recording what you find and deciding when to act.
What Is Integrated Pest Management (IPM)?
Integrated Pest Management is an evidence-based approach to managing pests that prioritizes long-term prevention and minimal ecological disruption. Rather than treating every pest sighting as an emergency requiring chemical intervention, IPM encourages gardeners to ask: What is causing this problem? How severe is it? What is the least disruptive way to address it?
IPM combines four core strategies:
- Prevention – choosing resistant plant varieties, maintaining soil health, practicing crop rotation, and encouraging biodiversity
- Monitoring – regularly scouting the garden to track pest and disease presence before problems escalate
- Identification – accurately identifying pests, beneficial insects, and diseases rather than assuming the worst
- Intervention – using a tiered approach that starts with cultural and mechanical controls before moving to biological and, as a last resort, chemical options
When applied across an entire community garden — rather than plot by plot — IPM becomes even more powerful. Pests don't respect plot boundaries, and a coordinated approach ensures that infestations caught in one area don't silently spread to neighboring beds.
Getting Started
Before you send anyone into the garden with a clipboard, it helps to lay a solid organizational foundation. Here's how to begin:
Assess Your Garden's Current Situation
Take a walk through the entire garden with fresh eyes. Note which areas have historically struggled with pest or disease pressure. Talk to long-time plot holders about recurring problems they've faced. Common issues in community gardens include aphids, cabbage worms, squash vine borers, fungal diseases like powdery mildew, and soil-borne issues like root rot.
Get Your Community on Board
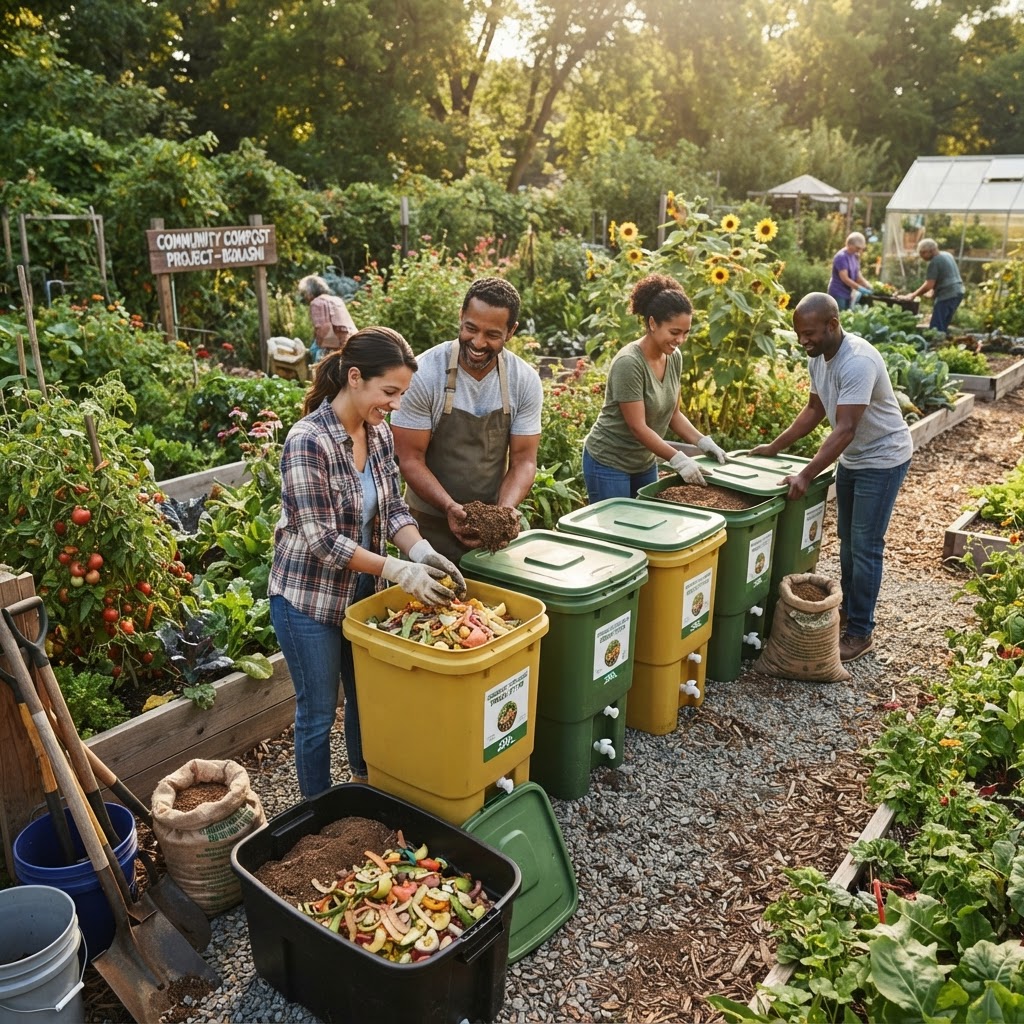
IPM works best when the whole community participates. Host a short informational meeting or share a simple handout explaining the program's goals. Emphasize that the goal isn't to police individual plots but to protect the health of the entire garden. When gardeners understand they're part of a collective defense system, participation improves significantly.
Gather Basic Supplies
You don't need expensive equipment to start scouting. A basic IPM toolkit includes:
- A printed or digital scouting form for recording observations
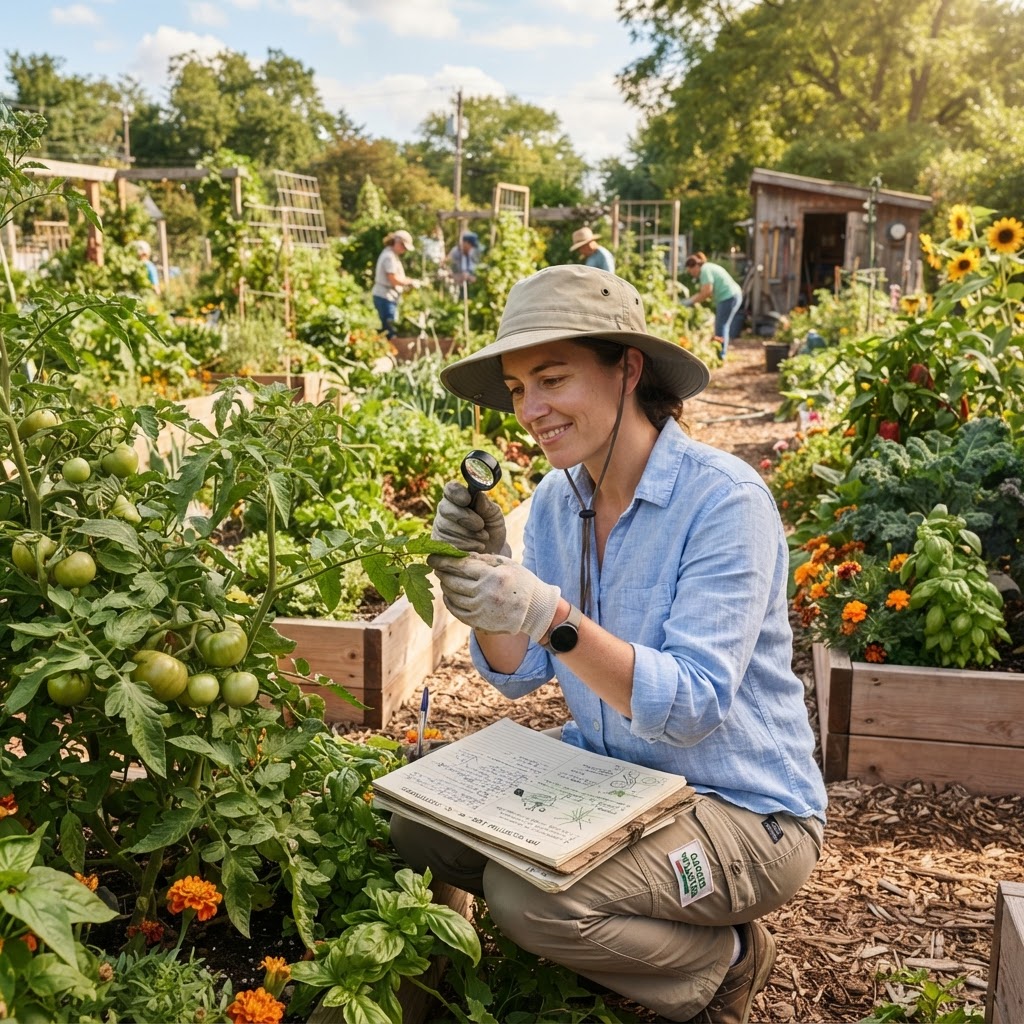
- A hand lens or magnifying glass (10x magnification works well)
- Small zip-lock bags for collecting pest samples
- A camera or smartphone for photographing unknowns
- A simple field guide to common garden pests and beneficial insects
- Yellow sticky traps for monitoring flying insect populations
Establish a Communication Channel
Whether it's a group chat, a shared online document, or a physical bulletin board near the garden entrance, your team needs a way to share findings quickly. Fast communication means faster responses when something serious is spotted.
Building Your Scouting Team
A garden-wide protocol depends on reliable people. You don't need experts — enthusiastic beginners who receive a bit of training are often the most diligent scouts.
Aim to recruit two to four dedicated scout volunteers per scouting period, ideally people who visit the garden regularly anyway. Assign each person a zone of the garden so no area goes unchecked. Rotate zones periodically so fresh eyes catch things that familiarity might cause others to overlook.
Consider hosting a one-hour training walk where an experienced gardener or your garden coordinator points out common pests, beneficial insects, and disease symptoms while actually walking the beds. Hands-on learning sticks far better than a lecture.
Creating a Scouting Map and Schedule
Mapping the Garden
Divide your community garden into logical scouting zones. These might follow existing pathways, reflect plant families grown in particular areas, or simply divide the garden into quadrants. Assign each zone a label (Zone A, Zone B, etc.) and create a simple hand-drawn or printed map that scouts can reference.
Note any areas that are historically high-risk — shaded corners prone to fungal issues, spots near compost bins that attract pests, or areas where brassicas are regularly grown.
Setting a Scouting Schedule
Consistency is the backbone of effective monitoring. A weekly scouting schedule works well for most community gardens during the active growing season. Increase to twice weekly during peak summer months when pest populations can explode quickly in warm conditions.
Scouts should aim to visit during cooler morning hours when insects are less active and easier to spot. Early morning is also when slug and snail damage is freshest and dew can reveal spider mite webbing or fungal growth.
Create a shared calendar that shows which scout is responsible for which zone each week. Post it somewhere visible so accountability is built into the system.
What to Look For During a Scout
Effective scouting is about observation, not assumption. Train your team to look for the following:
Signs of Pest Activity
- Chewed or ragged leaves – often caterpillars, beetles, or slugs
- Yellowing or stippled leaves – frequently spider mites or nutrient deficiencies
- Sticky residue (honeydew) – a sign of aphid, whitefly, or scale activity
- Wilting despite adequate water – possible vine borers, root pests, or vascular disease
- Holes in fruit or stems – corn earworm, squash vine borer, or other borers
- Presence of eggs or larvae – check undersides of leaves carefully
Signs of Disease
- Powdery white coating on leaves – powdery mildew
- Dark, water-soaked spots – bacterial or fungal blight
- Rusty pustules – rust disease
- Damping off in seedlings – fungal soil pathogens
- Mosaic or mottled patterns – potential viral infection
Beneficial Insects to Recognize
Just as important as identifying pests is recognizing allies. Train scouts to identify and protect ladybugs, lacewings, parasitic wasps, ground beetles, and hoverflies. A healthy population of beneficial insects is one of your best long-term defenses.
Recording and Tracking Your Findings
Data is only useful if it's captured consistently. Create a simple scouting log — either on paper or in a shared digital spreadsheet — that scouts fill out after every visit. Each entry should include:
- Date and time of scout
- Zone or plot number
- Plant(s) affected
- Pest, disease, or beneficial insect observed
- Estimated severity (low / medium / high)
- Location within the bed (top leaves, stems, soil level)
- Any action already taken
- Photos if available
Over time, this record becomes an invaluable resource. You'll start to see patterns — which plots consistently show aphid pressure in June, which areas develop mildew after wet spells — and you can adjust your prevention strategies accordingly.
Action Thresholds: Deciding When to Act
One of the most important concepts in IPM is the idea of an action threshold — the point at which pest levels are high enough to justify intervention. Not every pest sighting requires a response. A few aphids on a healthy plant are usually handled by natural predators without any help from you.
A simple three-tier system works well for community gardens:
- Monitor only – small numbers of pests, no visible plant damage, beneficial insects present
- Cultural intervention – pest numbers increasing, minor damage visible, hand-pick pests, improve airflow, remove affected leaves
- Active treatment – significant plant damage, rapid population growth, spread to neighboring plots; consider biological or chemical controls
Discuss and agree on these thresholds as a community so that individual plot holders and scouts are making consistent decisions rather than reacting based on personal comfort levels alone.
IPM Response Options
When action is warranted, move through this tiered hierarchy:
Cultural controls – Remove infested plant material, adjust watering habits, improve spacing for airflow, add mulch to reduce soil splash, practice crop rotation.
Mechanical controls – Hand-pick caterpillars and beetles, use row covers to exclude flying insects, set up copper tape for slugs, deploy yellow sticky traps for whiteflies.
Biological controls – Introduce or encourage natural predators, apply beneficial nematodes for soil pests, use Bacillus thuringiensis (Bt) for caterpillar issues.
Least-toxic chemical controls – If all else fails, consider targeted applications of insecticidal soap, neem oil, or horticultural oil. Always read labels carefully, apply in the evening to protect pollinators, and notify fellow gardeners before spraying shared areas.
Common Mistakes to Avoid
Even well-intentioned IPM programs can fall apart due to a few predictable pitfalls:
Skipping scouting during "quiet" periods. Pest populations often build up slowly before becoming obvious. Consistent scouting even during low-pressure weeks catches problems early.
Misidentifying pests. Spraying a pesticide on a beneficial insect you mistook for a pest can do more harm than good. When in doubt, take a photo and ask before acting.
Treating the whole garden for a localized problem. Broad applications of any pesticide — even organic ones — disturb the beneficial insect population across the entire garden. Target treatments precisely.
Failing to share scouting data. If your records stay in one person's notebook and never get communicated to the group, the whole system loses its value. Make data sharing a non-negotiable habit.
Letting perfect be the enemy of good. New programs rarely run perfectly from day one. If your scouting logs have gaps or your team misses a week, don't abandon the effort. A partial protocol is far better than no protocol at all.
Ignoring the social side. IPM in a community garden is as much about people as it is about pests. Avoid blaming individual plot holders for infestations. Frame the program as collective care rather than individual fault-finding.
Tips for Success
- Start simple and build over time. Launch with a basic scouting form and one zone. Add complexity as your team gains confidence.
- Laminate a pest ID card for each scout with photos of the ten most common pests and beneficial insects in your region.
- Celebrate your scouts publicly. A thank-you in your garden newsletter or a shout-out on the bulletin board goes a long way toward retaining volunteers.
- Hold an end-of-season review. Look through your scouting logs together and identify trends. Use this information to plan crop rotations and cover crops for the following year.
- Connect with your local cooperative extension service. Many offer free pest identification help, local pest calendars, and even IPM training workshops.
- Incorporate new plot holders into the program. When someone joins the garden, include a brief IPM orientation as part of their onboarding.
- Use companion planting strategically. Interplanting flowers like marigolds, nasturtiums, and alyssum can attract beneficial insects and deter certain pests, reducing scouting pressure over time.
Conclusion
A garden-wide IPM scouting protocol transforms how your community garden manages pests — shifting from reactive panic to proactive stewardship. By organizing your volunteers, mapping your garden, scouting consistently, recording what you find, and responding proportionately, you create a system that protects every plot while building a richer, more balanced garden ecosystem.
The program doesn't have to be complicated or expensive to be effective. What it does require is consistency, communication, and a shared commitment to the health of the whole garden. Start small, stay observant, and trust that the knowledge you build season by season will make your community garden more resilient every year.