Getting Started
An herb spiral is one of the most rewarding and practical features you can add to a community garden. At first glance, it might look like a decorative garden sculpture, but this clever design is actually a highly functional growing system that packs a surprising variety of growing conditions into a compact, accessible space. For community gardens in particular, an herb spiral becomes a shared resource that benefits every member while adding beauty and educational value to the space.
Before you pick up a shovel or start stacking stones, it's important to understand why herb spirals work, how to design one thoughtfully for a communal setting, and how to set your group up for long-term success. This guide walks you through every stage of the process, from concept to harvest, with practical advice tailored specifically to community gardens where multiple people share responsibilities and resources.
Whether your community garden is brand new or well-established, adding an herb spiral is a project that can bring members together and provide lasting benefits for seasons to come.
Understanding the Herb Spiral Concept
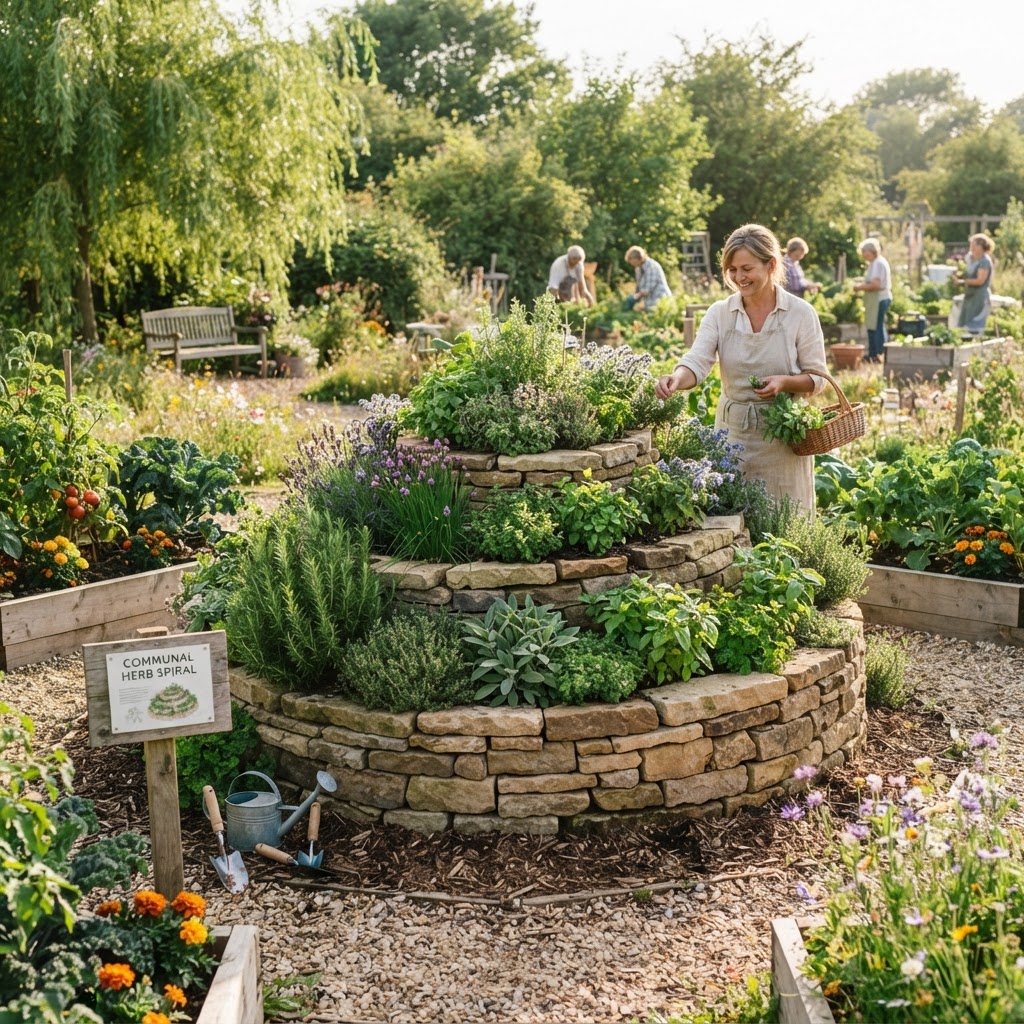
An herb spiral is a raised garden bed built in a spiraling, three-dimensional shape — typically a cone or raised mound with a winding path of herbs planted from the base up to the peak. The spiral structure creates a range of microclimates within a single bed, which is the key to its brilliance.
Here's how those microclimates work:
- The top of the spiral is the driest and warmest zone, receiving the most sun and draining quickly. This is ideal for Mediterranean herbs like rosemary, thyme, and oregano.
- The middle sections offer moderate moisture and temperature, perfect for herbs like sage, marjoram, and lavender.
- The base of the spiral retains more moisture and can even include a small water feature or bog area, making it suitable for water-loving herbs like mint, chives, and watercress.
The spiral shape also means that even a relatively small structure — typically between one and a half to two meters in diameter — can host a wide variety of herbs that would otherwise require different garden beds. For community gardens with limited space, this efficiency is invaluable.
Choosing the Right Location
Placement is perhaps the single most important decision you'll make for your herb spiral. Get the location right, and the garden almost takes care of itself. Get it wrong, and even the best design won't compensate.
Sunlight Exposure
Most culinary herbs thrive on sunlight. Your herb spiral should receive at least six to eight hours of direct sun each day. When scouting locations in your community garden, observe the space throughout the day at different times of year if possible, or speak with long-standing members about sun patterns. Avoid spots shaded by large trees, tall fences, or neighbouring structures.
Proximity to the Kitchen or Gathering Area
In a community garden, convenience drives usage. Place your herb spiral close to a communal gathering space, outdoor kitchen area, or main entrance path. When herbs are easy to access, members are more likely to harvest them regularly, which actually encourages bushier, healthier growth. A spiral tucked into a far corner risks being forgotten or underused.
Wind Protection
Strong winds can dry out soil quickly and damage delicate herb foliage. Look for a location that offers some natural wind protection — perhaps near a low fence or hedge — without sacrificing sunlight. Avoid placing the spiral in a wind tunnel between buildings or along exposed edges of the garden.
Water Access
While the spiral's design minimises watering needs, you'll still need a water source nearby, especially in the establishment phase. Being within easy reach of a hose bib or rainwater tank makes maintenance far simpler for volunteers and garden members.
Ground Conditions
Check that the ground where you intend to build isn't prone to flooding or waterlogging. A slightly elevated or well-drained spot is ideal. Avoid building directly over tree roots, buried pipes, or other underground infrastructure.
Designing Your Communal Herb Spiral
Once you've found the right spot, it's time to plan the design. A well-thought-out spiral makes construction easier and ensures the finished structure is both functional and inviting.
Size and Scale
For a community garden, slightly larger is generally better. A spiral with a base diameter of about two meters and a peak height of around one meter offers enough planting space for a meaningful variety of herbs while remaining accessible to people of different heights and abilities. Go too small and you'll limit your plant variety; go too large and the spiral becomes difficult to maintain and harvest without stepping on the bed.
Orientation
In the Northern Hemisphere, orient the spiral so that it opens toward the south, with the peak positioned to the north. This ensures the maximum possible sun exposure across the growing surfaces. In the Southern Hemisphere, reverse this orientation — open to the north, peak to the south. This simple step makes a significant difference in how effectively your different microclimates function.
Accessibility
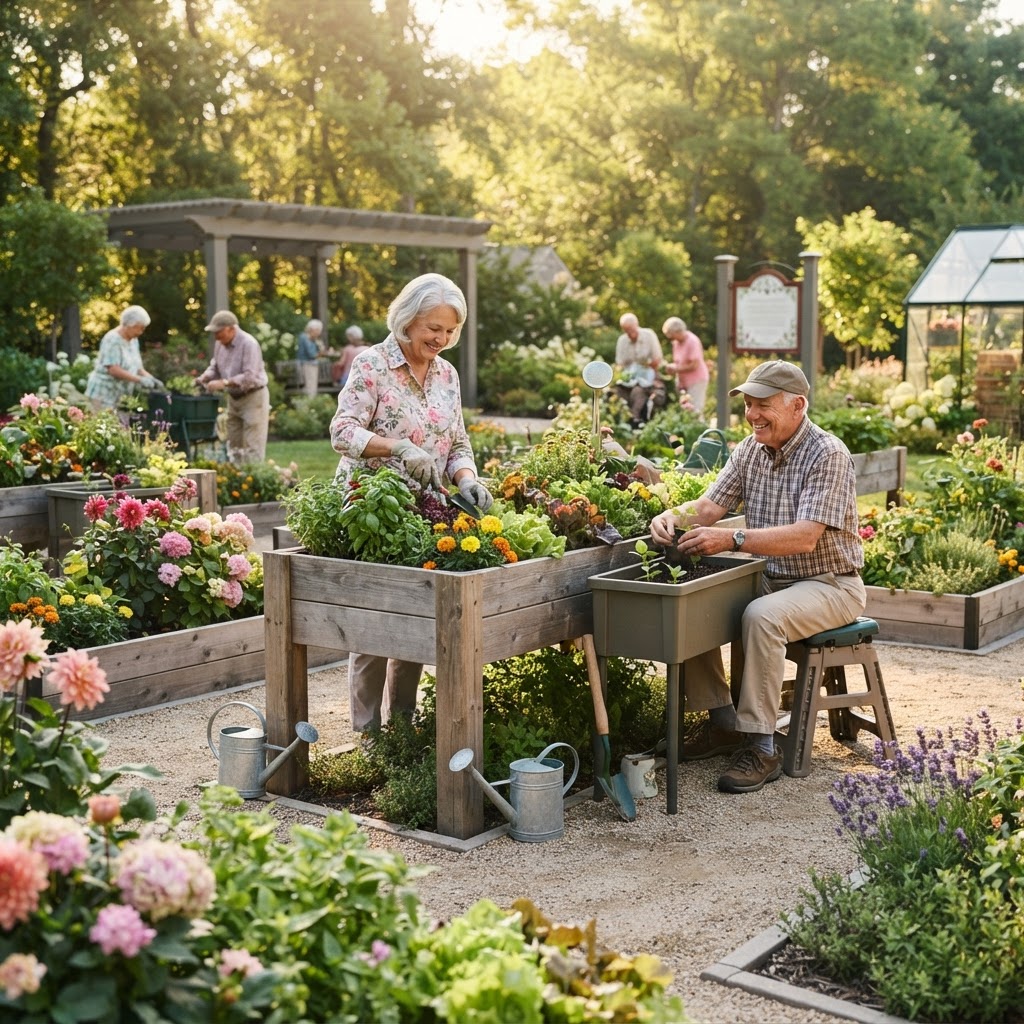
Community gardens welcome members of all ages and physical abilities. Design pathways and access points around the spiral so that everyone can reach the plants comfortably. Ensure no single area of the spiral requires leaning awkwardly or stretching across other plants. A clear gap or entry point at the base makes harvesting much easier for everyone.
Aesthetic Cohesion
Think about how the spiral fits within the broader visual character of your community garden. Discuss with members whether you'd like a rustic stone look, a tidy brick finish, or a more naturalistic earthen mound. Consistent use of materials ties the spiral into the rest of the garden and signals that it's a cared-for, permanent feature.
Selecting the Right Herbs
Choosing which herbs to plant is one of the most enjoyable parts of the process, and in a community setting, it's a great opportunity for members to share preferences and knowledge.
Start with the Essentials
Focus first on herbs that see the most use in your community. Common culinary staples like basil, parsley, chives, mint, thyme, rosemary, and sage are popular choices that most members will appreciate and use regularly.
Match Herbs to Microclimates
As you plan your planting layout, refer back to the microclimate zones:
- Top zone (dry, hot): Rosemary, thyme, oregano, lavender, sage
- Middle zone (moderate): Parsley, marjoram, lemon verbena, chervil
- Base zone (moist): Mint, chives, lemon balm, Vietnamese coriander
Planting herbs in the wrong zone is one of the most common reasons herb spirals underperform, so take this step seriously.
Consider Invasive Tendencies
Some herbs, particularly mint and lemon balm, spread aggressively. In a communal space, this can become a problem quickly. Consider planting these in buried containers or pots sunk into the soil at the base of the spiral to contain their spread.
Include Diversity for Education
Community gardens are wonderful places for people to learn. Including a few less common herbs — lemon thyme, Vietnamese coriander, or bronze fennel, for example — adds educational value and sparks conversations among members.
Building Materials and Construction Tips
The materials you choose affect both the longevity of your spiral and the effort required to build it.
Natural Stone
Dry-stacked natural stone is a classic and beautiful choice. It's durable, blends into garden environments naturally, and the gaps between stones can even provide habitat for beneficial insects. Sourcing local stone reduces costs and environmental impact.
Reclaimed Brick
Reclaimed brick offers a tidy, structured look and is often available cheaply or for free through community networks. It's easier for beginners to stack than irregular stone and creates a reliable structure.
Timber (with Caution)
While timber can be used, avoid treated lumber as the chemicals can leach into the soil and affect your edible herbs. Untreated hardwood or rot-resistant timber like oak can work, but expect it to degrade over time.
Foundation and Stability
Lay a stable foundation at the base of your spiral before stacking materials. Tamping down the ground and laying a base layer of larger stones or bricks helps prevent the structure from shifting over time. No mortar is typically needed for a well-built dry-stack spiral, but some communities choose to mortar the outer wall for extra permanence.
Soil and Drainage Considerations
The soil you fill your spiral with is just as important as the structure itself.
Fill the core of the spiral with rubble, gravel, or broken terracotta to create drainage and the raised mound shape. Layer over this with a mix of good quality topsoil, compost, and horticultural grit or sand. The proportions can be adjusted for different zones — leaner, grittier soil toward the top and richer, moisture-retentive soil at the base.
Avoid using heavy clay-based soils, which will compact and hinder root growth. A well-draining, fertile growing medium is the foundation for a thriving herb spiral.
Community Involvement and Governance
A communal herb spiral only thrives when the people responsible for it are engaged and clear on their roles.
Shared Responsibilities
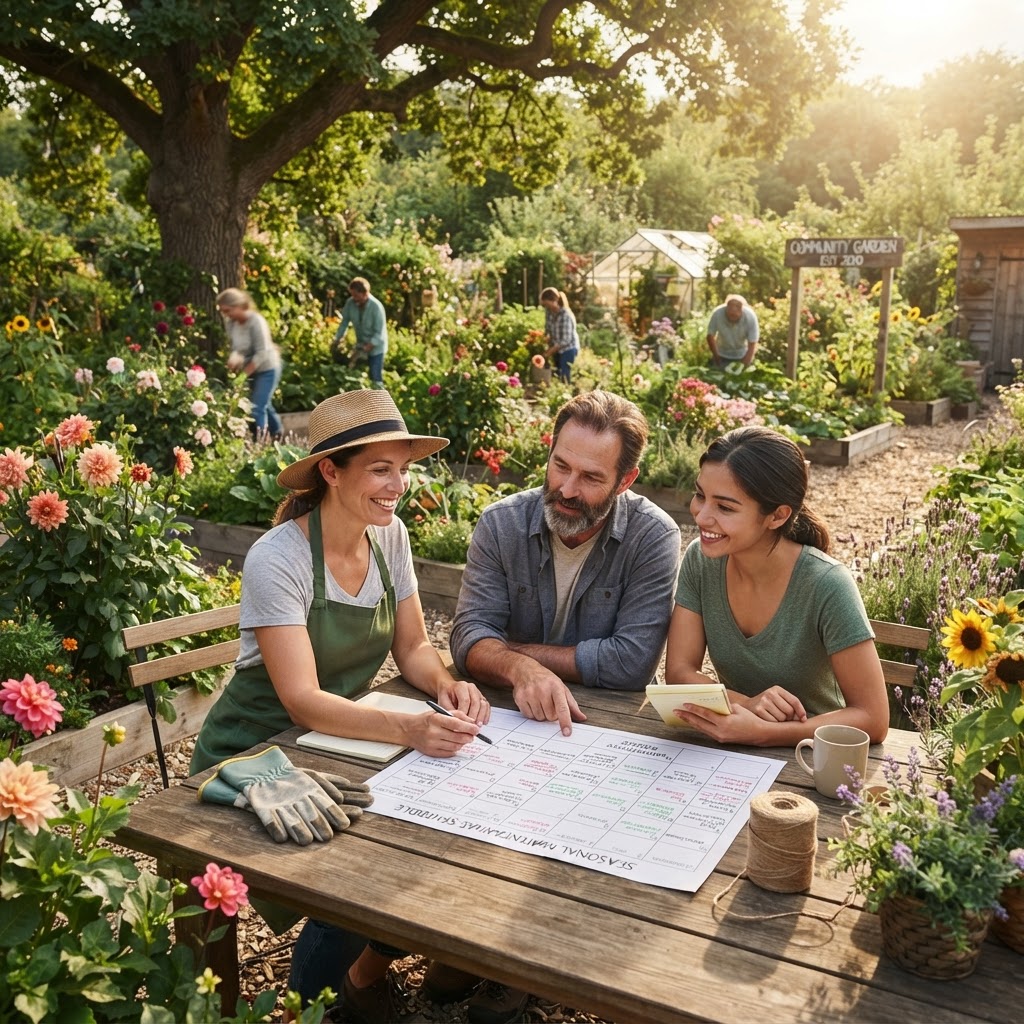
Establish a simple rota or schedule for watering, weeding, and harvesting. Assign a lead volunteer or working group to oversee the spiral's care and communicate maintenance needs to the broader community.
Harvesting Guidelines
Create clear, friendly signage near the spiral reminding members to harvest responsibly — taking small amounts and leaving plenty for others. A "harvest no more than one-third of any plant at a time" rule is a good general guideline to promote.
Seasonal Maintenance Planning
Schedule group work days for seasonal tasks like cutting back perennials in autumn, refreshing soil in spring, and replacing annual herbs as needed. Making these social events encourages participation and builds community spirit.
Common Mistakes to Avoid
Even enthusiastic, well-meaning gardeners can run into problems. Here are the most common pitfalls to watch out for:
- Ignoring microclimate zones: Planting sun-loving herbs at the base and moisture-loving herbs at the top is a very common error that leads to poor performance and plant loss.
- Building too small: Undersized spirals quickly become overcrowded, making maintenance and harvesting difficult and frustrating.
- Using poor quality or wrong soil: Filling the spiral with straight topsoil or heavy clay leads to waterlogging, compaction, and unhappy herbs.
- Placing it in shade: Even partial shade significantly reduces the productivity of most common culinary herbs. Don't underestimate how much sun a spiral needs.
- Neglecting to contain invasive herbs: Mint and lemon balm left unchecked will crowd out their neighbours within a season or two.
- Skipping governance planning: Without clear agreements about maintenance and harvesting, the spiral can become neglected or a source of community tension.
- Rushing the construction: A poorly built wall that collapses after the first winter wastes everyone's time and resources. Take care to build solidly from the start.
Tips for Success
Here are practical, actionable steps to help your communal herb spiral thrive:
- Host a planning meeting before breaking ground to gather input from community members and build shared ownership of the project.
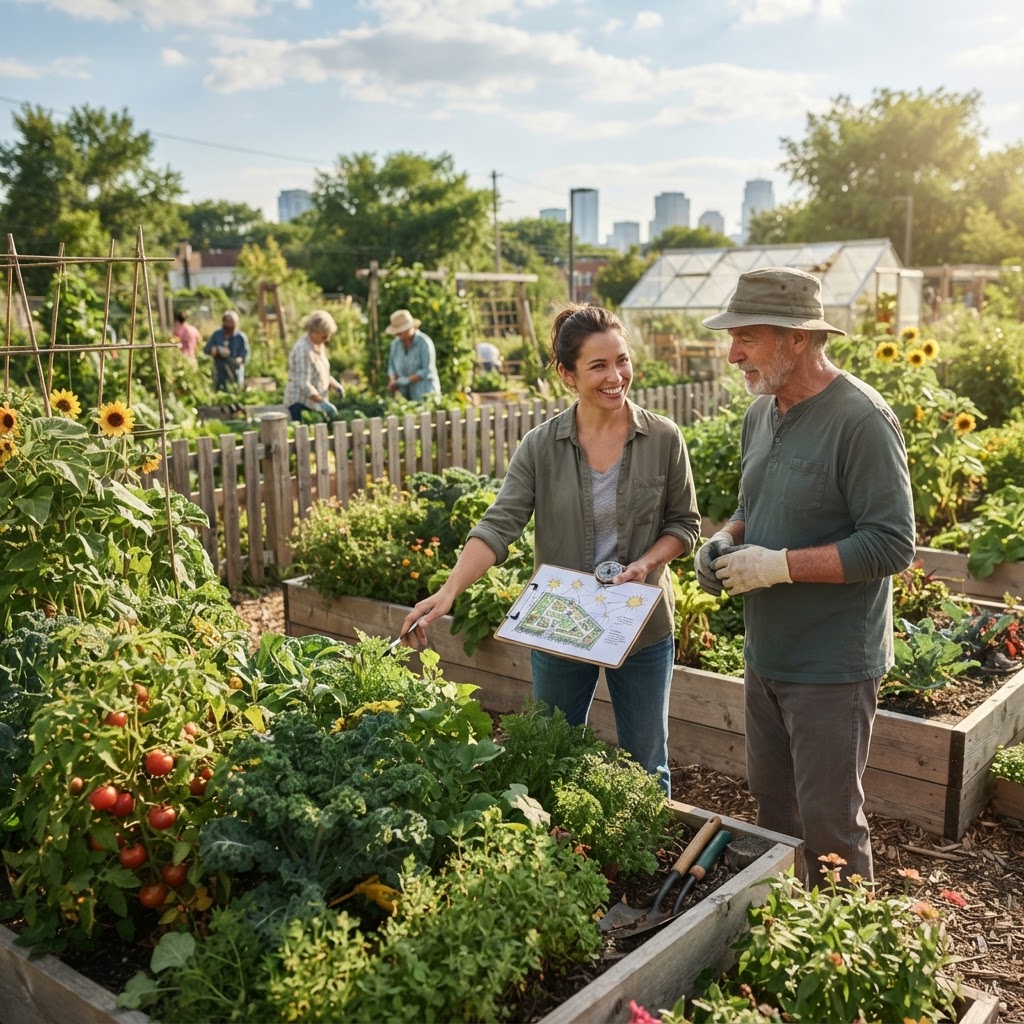
- Map your sun patterns over a full day before committing to a location — even a single overcast day of observation is better than guessing.
- Source materials locally through community platforms, reclamation yards, or local quarries to reduce costs and increase buy-in.
- Label your herbs clearly with weather-resistant markers so new members and visitors can identify and learn about the plants.
- Water deeply but infrequently during establishment to encourage deep root growth and drought resilience.
- Mulch the base zones lightly to help retain moisture and suppress weeds without smothering low-growing plants.
- Document the build with photographs and notes — this creates a record for future maintenance and makes a wonderful addition to your community garden's story.
- Celebrate the launch with a communal cooking event using freshly harvested herbs — it creates positive associations and encourages ongoing use of the spiral.
- Review the spiral annually and refresh planting as needed, replacing any herbs that have died back or become overly woody.
- Involve newer members in the spiral's care — it's an accessible, manageable project that helps people feel connected to the garden.
Conclusion
A well-designed and thoughtfully placed herb spiral is one of the most rewarding additions a community garden can make. It combines smart permaculture design, practical food production, and a beautiful focal point all in one compact structure. More than that, in a communal setting, it becomes a shared resource and a symbol of what community gardening is all about — people coming together to grow, learn, and share.
From choosing the right location and materials to selecting herbs that suit each microclimate zone, every decision you make contributes to a spiral that will serve your community for years. By combining good design principles with clear community governance and regular maintenance, your herb spiral can evolve into one of the most used and loved features in your garden.
Start with a conversation, involve your members, and don't be afraid to learn as you go. The best community gardens are ones that grow and improve over time — and your herb spiral will too.