Getting Started
Before you plant a single seed, it's worth spending time on planning. A seed-source orchard requires a bit more intentionality than a typical pollinator garden because the goal isn't just growing flowers — it's producing clean, viable seeds in sufficient quantities to share.
Assess Your Space
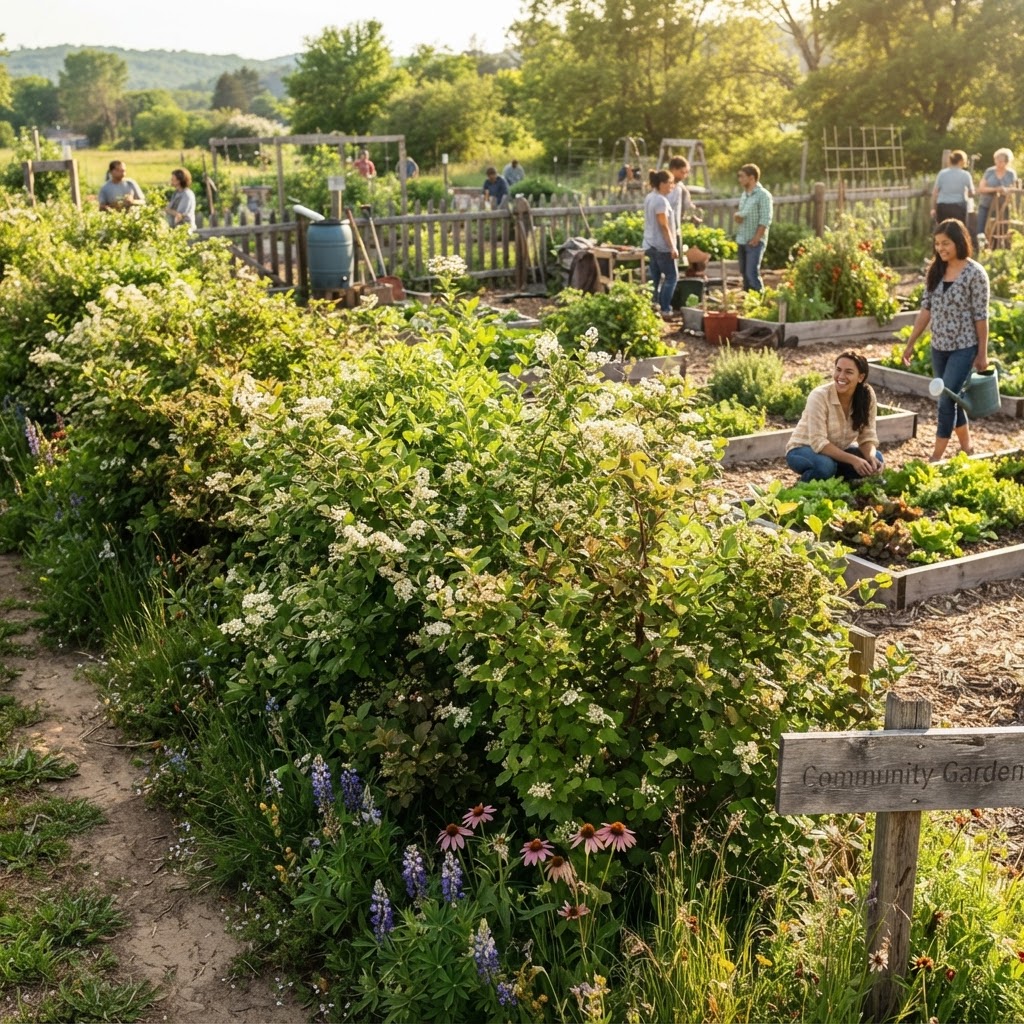
Start by identifying a dedicated area within your community garden, ideally at least 100 to 200 square feet, though larger is always better. The space should receive full sun for most of the day, have reasonably good drainage, and ideally be situated away from foot traffic areas where plants might be trampled before seed maturation.
Consider whether the space is isolated enough to reduce cross-pollination from non-native cultivars. If your garden has beds filled with cultivated varieties of native plants (sometimes called "nativars"), placing your seed-source orchard some distance away helps ensure seed genetic integrity.
Understand Your Local Ecotype
One of the most important concepts in native plant seed sourcing is the idea of a local ecotype. Plants that evolved in your specific region are genetically adapted to your local soils, rainfall patterns, frost dates, and pollinator communities. Seeds sourced from the same general region as your garden will produce plants that are far more resilient and ecologically appropriate than seeds from distant populations.
Before purchasing starter seeds or plants, research which species are native to your specific county or region. Your state's native plant society, local herbarium records, or a cooperative extension service are all good places to begin. Choosing locally appropriate species from the start sets the foundation for a genuinely valuable community resource.
Gather Your Team
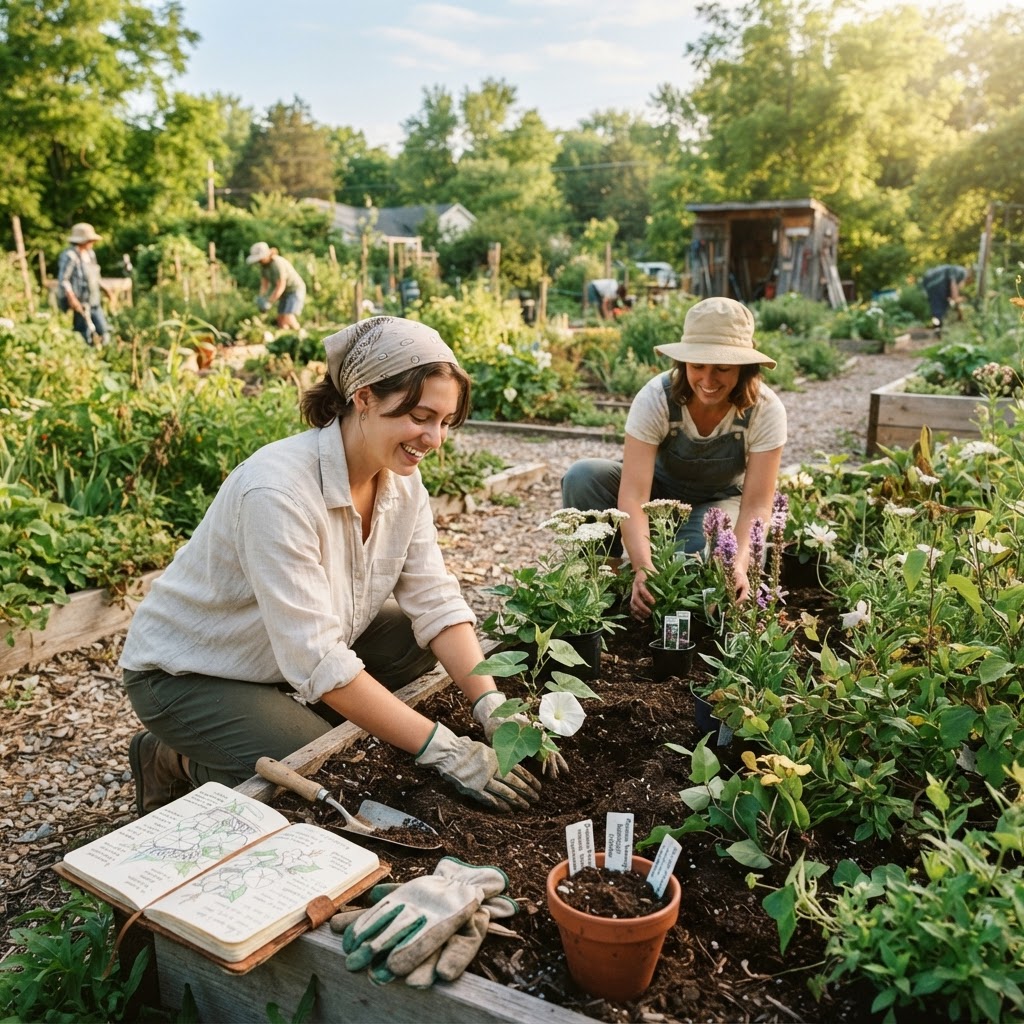
A seed-source orchard works best as a shared responsibility. Recruit a small team of two to five dedicated volunteers who will take ownership of the project across the growing season. Assign roles such as a lead plant monitor, a seed collection coordinator, and a distribution manager. When responsibilities are clearly shared, nothing falls through the cracks during the critical seed collection windows.
Choosing the Right Native Wildflowers
Not all native wildflowers are equally well-suited for a community seed orchard. You want species that are easy to grow from seed, produce abundant seeds reliably, store well, and are genuinely useful to home gardeners in your region.
Reliable Beginner-Friendly Species
Some excellent candidates for most temperate North American regions include:
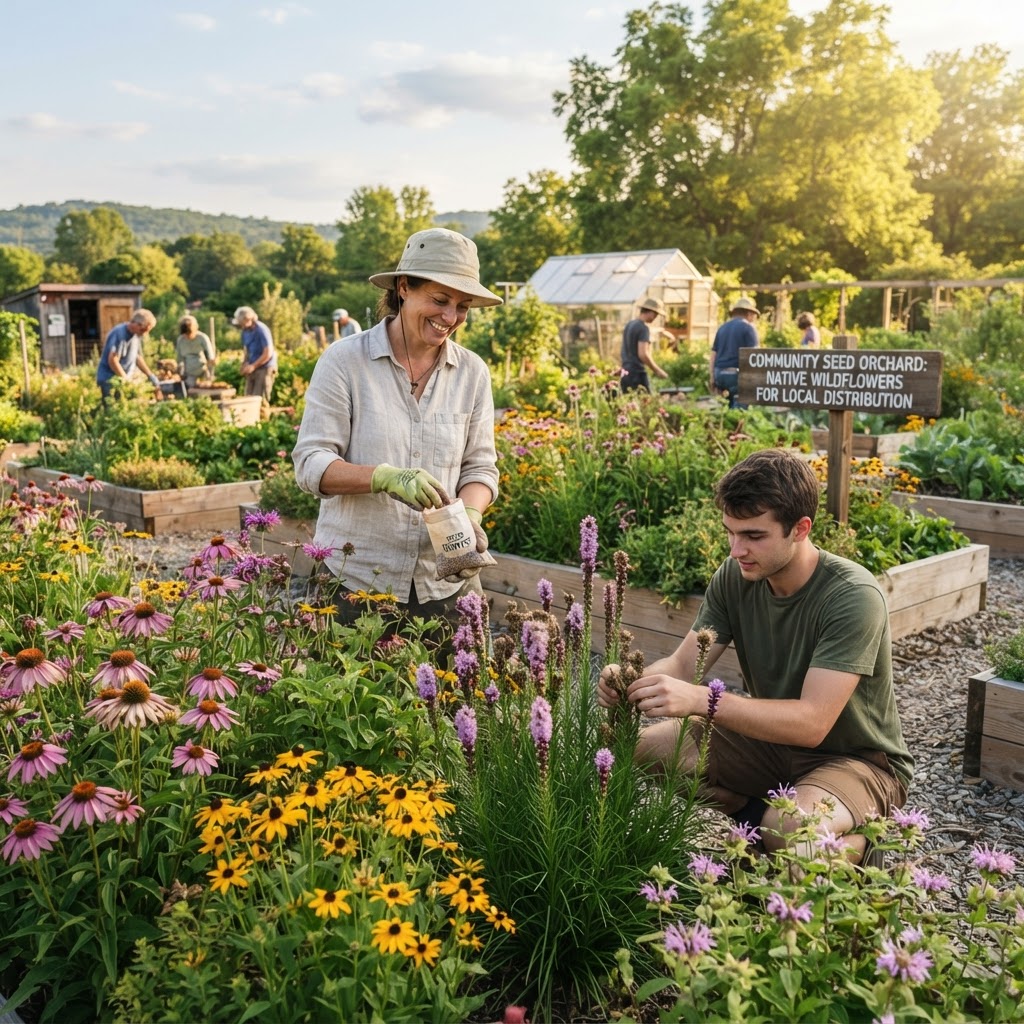
- Purple coneflower (Echinacea purpurea) — a beloved pollinator plant with large, easy-to-harvest seed heads
- Black-eyed Susan (Rudbeckia hirta) — incredibly prolific and adaptable, great for beginners
- Wild bergamot (Monarda fistulosa) — aromatic, beloved by bees, and produces seeds easily
- Lanceleaf coreopsis (Coreopsis lanceolata) — long-blooming, drought-tolerant, and cheerful
- Blue wild indigo (Baptisia australis) — slower to establish but extremely long-lived and ecologically valuable
- Partridge pea (Chamaecrista fasciculata) — an annual that fixes nitrogen and reseeds prolifically
- Rattlesnake master (Eryngium yuccifolium) — architectural and dramatic, excellent for prairie-style plantings
Check in with your regional native plant resources to confirm which of these are appropriate for your specific area, and supplement with other locally native species unique to your region.
Prioritize Diversity
Aim for a mix of bloom times — early spring, mid-summer, and fall — so your orchard supports pollinators across the season while also giving your volunteers a staggered, manageable seed collection schedule. Include a variety of plant heights and forms to maximize habitat value and visual interest.
Designing Your Seed-Source Orchard
A seed-source orchard doesn't need to be complicated in design, but thoughtful layout will make maintenance and harvesting much easier.
Use a Grid or Block Planting Style
Rather than a naturalistic scattered design, consider grouping each species into clearly labeled blocks or rows. This makes it easy for volunteers to identify plants at a glance, monitor seed development, and harvest efficiently without confusing species. Label each block with a weather-resistant stake that includes the common name, scientific name, and approximate seed collection date.
Plan for Access
Leave clear pathways between blocks wide enough for two people to work side by side. You'll want to move through the orchard with paper bags, scissors, and seed processing equipment, so accessibility matters.
Install a Simple Irrigation System
Native plants are often drought-tolerant once established, but during their first one to two growing seasons, consistent moisture dramatically improves establishment and seed production. A drip irrigation system or soaker hoses on a timer reduces volunteer burden and ensures your plants aren't stressed during critical flowering and seed-setting periods.
Seed Collection and Processing
This is the heart of the project, and getting it right makes all the difference in the quality of seeds you distribute.
Timing Is Everything
Seeds must be collected at the right moment — after they've fully matured but before they disperse naturally. This window can be surprisingly short, sometimes just a week or two. Monitor your plants closely as flower heads begin to turn brown and dry. A simple test: gently squeeze a seed head or pod. If seeds release easily and feel firm and dry, they're ready. If they're still soft or light green, wait a few more days.
Keep a paper calendar or digital tracker with expected seed collection dates for each species in your orchard. Different species have very different timelines.
Collection Best Practices
Always collect seeds on a dry day after morning dew has evaporated. Use paper bags rather than plastic — seeds need to breathe during the initial drying phase. Label each bag immediately with the species name, collection date, and location. Never let labeled bags go mixed up in the field.
For species with spiky or prickly seed heads like coneflower, wear gloves. For species with many tiny seeds like wild bergamot, consider placing a bag directly over the seed head and shaking or cutting the stem so seeds fall into the bag.
Cleaning and Drying
Once collected, spread seeds in a single layer on screens or paper in a warm, dry, well-ventilated area away from direct sunlight. Allow them to dry for one to three weeks depending on the species and ambient humidity. Stir or turn them gently every few days.
After drying, clean your seeds by removing chaff, stems, and debris. A series of mesh screens in different sizes works wonderfully for this. Alternatively, gently blowing air across the seeds (like with a small fan on low) helps separate lightweight chaff from heavier seeds.
Storing and Packaging Seeds for Distribution
Proper Storage Conditions
Dry, cool, and dark is the golden rule for seed storage. Once cleaned and fully dried, place seeds in paper envelopes or small glass jars with tight-fitting lids. Include a small silica gel packet in each jar to absorb residual moisture. Store in a cool, consistent environment — a refrigerator works well for long-term storage, as does a cool basement or root cellar.
Most native wildflower seeds remain viable for one to three years under proper storage conditions, though some species like wild indigo maintain viability for longer periods.
Community Distribution Packaging
For community distribution, small coin envelopes work perfectly. Label each envelope clearly with:
- Common name and scientific name
- Brief growing instructions (sunlight, moisture, bloom time)
- Any stratification requirements (some native seeds need cold stratification before germinating)
- The year the seeds were collected
- Your community garden's name and contact
Consider creating a simple one-page growing guide for each species that can be distributed alongside the seed packets. Hosting an annual seed swap event or integrating your seed packets into a free seed library at your local library or community center amplifies your distribution reach significantly.
Common Mistakes to Avoid
Even experienced gardeners run into pitfalls when managing a seed-source orchard. Here are the most common ones — and how to sidestep them.
Harvesting too early. Immature seeds have very low germination rates. When in doubt, wait a few extra days and monitor the plant closely. Learning what "seed ready" looks like for each species takes a season or two.
Using plastic bags for collection. Plastic traps moisture and causes seeds to mold quickly. Always use paper for field collection and initial drying.
Neglecting to deadhead non-orchard plants nearby. If your community garden has other beds with the same species but cultivated varieties, allowing them to set seed near your orchard risks genetic contamination. Deadhead those plants before seeds mature.
Skipping the labeling step. Unlabeled seeds become mystery seeds very quickly. Make labeling a non-negotiable habit at every stage of collection, processing, and storage.
Overlooking stratification requirements. Many native wildflower seeds require a period of cold, moist stratification to break dormancy. If you distribute seeds without this information, recipients may be disappointed when their seeds don't germinate. Always include these instructions on your packets.
Trying to grow too many species in year one. Start with three to five well-chosen species, learn their rhythms thoroughly, and expand in subsequent years.
Tips for Success
- Visit your orchard daily during peak seed season. A two-minute daily check-in can mean the difference between catching seeds at peak maturity and finding an empty, dispersed seed head.
- Partner with a local native plant nursery or native plant society. They can provide starter plants of verified local ecotype, guidance on regional species, and sometimes volunteers or educational support.
- Document everything with photos. A photo journal of each species from flower to ripe seed head creates an invaluable reference for your team each year.
- Offer volunteer workshops. Teaching community members how to collect and clean seeds turns passive recipients into active participants. A seed processing party can be genuinely fun and builds community around the project.
- Plan for succession. Rotate which plants you harvest most heavily to avoid over-stressing your source plants. Leaving some seeds to self-sow also helps maintain a self-renewing orchard over time.
- Test germination rates before distribution. Each autumn, do a simple germination test with a small sample of each seed batch. Place ten seeds on a moist paper towel, fold it up, keep it warm, and check germination after the expected days to sprout. This tells you the approximate viability of your batch.
Conclusion
Establishing a seed-source orchard of native wildflowers is one of the most meaningful contributions a community garden can make to its neighborhood and local ecosystem. By dedicating a section of your garden to producing high-quality, locally appropriate wildflower seeds, you create a ripple effect — supporting pollinators in your garden, and then in dozens or hundreds of home gardens as your seeds travel outward into the community.
The project requires patience, observation, and consistent teamwork, but none of these are beyond the reach of motivated beginner or intermediate gardeners. Start small, choose your species thoughtfully, learn the rhythms of seed maturity, and build your distribution network one packet at a time. Within just a few seasons, you'll have established something genuinely special: a living seed library rooted in your community and your local landscape.