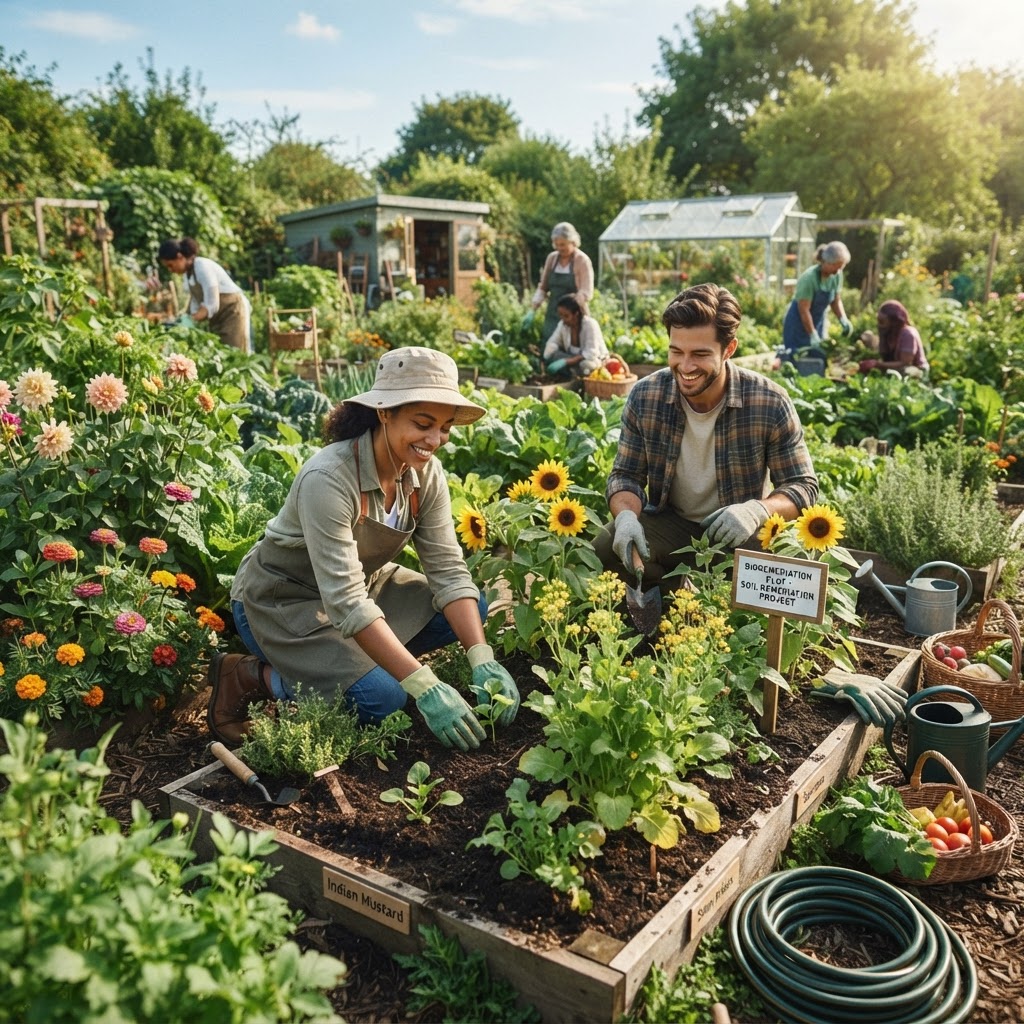
Community gardening is one of the most rewarding ways to grow food, connect with neighbors, and build a healthier local environment. But with shared spaces come shared responsibilities — and one of the most important responsibilities every community gardener can take on is properly sanitizing shared tools. When tools pass from hand to hand and plot to plot, they can silently carry fungal spores, bacterial pathogens, and viral particles that devastate plants and undermine everyone's hard work.
This guide is here to help you understand why tool sanitation matters, how to do it correctly, and how to build habits that protect your entire gardening community.
Getting Started
If you're new to the idea of sanitizing garden tools, don't worry — it's simpler than it sounds, and once you understand the basics, it becomes second nature. The core concept is straightforward: tools that come into contact with soil, plant matter, and moisture can pick up and transfer disease-causing organisms. When those tools are shared among dozens of gardeners working in different plots, the risk of spreading disease multiplies significantly.
Before you dive into the specific methods, here's what you need to know right off the bat:
- Sanitation is not the same as cleaning. Cleaning removes visible dirt and debris. Sanitation goes further, using chemical or physical methods to kill or significantly reduce pathogens on the tool's surface.
- You don't need expensive products. Many effective sanitation solutions use household items like rubbing alcohol or diluted bleach.
- Consistency matters more than perfection. A simple sanitation habit practiced regularly does more good than an occasional deep clean.
Gather your supplies, read through this guide, and you'll be ready to make a real difference in the health of your community garden.
Why Tool Sanitation Matters in Community Gardens
In a private garden, a disease outbreak might affect only your plants. In a community garden, a single infected tool moving from one plot to the next can trigger a chain reaction that affects dozens of gardeners in a single season.
Plant diseases — including fungal infections like powdery mildew and black spot, bacterial infections like fire blight, and viral infections transmitted through sap — can survive on metal, wood, and plastic surfaces for hours, days, or even weeks depending on environmental conditions. A shovel used to divide an infected plant can carry those pathogens to a neighboring plot. Pruning shears used to cut diseased tomato vines can spread mosaic virus to healthy plants several plots away.
Beyond plant disease, proper tool hygiene also reduces the spread of soil-borne pathogens that can affect human health. Community gardens often include participants with varying levels of immune function, including elderly gardeners, children, and people managing chronic health conditions. Practicing good sanitation is an act of care for your entire community, not just your own plot.
Understanding How Diseases Spread Through Tools
To sanitize effectively, it helps to understand what you're actually fighting. Pathogens spread through tools in a few key ways:
Contact with Infected Plant Tissue
When you cut, prune, or divide a diseased plant, the sap, spores, or bacteria on that plant tissue transfer directly to the blade or surface of your tool. Without cleaning and sanitizing, those pathogens are ready to infect the very next plant the tool touches.
Contaminated Soil
Soil is a rich ecosystem, and while most of what lives there is beneficial, infected soil can harbor harmful fungi and bacteria. Tools used for digging, turning, or transplanting can carry contaminated soil from one bed to another.
Water and Moisture
Damp tool surfaces are particularly hospitable to certain fungi and bacteria. Tools stored wet or used in high-moisture conditions are at greater risk of harboring and transferring pathogens.
Cross-Plot Transfer
In a community garden setting, the movement of tools between plots creates many opportunities for cross-contamination. Even a well-meaning gardener who borrows a neighbor's trowel without thinking can inadvertently introduce a pathogen that takes weeks to show visible symptoms.
Essential Supplies for Tool Sanitation
You don't need to invest heavily in specialized products. Here are the core supplies that make up an effective sanitation kit:
- Stiff-bristled brush or scrubbing pad — for removing soil and plant debris
- Bucket or container — for mixing sanitizing solutions
- Rubbing alcohol (isopropyl alcohol, 70% concentration) — highly effective against a broad range of pathogens; safe for most tool materials
- Household bleach — diluted bleach (typically one part bleach to nine parts water) is effective but can corrode metal over time if not rinsed properly
- Clean rags or paper towels — for applying and wiping solutions
- Spray bottle — useful for applying alcohol solutions quickly and evenly
- Gloves — to protect your hands from both pathogens and sanitizing chemicals
- Linseed or mineral oil — for conditioning wooden handles and preventing rust on metal after sanitation
Optional but helpful additions include:
- Disposable wipes pre-saturated with isopropyl alcohol
- A dedicated tool caddy or station in the communal shed for sanitation supplies
Step-by-Step Sanitation Methods
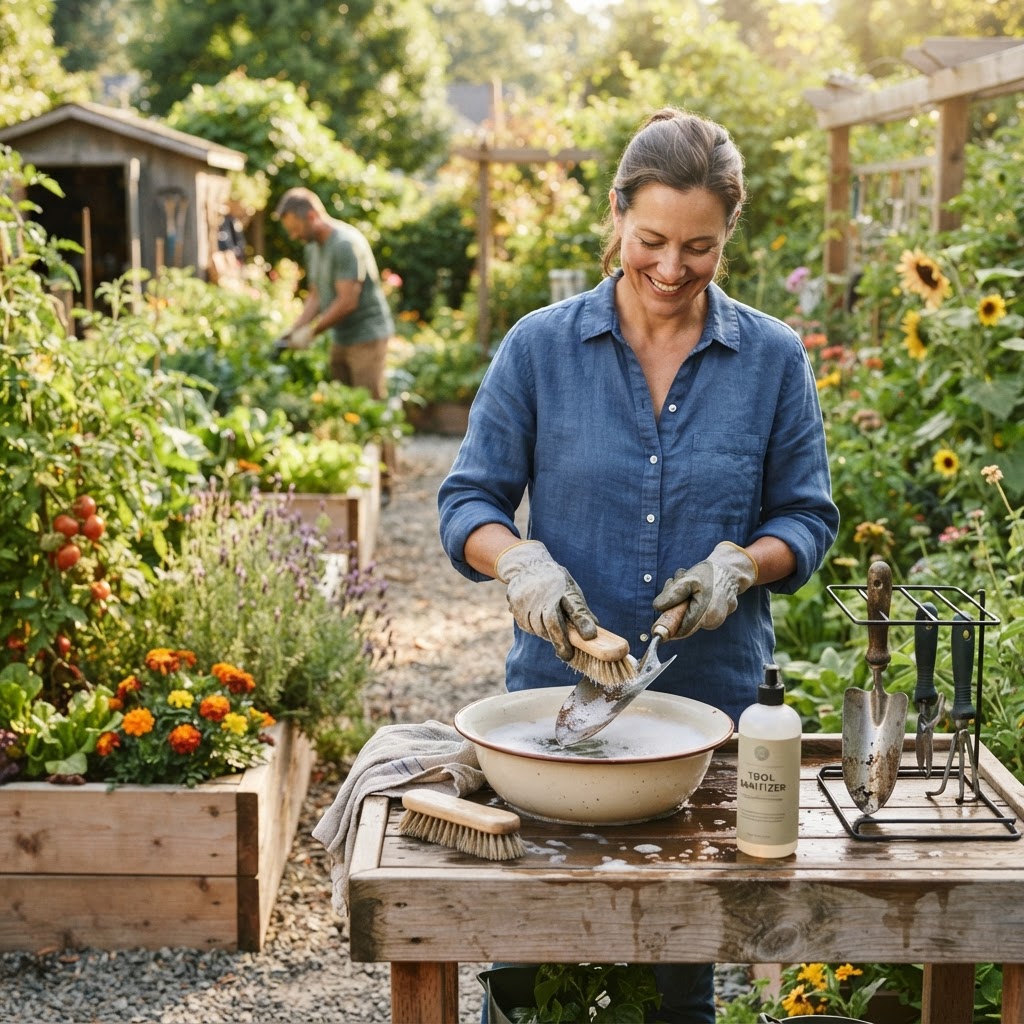
Method 1: Alcohol Wipe-Down (Everyday Use)
This is your go-to method for quick sanitation between tasks and between plots.
- Use your stiff brush to remove all visible soil and plant material from the tool.
- Dampen a rag or paper towel with 70% isopropyl alcohol.
- Wipe all surfaces of the tool thoroughly, paying special attention to cutting edges, joints, and any crevices.
- Allow the tool to air dry — alcohol evaporates quickly.
- No rinsing is necessary.
This method takes about two minutes and is ideal between each use in different plots.
Method 2: Bleach Solution Soak or Wipe (After Working with Diseased Plants)
When you know or suspect a plant was diseased, a stronger approach is warranted.
- Remove all visible debris with your brush.
- Mix one part household bleach with nine parts water in your bucket.
- Submerge or thoroughly wipe the tool with the bleach solution.
- Allow it to sit for at least two to three minutes.
- Rinse thoroughly with clean water to prevent corrosion.
- Dry completely before storage.
- Apply a light coat of oil to metal surfaces to prevent rust.
Method 3: Flame Sterilization (Grafting Knives and Small Blades)
For small precision tools like grafting knives, a brief flame treatment is an option.
- Clean debris off the blade first.
- Hold the blade in a flame (from a lighter or small torch) until it glows red briefly.
- Allow it to cool completely before use.
- Note: This method is suitable only for metal blades and should never be used on coated, painted, or composite tools.
Sanitizing Specific Tool Types
Pruning Shears and Loppers
These tools cut directly into plant tissue, making them among the highest-risk items for disease transmission. Sanitize pruning shears between each plant during disease-prone seasons, and absolutely between different plots. Disassemble if possible for thorough cleaning of the joints and spring mechanisms.
Shovels and Spades
Focus on removing soil thoroughly before applying any sanitizing solution. A stiff brush does most of the work here. Alcohol wipe-downs are practical and effective for these larger tools.
Trowels and Hand Tools
Because they are small and used frequently in soil and close to plant roots, hand trowels can be contamination risks. Wipe them down between plots and store them clean and dry.
Hoses and Watering Wands
These are often overlooked but can transfer pathogens through water splash. Periodically wipe down hose ends and wand nozzles with an alcohol solution. Avoid letting hose ends rest directly on soil near diseased plants.
Tool Handles
Wooden handles can harbor bacteria in cracks and splits. Sand rough handles annually and treat them with linseed oil. Plastic handles are easier to wipe clean but should still be sanitized regularly.
Building a Sanitation Routine for Your Garden
Creating a culture of sanitation in a community garden requires both individual commitment and collective systems. Here are practical strategies for both:
Personal habits to develop:
- Keep a small spray bottle of alcohol in your garden bag for on-the-spot sanitation.
- Make cleaning tools the first and last step of every gardening session.
- Label your personal tools clearly to reduce accidental sharing without sanitation.
Community systems to establish:
- Create a designated sanitation station in the communal tool shed with supplies clearly labeled and easily accessible.
- Post simple visual guides near the tool shed showing basic sanitation steps.
- Establish a shared calendar for deep-cleaning communal tools at the start and end of each growing season.
- Include tool sanitation expectations in your garden's member orientation.
Common Mistakes to Avoid
Even gardeners with good intentions make mistakes when it comes to tool sanitation. Here are the most common pitfalls and how to sidestep them:
Skipping the cleaning step before sanitizing. Sanitizing solutions cannot work effectively through layers of soil and organic matter. Always remove debris first — sanitation without cleaning is largely ineffective.
Using too-diluted or too-concentrated bleach solutions. Too weak and it won't kill pathogens. Too strong and it corrodes your tools unnecessarily. Stick to the one-to-nine ratio.
Not letting the solution have contact time. A quick wipe with bleach that you immediately rinse off won't do the job. Let solutions sit for at least two to three minutes to be effective.
Storing tools wet. Moisture promotes rust and provides a hospitable environment for fungi and bacteria. Always dry tools thoroughly before storing them.
Ignoring handles and non-cutting surfaces. Pathogens don't limit themselves to cutting edges. Wipe down the full length of the tool.
Sanitizing only when you notice a problem. By the time a disease is visible, it has often already spread. Preventive sanitation is far more effective than reactive sanitation.
Assuming someone else will handle it. In a shared space, this assumption is how diseases spread. Every gardener should take personal responsibility for the tools they use.
Tips for Success
- Make it a ritual. Pair tool sanitation with another consistent habit, like washing your hands before leaving the garden. Habits stick when they're attached to existing routines.
- Keep supplies visible and accessible. If the sanitation station is inconvenient, people won't use it. Place supplies at eye level near where tools are stored and returned.
- Use alcohol for speed, bleach for thoroughness. Alcohol is faster and easier for everyday use. Reserve bleach solutions for situations where disease is present or suspected.
- Advocate gently within your community. Share what you know with fellow gardeners without lecturing. Demonstrating good habits is more persuasive than telling others what to do.
- Season your tools after every deep clean. Maintaining tools properly extends their life and keeps them in good working condition — a well-maintained tool is easier to sanitize.
- Keep a small log of disease observations. Note which plots or plant types showed signs of disease. This helps you identify high-risk areas where extra vigilance is needed.
- Educate newcomers during onboarding. The most effective time to establish sanitation norms is before new members have developed their habits.
Conclusion
Proper sanitation of shared tools is one of the simplest and most impactful practices a community gardener can adopt. It protects your plants, your neighbors' plants, and contributes to a healthier, more resilient garden for everyone. The good news is that it doesn't require expensive equipment or significant extra time — a two-minute habit practiced consistently can make an enormous difference over the course of a growing season.
The heart of community gardening is collective responsibility and shared care. When you take the time to clean and sanitize the tools you use, you're not just protecting your own plot. You're showing respect for the work and effort of every gardener around you. That's the kind of culture that makes community gardens thrive for years and decades to come.
Start with the basics, build your routine, share your knowledge, and enjoy the confidence that comes from knowing you're doing your part to keep your shared garden healthy and vibrant.