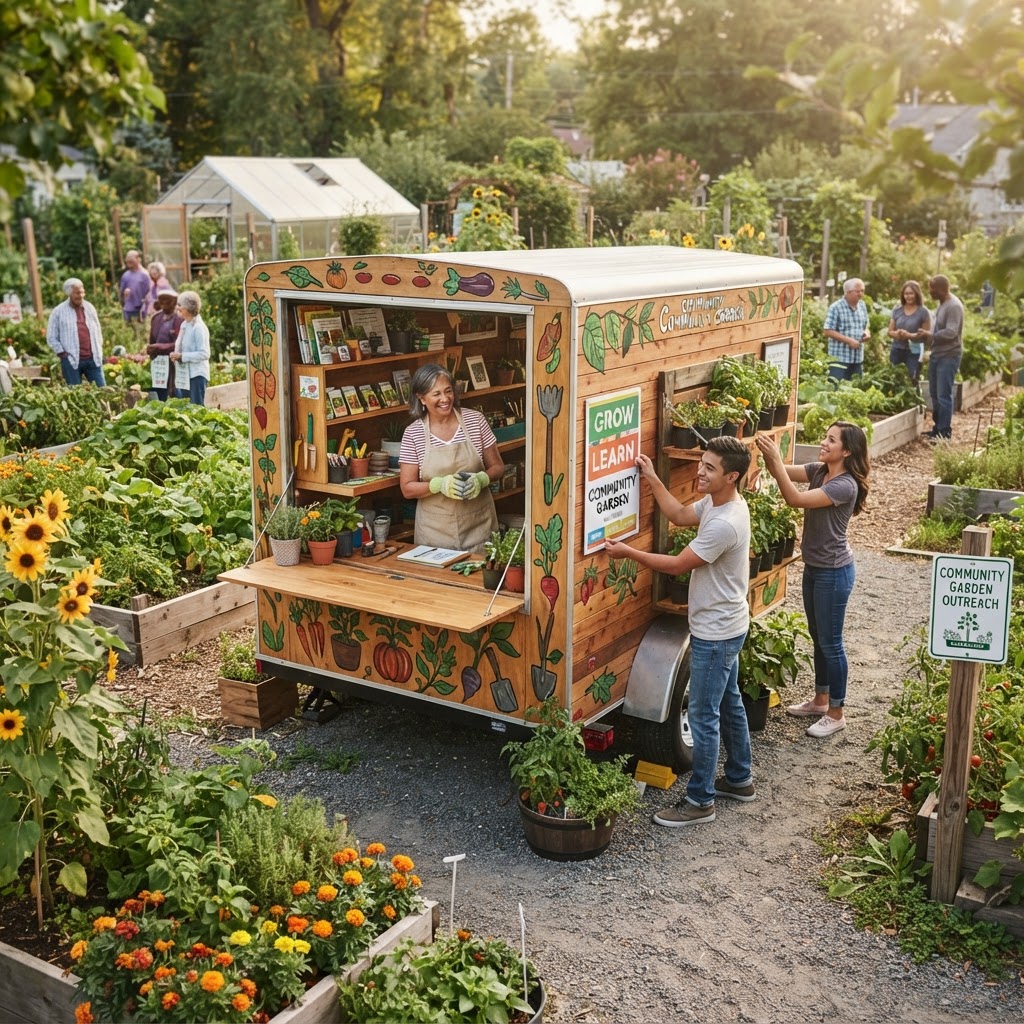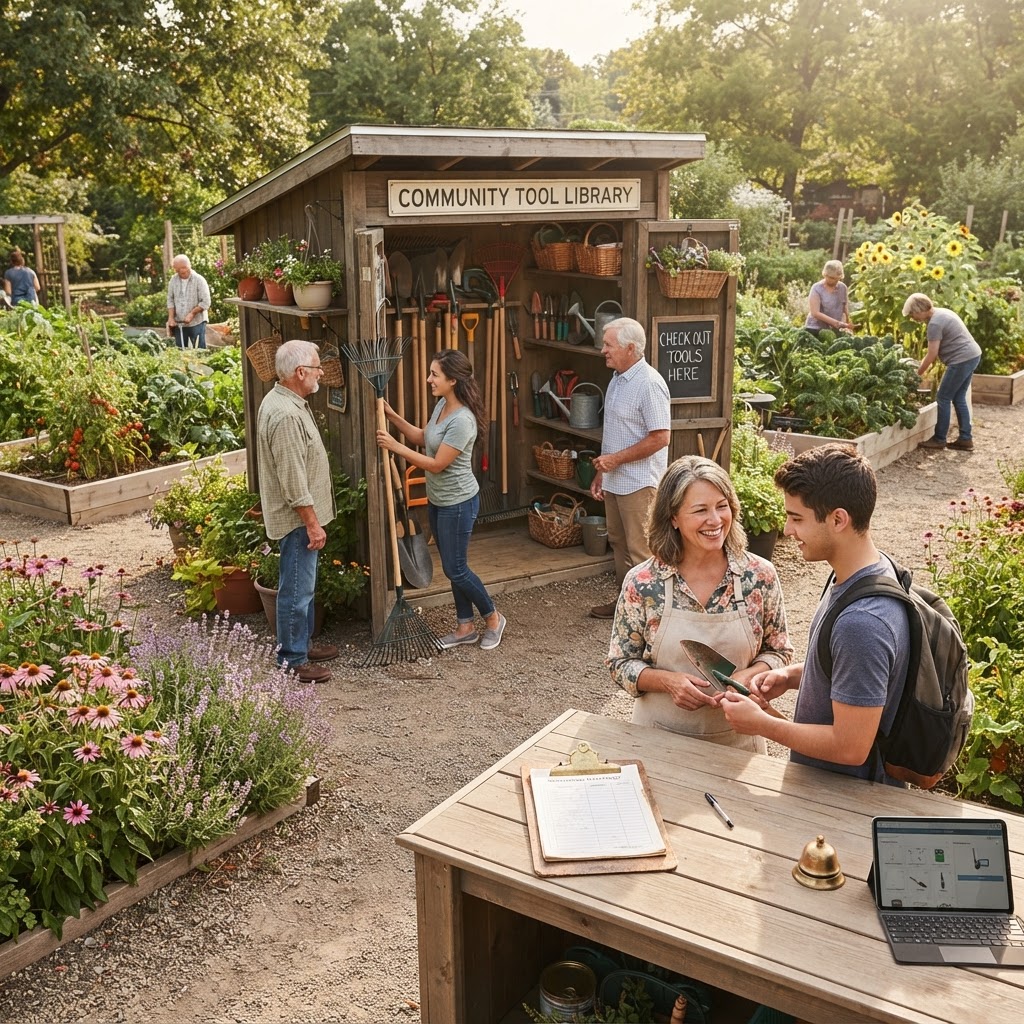
A well-organized tool library can transform the way your community garden operates. When members share quality tools rather than each purchasing their own, everyone benefits from better equipment, lower individual costs, and a stronger sense of shared responsibility. Setting up this kind of system takes some planning, but the rewards are well worth the effort.
Getting Started
Before you start cataloging shovels and labeling trowels, take a step back and assess what your community garden actually needs. A tool library works best when it grows out of genuine community input rather than one person's vision. Here's how to lay the groundwork effectively.
Gauge interest and gather input. Hold an informal meeting or circulate a short survey asking members which tools they wish they had access to, which ones they already own and might donate, and whether they'd commit to respecting a shared checkout system. This simple step builds buy-in from the start and gives you real data to work with.
Identify a point person or small committee. Tool libraries don't run themselves. Designate one or two volunteers who enjoy organization to lead the effort. This doesn't need to be a permanent role, but having clear ownership during the setup phase prevents things from falling through the cracks.
Secure a budget. Talk to your garden's leadership or board about allocating funds for initial tool purchases, storage solutions, and any materials needed for labeling or signage. If your garden doesn't have a formal budget, consider a small membership fee increase, a fundraising event, or reaching out to local hardware stores about donations or discounts.
Set a realistic timeline. Don't try to launch a fully polished system overnight. Give yourself four to eight weeks to plan, gather tools, build the checkout process, and educate your members before officially opening the library.
Why a Tool Library Benefits Your Community Garden
Understanding the value of a communal tool library helps you make the case to skeptical members and keeps everyone motivated during setup.
Cost sharing makes quality accessible. A high-quality garden fork or a reliable pair of bypass pruners can be expensive. When that cost is shared across twenty or thirty members, every individual spends far less while gaining access to tools they might never buy on their own.
Reduced clutter and storage demands. Many gardeners, especially those in apartments or small homes, have limited storage space. A shared library means members only need to bring home a tool when they actually need it, rather than storing a full set year-round.
Environmental benefits. Producing fewer tools overall means fewer resources consumed and less eventual waste. This aligns naturally with the sustainability values that draw many people to community gardening in the first place.
Community building. A tool library creates natural touchpoints for interaction. Members chat while picking up or returning tools, they ask each other for advice on which implement works best for a task, and they develop a shared investment in the garden's resources.
Planning Your Tool Inventory
Getting the right mix of tools is more important than simply having a large quantity. Focus on what members will actually use and what makes the most sense to share.
Essential Tools to Include
Start with the workhorses that nearly every gardener needs at some point:
- Digging tools: Full-size shovels, spades, and garden forks in multiple quantities since these see heavy use
- Cultivating tools: Hoes, hand cultivators, and rakes for bed preparation and weeding
- Pruning tools: Bypass pruners, loppers, and a pruning saw for managing woody growth
- Watering equipment: Watering cans and adjustable hose nozzles if your garden relies on manual watering
- Soil and potting tools: Hand trowels, transplanting dibbers, and soil scoops
- Measuring and marking: Garden twine, stakes, and measuring tape
Specialty Tools Worth Adding
Once your basic inventory is established, consider adding higher-cost specialty items that members might rarely need individually but are glad to access occasionally:
- Broadfork for deep soil aeration
- Garden cart or wheelbarrow (plan for multiple if your garden is large)
- Soil pH and moisture testing kits
- Seed starting equipment like heat mats and grow lights for indoor starting
- Kneeling pads and ergonomic tools for members with mobility considerations
How Many of Each?
A general rule of thumb is to have one unit of a commonly used tool for every three to five active members. Wheelbarrows and carts are an exception — you'll want at least two or three regardless of garden size since they're large and frequently needed at the same time. Track checkout patterns over your first season and adjust inventory accordingly.
Setting Up a Physical Storage Space
Your tool library needs a dedicated home that is secure, accessible during garden hours, and organized in a way that makes it easy to see what's available and what's out on loan.
Choosing a Location
Ideally, the tool shed or storage area should be centrally located within the garden so no plot is dramatically farther from the tools than any other. It should have a lock to prevent theft while remaining accessible to members through a key distribution system or combination lock whose code is shared with registered members only.
Organizing the Space
Invest in wall-mounted tool holders, hooks, and pegboards to keep tools off the ground and visible. When tools have dedicated, labeled spots, it's immediately obvious when something is missing. Use outlines or silhouettes on the wall behind each tool's hook — a trick borrowed from professional tool management — so anyone can see at a glance that the hedge shears are gone.
Group tools logically: digging tools together, cutting tools together, hand tools in one zone. Label everything clearly with the garden's name and, if possible, an inventory number that matches your checkout records.
Labeling Your Tools
Every single tool in the library should be labeled with:
- The garden's name or initials
- A unique inventory number (e.g., DT-01 for digging tool number one)
- A color band indicating it belongs to the library (brightly colored electrical tape works well and is durable)
This prevents confusion at checkout and makes it unmistakably clear that a tool is shared property, not someone's personal item.
Creating a Checkout System
The checkout system is the operational heart of your tool library. It needs to be simple enough that people will actually use it consistently, but thorough enough to keep track of where tools are at all times.
Paper-Based Systems
For smaller gardens, a simple paper logbook kept in the shed works well. Create columns for the date, member name, contact information, tool name and number, expected return date, and a return confirmation signature. Keep the logbook on a clipboard inside the shed, and make sure all members know they are responsible for signing both out and in.
Digital Systems
For larger gardens or those with tech-comfortable memberships, a shared spreadsheet (via Google Sheets or similar) can work beautifully. Members can check availability online before heading to the garden and update the sheet on their phones. Some gardens use free or low-cost library management apps originally designed for book libraries — many of these adapt well to tool lending with minor customization.
Checkout Policies to Define
Establish clear written policies before you launch, including:
- Loan period: How long can a member keep a tool? Two to three days for common tools and up to a week for specialty equipment is typical.
- Renewal policy: Can members extend their loan if they still need the tool?
- Reservation system: Can members reserve a tool in advance, or is it first come, first served?
- Who can check out tools: Paid members only? All registered participants? Guest policy?
Post these policies visibly in the shed and share them in member communications so there's no ambiguity.
Managing Maintenance and Repairs
A tool library only remains valuable if the tools within it are in good working condition. Establishing a maintenance routine is non-negotiable.
Routine Cleaning and Care
Create a simple end-of-season checklist that includes:
- Removing soil from all tools and drying them thoroughly
- Oiling wooden handles with linseed oil to prevent cracking
- Sharpening blades on hoes, spades, and pruners
- Lubricating moving parts on pruners and loppers
- Inspecting handles for cracks or splinters and replacing as needed
Consider organizing an annual maintenance day as a community event. Provide snacks, make it social, and share the work of keeping the library in top shape.
Designating a Maintenance Volunteer
Identify one or two members who enjoy tool care and give them an official role. They don't need to do all the work themselves but should be the point of contact for reporting damage and coordinating repairs. Recognize their contribution publicly — it's a real service to the community.
Handling Damaged or Lost Tools
Even in the most conscientious communities, tools get damaged or go missing. Having a policy in place before this happens prevents awkward confrontations.
Be compassionate but clear. Normal wear and tear is part of shared use and should be covered by the library's budget. However, damage caused by misuse or loss due to carelessness is different. A common approach is to ask members to contribute toward the replacement cost in cases of clear negligence, while waiving this for genuine accidents.
Document everything. When a tool is returned damaged, note it in the checkout log with the date and a brief description. This protects both the library and the member from future disputes.
Common Mistakes to Avoid
Skipping the labeling step. Tools without clear labels disappear. Without unique identifiers, you can't track what's been checked out, and members may accidentally take tools home thinking they're their own.
Making the checkout process too complicated. If signing out a trowel requires filling out a three-page form, people will stop using the system and just grab what they need without recording it. Keep it simple.
Failing to set a loan period. Without a defined return deadline, popular tools can sit in one member's shed for weeks while others need them. Be specific about how long is too long.
Not maintaining tools regularly. A tool library full of rusty, dull, or broken tools quickly loses credibility. Schedule maintenance proactively rather than reactively.
Launching without member education. Even the best system fails if members don't know how to use it. Dedicate time at a member meeting to walk everyone through the checkout process before the library opens.
Neglecting to revisit and improve the system. What works in your first season may need adjusting in your second. Build in a review period and genuinely solicit feedback.
Tips for Success
- Start smaller than you think you need to. A tight, well-curated inventory of twenty essential tools beats a chaotic collection of sixty poorly tracked ones.
- Use a buddy system for training. Pair new members with experienced ones for a quick orientation to the tool library during their onboarding.
- Celebrate returns. A lighthearted "Returning tools on time keeps the garden fine" sign in the shed reinforces good habits with humor rather than guilt.
- Take a tool inventory photo. Photograph the full shed when everything is in its place. This gives you a reference for what a properly stocked library looks like and helps during seasonal audits.
- Create a wish list. Post a visible list in the shed of tools members have requested but aren't yet in the library. This invites donations and guides future purchasing.
- Run an amnesty period seasonally. At the start of each season, announce a no-questions-asked return window for any tools that have drifted home. This recovers lost items without creating tension.
Conclusion
A communal tool library is one of the most practical and community-strengthening projects a garden can undertake. When done well, it lowers barriers to participation, promotes shared stewardship, and gives every member access to tools that make their gardening more effective and enjoyable.
The key is to start with genuine community input, keep systems simple and transparent, and build a culture of care and accountability around shared resources. Your tool library won't be perfect on day one — and it doesn't need to be. What matters is that it reflects your community's commitment to working and growing together.
Take it one step at a time, involve as many people as you can in the process, and don't forget to celebrate the small wins along the way. A well-labeled shed with a working checkout system and a happy group of gardeners is something genuinely worth being proud of.