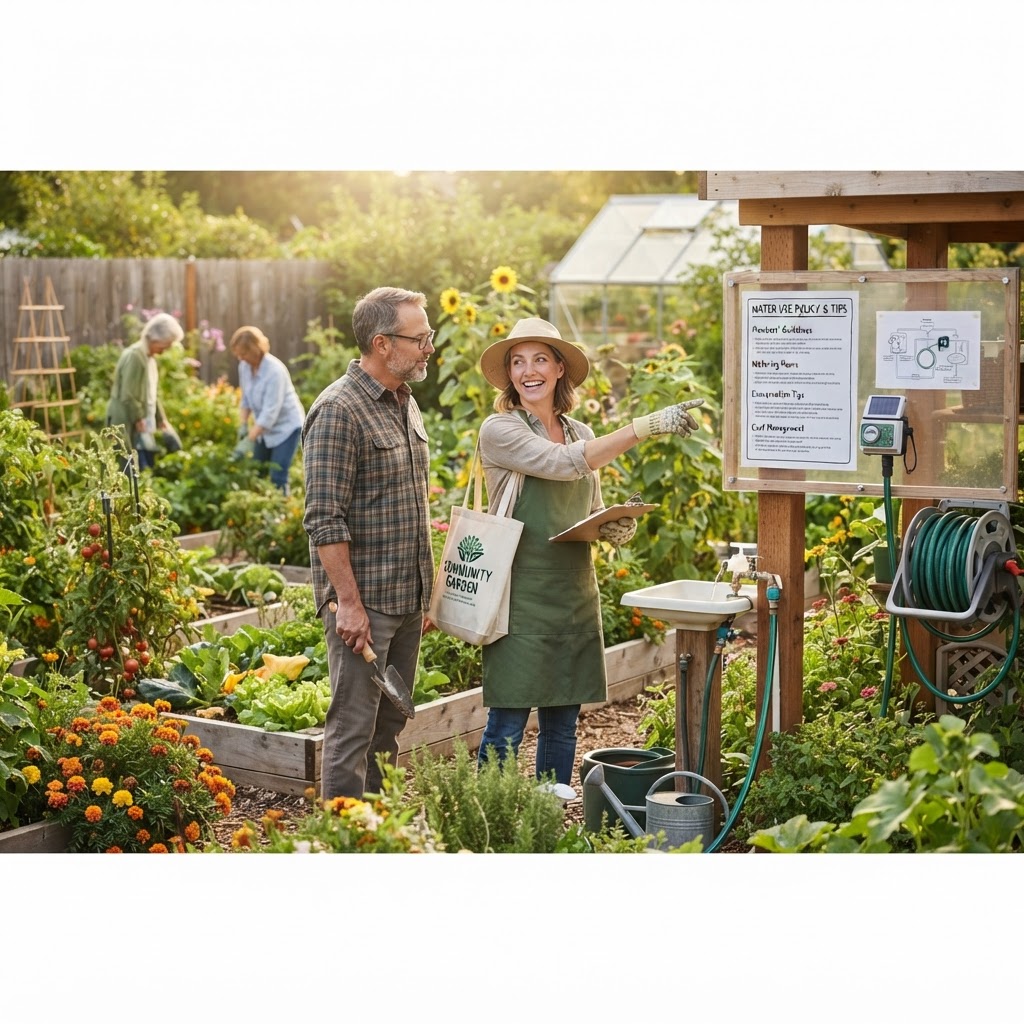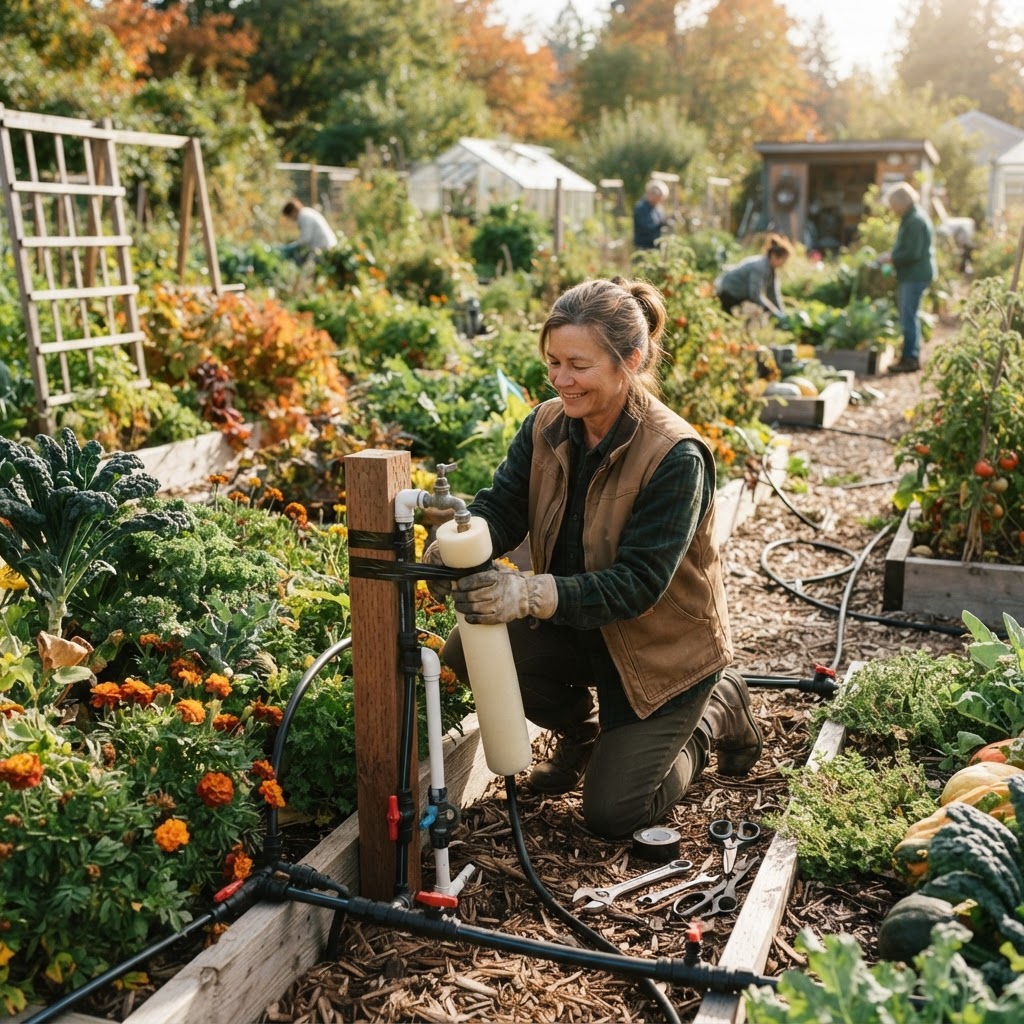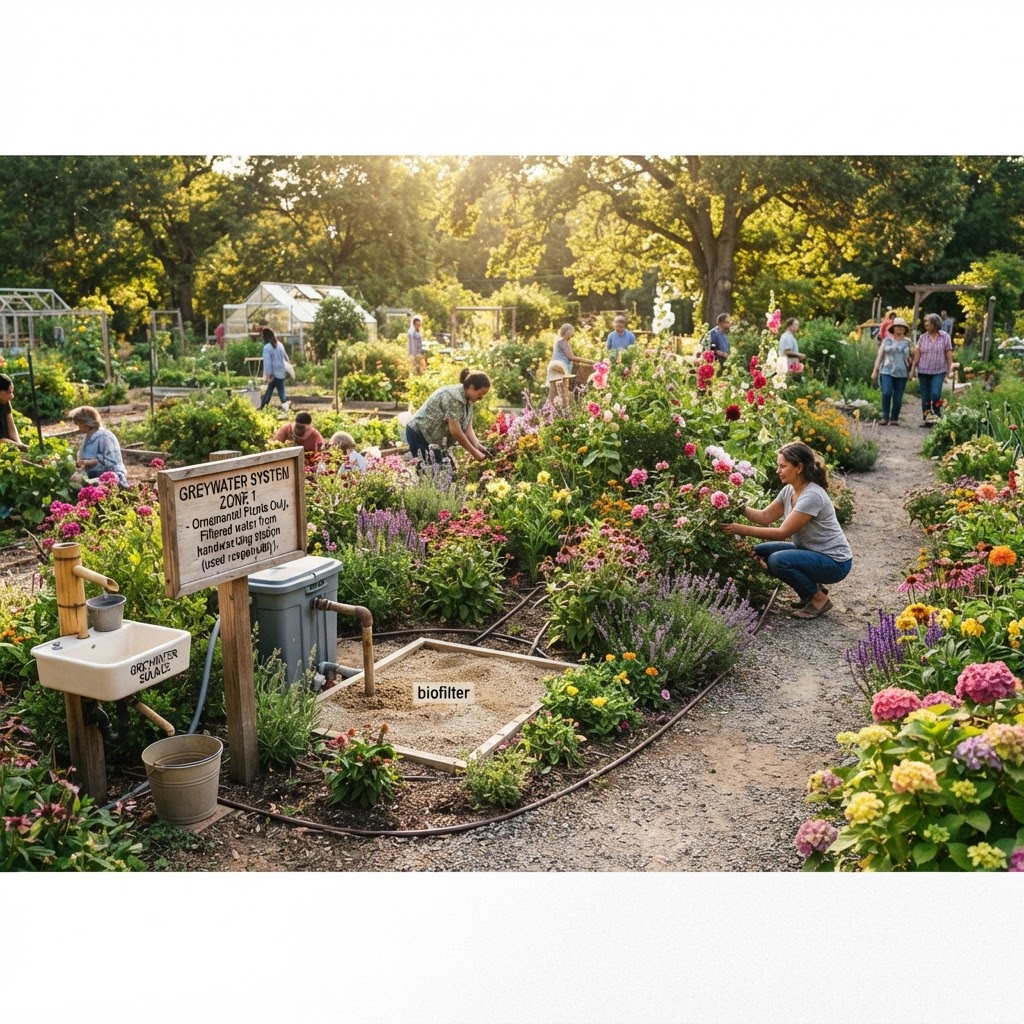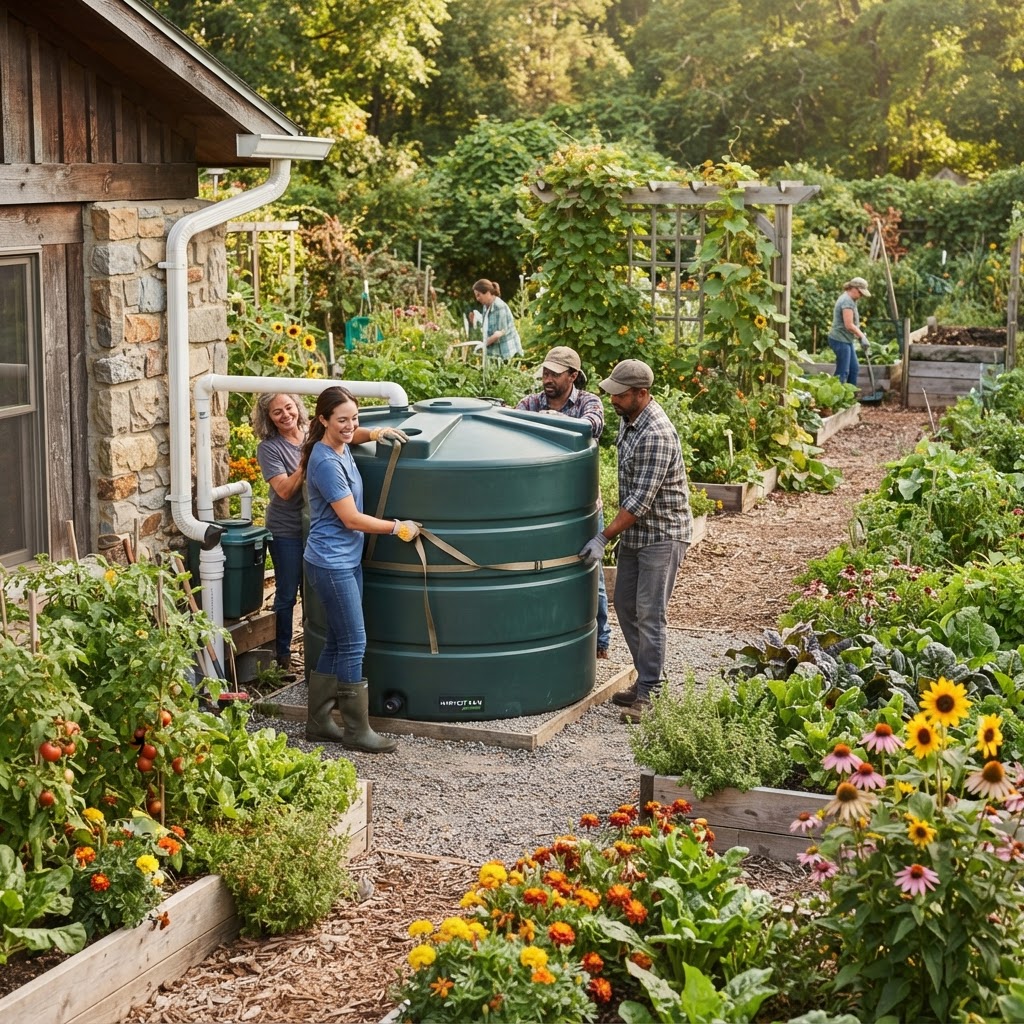
Rainwater harvesting is one of the most sustainable and cost-effective ways to keep a community garden thriving through dry seasons, droughts, and water restrictions. A large-scale cistern system takes this concept to the next level, allowing your garden to capture and store thousands of gallons of rainwater that can be distributed to beds, greenhouses, and composting areas throughout the growing season.
Whether your community garden is dealing with rising water bills, unreliable municipal supply, or simply wants to reduce its environmental footprint, installing a cistern system is a rewarding long-term investment. This guide will walk you through everything you need to know — from planning and permitting to installation and maintenance — in a clear and practical way.
Getting Started
Before you dig a single shovel of dirt or purchase any equipment, the most important thing you can do is plan carefully. A large-scale cistern system involves significant upfront effort, and decisions made early in the process will affect how well the system performs for years to come.
Start by asking these foundational questions:
- How much water does your community garden currently use in a typical week during peak growing season?
- How much roof or catchment surface area is available to collect rainwater?
- Where will the cistern be located — above ground, partially buried, or fully underground?
- Does your local municipality allow rainwater harvesting, and are there volume restrictions?
- What is your budget, and are there grants or community funding sources available?
Getting your garden committee or core volunteers involved at this stage is essential. A project of this scale affects the whole community, so buy-in from members will make everything from fundraising to labor much smoother.
Once you have a general sense of your goals and resources, you can begin moving into the more detailed phases of planning.
Understanding Cistern Types and Sizing
Above-Ground Cisterns
Above-ground cisterns are the most accessible option for beginner to intermediate installers. They are typically made from food-grade polyethylene plastic, fiberglass, or steel. Sizes can range from a few hundred gallons all the way to tens of thousands of gallons.
Advantages:
- Easier to install and inspect
- Lower excavation costs
- Accessible for maintenance and repairs
Disadvantages:
- Exposed to temperature extremes, which can affect water quality and tank integrity
- May require shading or insulation in hot climates
- More visually prominent on the landscape
Underground or Buried Cisterns
Buried cisterns offer significant advantages in terms of space efficiency and temperature regulation. Water stored underground stays cooler and is less prone to algae growth. However, installation is more complex and costly.
Advantages:
- Consistent water temperature
- Out of the way, freeing up garden space
- Less UV degradation of the tank material
Disadvantages:
- Higher excavation and installation costs
- Harder to inspect and maintain
- Requires pumping systems to access the water
Sizing Your Cistern
To estimate the right cistern size, consider two calculations:
-
Catchment potential: Multiply your total catchment area (in square feet) by the average rainfall (in inches) for your region, then multiply by 0.623. This gives you the approximate number of gallons you can collect per rainfall event.
-
Garden demand: Calculate how many gallons per week your garden uses, then determine how many weeks of storage you'd like to carry between rain events.
For most community gardens, a cistern or series of cisterns totaling between 2,500 and 10,000 gallons is a practical starting range for a large-scale system.
Site Selection and Preparation
Choosing the right location for your cistern is critical to both functionality and longevity.
Key Site Considerations
Proximity to the catchment surface: Your cistern should be as close as possible to the building or structure whose roof will channel water into it. Longer pipe runs mean more potential for leaks, clogs, and pressure loss.
Gravity flow advantage: Where possible, position the cistern at a lower elevation than your catchment source and at a higher elevation than your distribution points. Gravity-fed systems are simpler, cheaper to operate, and more reliable than pumped systems.
Soil stability: The ground beneath a large, water-filled cistern must be stable and well-compacted. Soft, sandy, or clay-heavy soils may require additional site preparation such as gravel beds or concrete pads.
Shade and sun exposure: If using an above-ground tank, position it in a shaded area or plan to shade it yourself. Sunlight promotes algae growth and degrades UV-sensitive materials.
Accessibility: Leave enough room around the cistern for maintenance, inspection, and eventual repairs. A cramped installation is a future headache.
Site Preparation Steps
- Clear vegetation and debris from the installation area.
- Excavate as needed for buried systems or level the ground for above-ground installations.
- Lay a gravel base (typically 4–6 inches deep) for drainage and stability.
- For above-ground tanks, construct or pour a concrete pad if the tank size and weight require it.
- Verify that your inlet and outlet pipe routes are clear of obstacles.
Permits, Regulations, and Safety Considerations
This is a step many enthusiastic gardeners skip — and it can cause serious problems down the road.
Always check local regulations before beginning any installation. Some jurisdictions limit how much rainwater can be collected, require specific system designs, or mandate permits for underground tanks. Others actively encourage rainwater harvesting with tax incentives or rebates.
Contact your local municipal water authority, county planning office, or environmental agency to ask about:
- Rainwater harvesting regulations in your area
- Required permits for storage tanks above or below a certain gallon threshold
- Setback requirements from property lines, buildings, or utilities
- Health and safety guidelines for non-potable water use
Water quality safety is another critical concern. Rainwater collected from rooftops can pick up bird droppings, debris, pollutants, and residues from roofing materials. For irrigation purposes, this is generally acceptable, but clearly labeling all cistern taps and outlets as "Non-Potable Water — Do Not Drink" is a must. Never use this water for drinking, cooking, or washing produce without proper filtration and treatment.
Installation Step-by-Step
Once your site is prepared and permits are in hand, you're ready to install.
Step 1: Install the Catchment and First-Flush Diverter
The first flush diverter is a simple but essential device that discards the first portion of water from each rainfall event. The initial runoff contains the most concentrated debris, pollutants, and bird waste from the roof surface. A diverter sends this water away before it enters the storage tank.
Install downspout diverters on every roof drain that feeds the system. Typical first-flush diverters are available in standard sizes and fit most downspout configurations.
Step 2: Install Inlet Piping and Screens
Route PVC or HDPE piping from your diverter to the cistern. Install a fine mesh screen at the cistern inlet to filter out leaves, insects, and debris. This screen will need regular cleaning, so make it accessible.
Slope your inlet pipes at a minimum grade of 1/8 inch per foot to ensure adequate flow.
Step 3: Position and Secure the Cistern
For above-ground tanks, position the tank on your prepared pad and ensure it is level. Anchor the tank if required by manufacturer specifications or local codes, particularly in areas prone to high winds.
For underground tanks, lower the tank into the excavated hole carefully — often this requires machinery. Backfill around the tank with pea gravel, not native soil, to prevent shifting and allow for drainage.
Step 4: Install Overflow and Drainage Systems
Every cistern needs an overflow outlet. When the tank is full, excess water must be directed away from the foundation of nearby structures. Connect your overflow line to a rain garden, dry creek bed, or drainage swale to manage overflow sustainably.
Install a cleanout port at the bottom of the tank for periodic flushing and sediment removal.
Step 5: Add Venting
Cisterns need to breathe. Install a screened vent at the top of the tank to allow air exchange while keeping insects — especially mosquitoes — out. A properly vented system also prevents pressure build-up.
Connecting Your Distribution System
A stored cistern full of water is only useful if you can get it where it needs to go.
Gravity-fed distribution uses the natural pressure created by elevation. If your cistern is elevated on a stand or placed on high ground, water can flow through hoses or drip irrigation lines without a pump.
Pumped distribution uses an electric or solar-powered pump to move water from the cistern to your garden beds. Solar-powered pumps are an environmentally elegant solution and eliminate the need for electrical infrastructure.
Consider installing:
- A main shutoff valve at the cistern outlet
- A pressure regulator if using drip irrigation (most drip systems require low pressure)
- A simple filtration screen at the pump inlet to protect the pump from debris
- Hose bibs at strategic points throughout the garden for easy manual watering access
Label all distribution pipes and outlets clearly, especially where they share space with any potable water lines.
Common Mistakes to Avoid
Skipping the first-flush diverter. This small component makes a big difference in water quality. Don't skip it to save money.
Undersizing the system. Many first-time installers underestimate water demand and overestimate rainfall. It's better to install a larger capacity than you think you need and have overflow than to run out during a dry spell.
Neglecting overflow planning. An unmanaged overflow can flood pathways, undermine foundations, and create waterlogged areas. Always plan for where excess water will go.
Ignoring mosquito control. Any standing water system can become a breeding ground for mosquitoes if not properly sealed and vented. Screen every opening, including vents and overflow pipes.
Forgetting sediment maintenance. Sediment accumulates on the bottom of every cistern over time. Without periodic flushing, it degrades water quality and can clog your distribution system.
Using non-food-grade materials. Only use tanks and pipes rated for water storage. Never repurpose chemical or fuel containers, regardless of how thoroughly they appear to be cleaned.
Failing to label non-potable water points. This is a safety issue. Every access point must be clearly marked.
Tips for Success
Involve your community from day one. The more people understand and take ownership of the system, the better it will be maintained over time.
Document everything. Keep a binder or digital record of your system layout, pipe routes, tank specifications, permit copies, and maintenance schedule. This is invaluable when something needs to be repaired or when new volunteers take over.
Set up a maintenance calendar. Schedule regular checks for screen cleaning, sediment flushing, and general inspection at the start and end of each growing season at a minimum.
Consider modular expansion. Install the system with future growth in mind. Using manifold connections allows you to add additional tanks as your garden expands or as funding allows.
Test your water periodically. While not required for irrigation, occasional water quality testing gives you peace of mind and helps identify any contamination issues early.
Apply for grants and partnerships. Many environmental agencies, water utilities, and local governments offer funding or materials support for community rainwater harvesting projects. It's worth researching what's available in your region.
Conclusion
Installing a large-scale rainwater harvesting cistern system is one of the most impactful projects a community garden can undertake. It builds resilience against drought and water restrictions, reduces utility costs, and demonstrates a commitment to environmental stewardship that can inspire the broader community.
Yes, the planning phase requires patience, the installation requires coordination, and the maintenance requires consistency. But the payoff — reliable, free water for your garden season after season — is absolutely worth the effort.
Start small in your planning if needed. Even beginning the conversation with your garden committee, checking local regulations, or identifying potential catchment surfaces is meaningful progress. Every large system began with someone asking, "What if we could catch all that rain?"
At Community Garden Shop, we believe that community gardens are powerful places of learning and sustainability. A cistern system is a natural extension of that mission — and we're here to help you every step of the way.